
Бесплатно 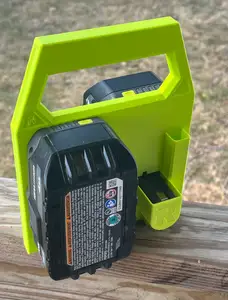
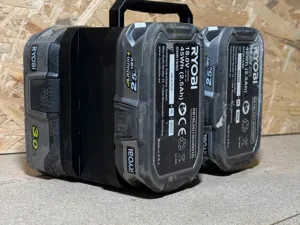
Ryobi 18v Battery Carrier
MakerWorld
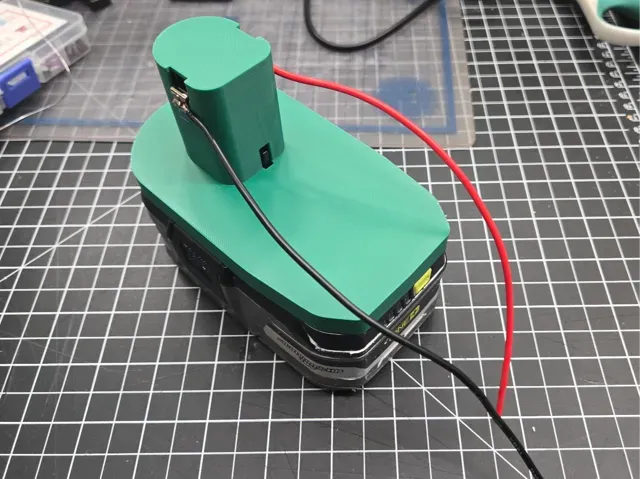
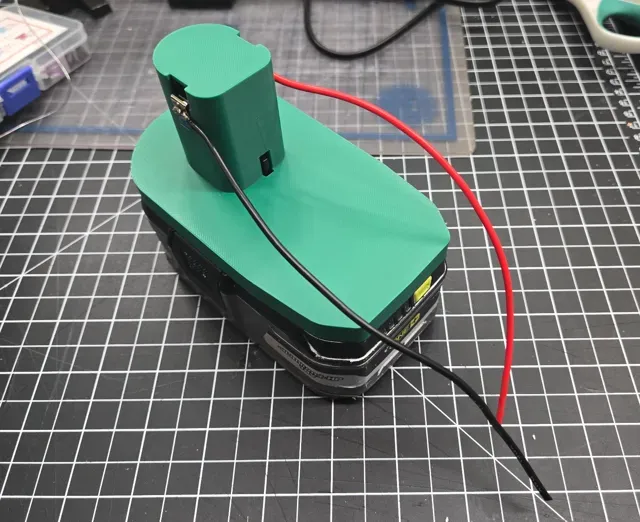
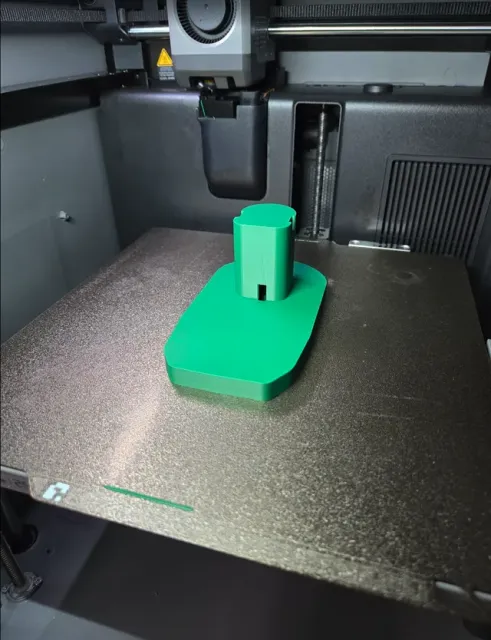
Boost Me Boost is FREE for You but helps get more visibility on this model. Appreciate your support! Ryobi 18V ONE+ Battery Adapter - DIY Power Connector (Keystone 209)
Intro
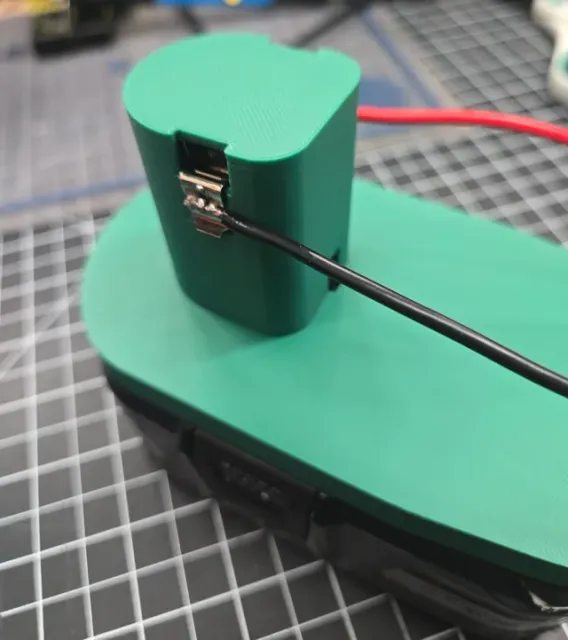
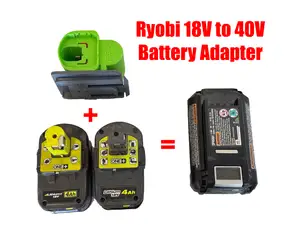
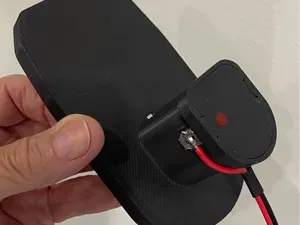
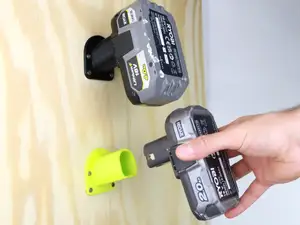
A simple, reliable Ryobi 18V ONE+ battery adapter using Keystone Electronics 209 nickel-plated spring clips. Solder on 12AWG wires and you have a solid connection for whatever battery-powered project you're working on — Power Wheels, RC cars, robotics, portable power stations, e-bikes, or any DIY electronics project.
No screws, no custom terminals — just two off-the-shelf clips and solder. On the project end, use spade or crimp connectors for easy hookup.
Remixed and improved hole to keep 209 clip intact.
Parts List
Filament:
- Bambu PLA Basic — Mistletoe Green (10502) in this example. Any PLA will work.
Non-Printed Parts
- 2x Keystone Electronics 209 spring clips — Amazon - 12AWG wire (red and black recommended) - Solder + soldering iron - Optional: Spade/crimp connectors (2.8mm, 4.8mm, or 6.3mm) for the project end of the wires
Print Settings
- Profile: 0.20mm Standard @BBL P2S - Support: Tree (auto), threshold angle 50 - Remove small overhangs: Enabled
Assembly
- Print the adapter with supports enabled. - Remove supports and clean up the print. - Solder 12AWG wires to the Keystone 209 clips. Solder wires BEFORE inserting clips into the print — the heat from soldering will warp PLA. - Press the clips into the adapter slots. - Connect your wires to your project. Always use a fuse or circuit breaker for safety.
Polarity
With the Ryobi logo facing you (stem on the back, flat part in the front):
- Right = Positive (+) — red wire - Left = Negative (−) — black wire The two smaller pins in the center are sense terminals — you don't need to connect those.
Safety
- Always add a fuse or circuit breaker between the battery and your project. - Not designed for high-draw power tools (grinders, saws, etc.). - Double-check polarity before connecting — reversing polarity can damage your electronics.
Thanks for checking out this model! If you have questions, leave a comment.
0.2mm layer, 2 walls, 15% infill, with Support 0.2mm layer, 2 walls, 15% infill, with Support, adjusted seam to be in the back





Названия используются только для указания источника результата. Polyzon не аффилирован с перечисленными площадками.