
Бесплатно 
Biene Maja
MakerWorld
Deutsch
English
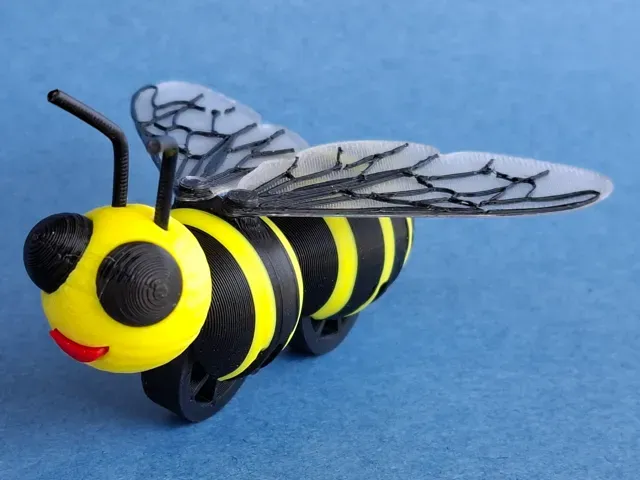
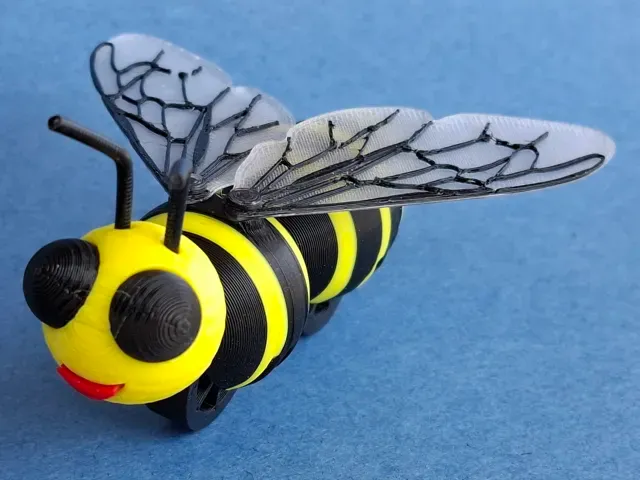
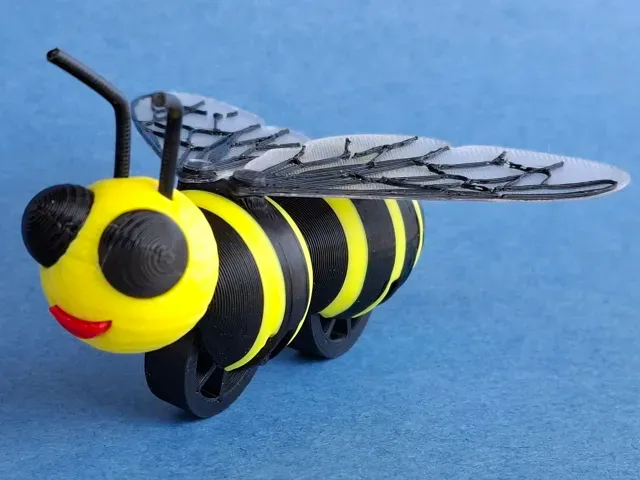
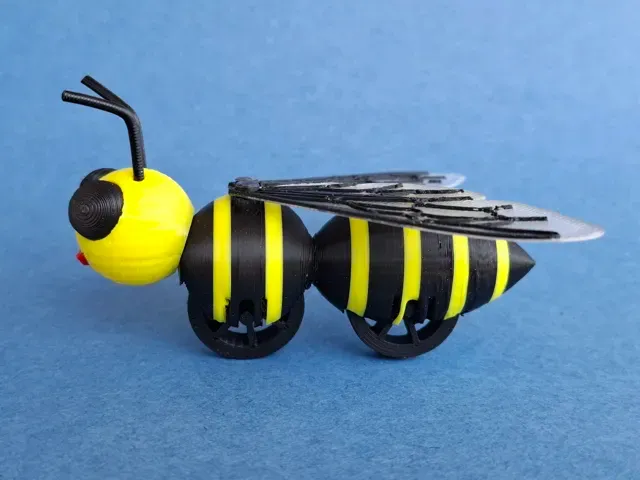
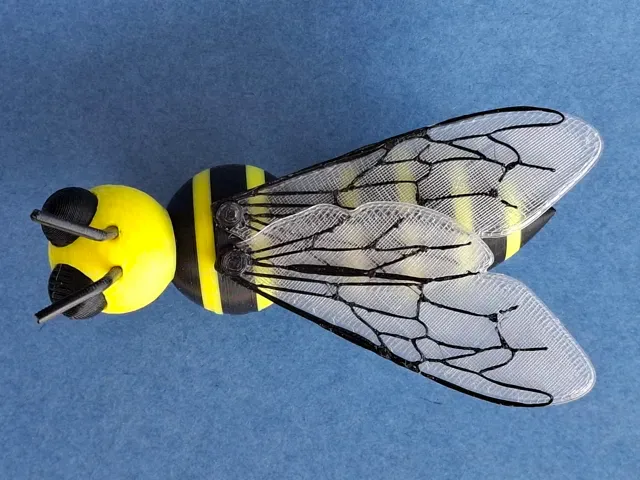
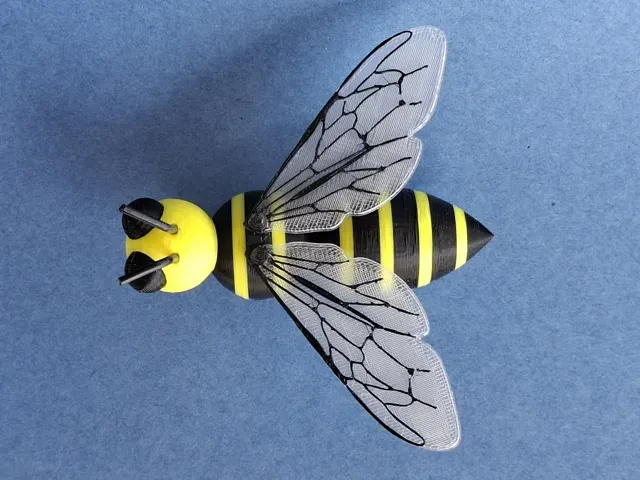
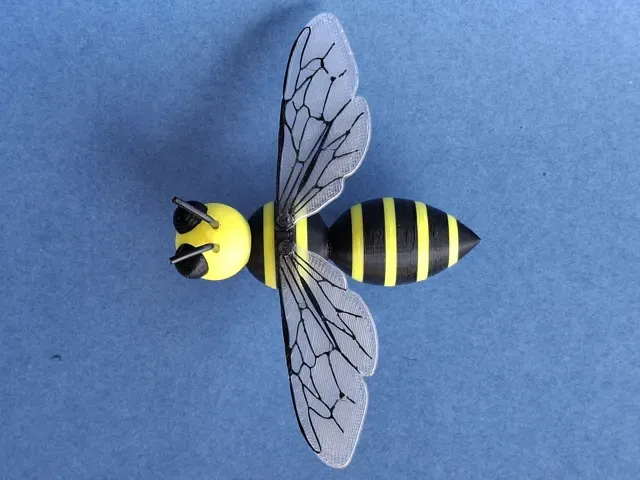
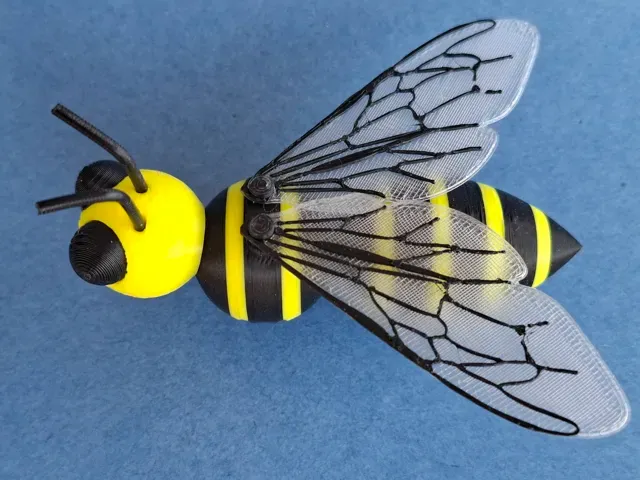
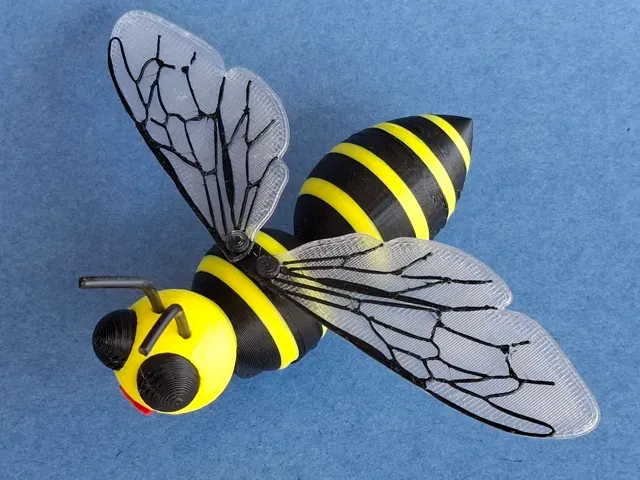
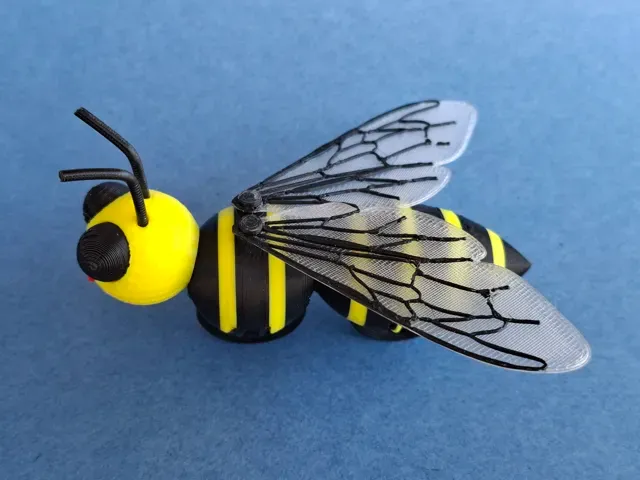
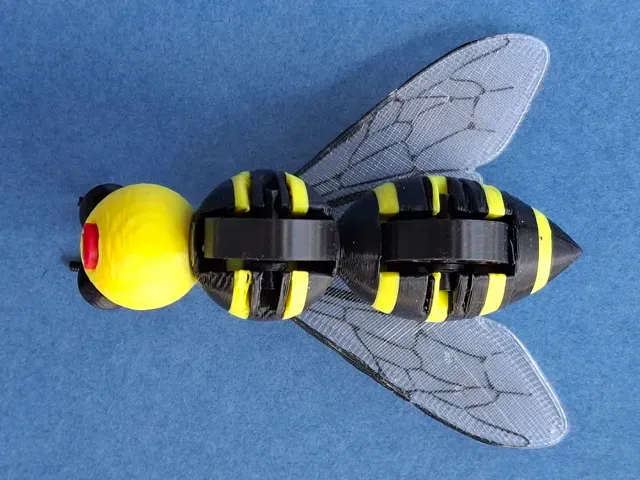
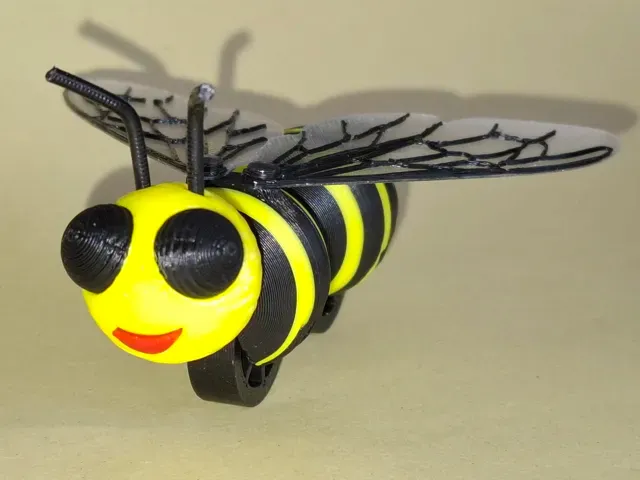
- Maskottchen für Biker-Bienen - Steht auf eigenen Rädern - Räder können sich frei drehen - Flügel sind verstellbar - Länge 8 cm - Spannweite max. 12 cm - Mascot for Biker Bees - Stands on its own wheels - Wheels spin freely - Wings are adjustable - Length: 8 cm - Wingspan: max. 12 cm
Deutsch
- Bei uns in der Gegend fahren viele Landwirte Motorrad … und ihre Frauen auch. - Die haben sich den Namen “Biker-Bienen” gegeben. - Als sie mich fragten, ob ich ihnen ein Maskottchen entwerfen könnte, habe ich es versucht. Das Ergebnis seht ihr hier. - Es war aber nicht das, was die Mädels wirklich wollten. Es sollte etwas sein, das am Motorrad befestigt werden kann. Und dafür ist dies hier zu filigran. - Na ja, dann werde ich halt noch mal etwas anderes versuchen. - Da mir persönlich das Modell auf seine Weise doch als recht gelungen erscheint, stelle ich es euch hier vor, mit all seinen Besonderheiten:
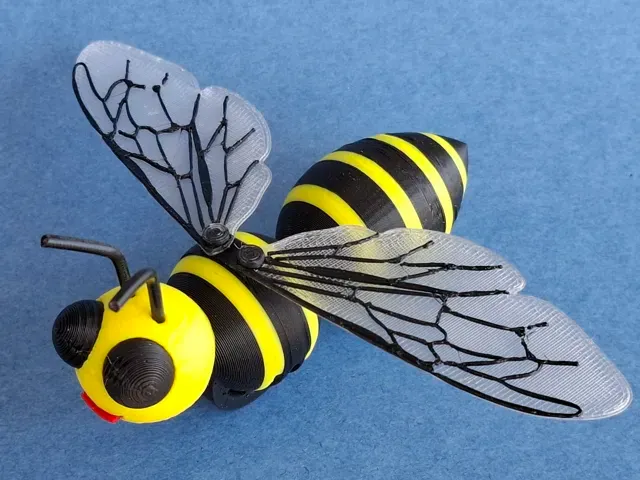
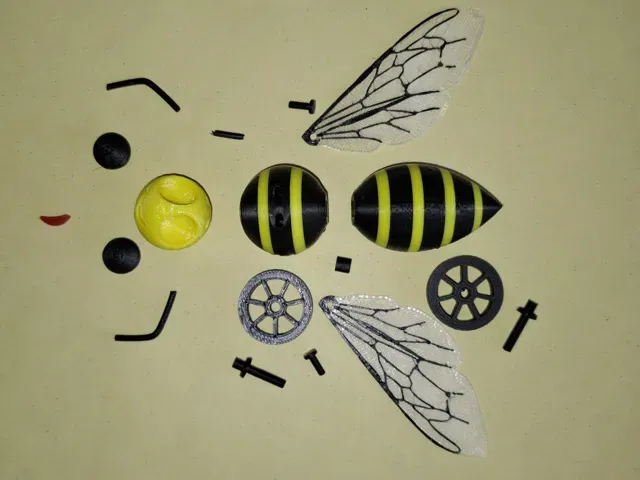
- Das AMS wird nur für die Körperstreifen benötigt. - Die (18) Teile werden einzeln gedruckt und später montiert. - Die Räder besitzen eine kleine Achse und können sich deshalb wunderbar drehen. - Die Flügelstruktur ist mittels eines Fotos einem echten Bienenflügel nachempfunden. Dabei habe ich zur Vereinfachung die großen und kleinen Flügel zusammengefasst. Normalerweise haben Bienen nämlich 4 Flügel.
- Montage
- Mund und Augen werden nur eingesteckt und halten auch ohne kleben. - Die Verbindung Kopf mit Thorax erfolgt über ein kleines Stück Filament zur Positionierung und sollte durch Kleber fixiert werden. - Thorax und Abdomen werden über einen kleinen Würfel verbunden und sollten durch Kleber fixiert werden. - Die Fühler bestehen auch aus Filament und werden erst erwärmt und dann gebogen. - Beim Einstecken der Räder müsst ihr darauf achten, dass die Achsen links und rechts verschieden dick sind. Nur richtig herum rasten sie korrekt ein. - Bei den Flügeln müsst ihr zuerst einen der kleinen Pins durch das Loch stecken und danach im Thorax befestigen. - Da die Pins leicht verloren gehen können, habe ich ausreichend Reserve beim Erstdruck eingeplant.
- Material - Das Material spielt eigentlich keine Rolle. Am einfachsten ist der Druck mit PLA Basic. Die Flügel habe ich aus PETG Translucent gedruckt, da ich über kein anderes durchsichtiges Filament verfüge. English
- Around here, a lot of farmers ride motorcycles… and so do their wives. - They’ve named themselves the “Biker Bees.” - When they asked me if I could design a mascot for them, I gave it a try. Here’s the result. - But it wasn’t quite what the girls really wanted. It was supposed to be something that could be attached to a motorcycle. And this one is too delicate for that. - Oh well, I’ll just have to try something else. - Since I personally think the model is quite successful in its own way, I’m presenting it to you here, with all its special features: - The AMS is only needed for the body stripes. - The (18) parts are printed individually and assembled later. - The wheels have a small axle and can therefore spin wonderfully. - The wing structure is modeled after a real bee wing using a photo. To simplify things, I combined the large and small wings. Normally, bees have 4 wings.
- Assembly
- The head is connected to the thorax using a small piece of filament for positioning and should be secured with glue. - The thorax and abdomen are connected using a small cube and should be secured with glue. - The mouth and eyes are simply inserted and stay in place without glue. - The antennae are also made of filament and are first heated and then bent. - When inserting the wheels, however, you must make sure that the axles on the left and right are different thicknesses. They will only snap into place correctly if oriented the right way. - For the wings, you must first insert one of the small pins through the hole and then attach it to the thorax. - Since the pins can easily get lost, I included plenty of spares in the initial print.
- Material - The material doesn't really matter. PLA Basic is the easiest to print with. I printed the wings using PETG Translucent because I don't have any other transparent filament.
Biker bee with black & yellow stripes 0.2mm layer, 2 walls, 15% infill


Названия используются только для указания источника результата. Polyzon не аффилирован с перечисленными площадками.