
Бесплатно 
Leonardo Da Vinci Catapult
MakerWorld
Overview
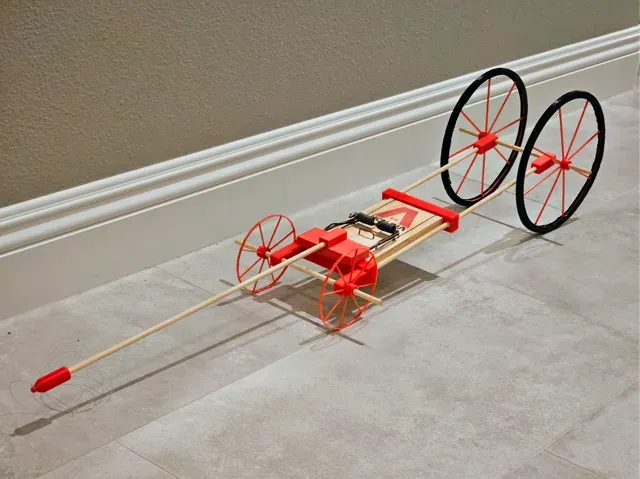
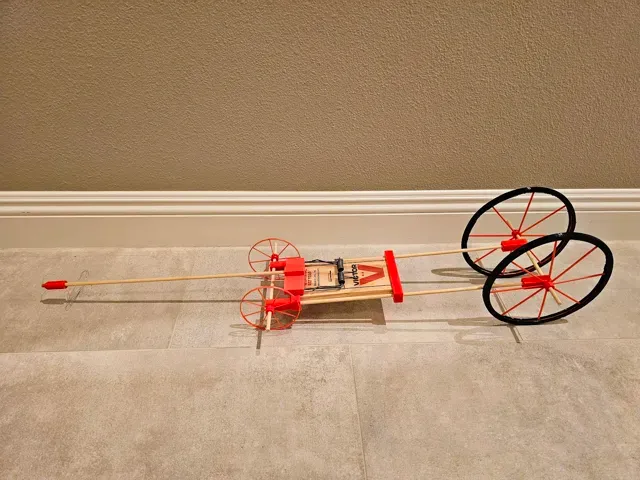
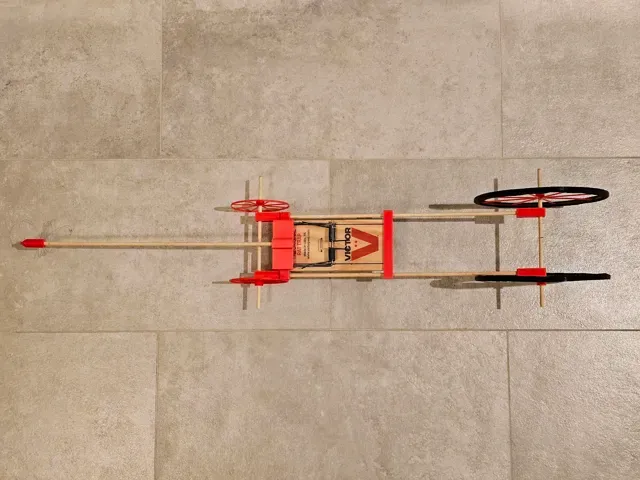
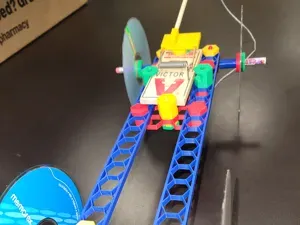
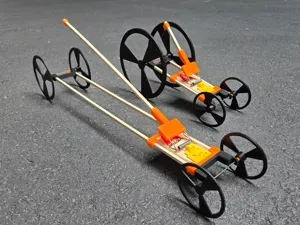
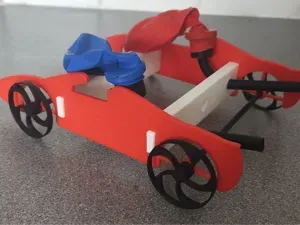
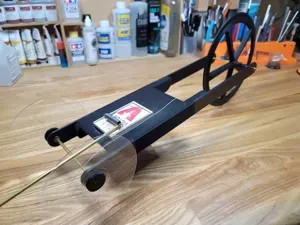
This is a fully 3D printed wheel and chassis system for a trap powered car — a classic physics and engineering project. The design was built for a 4th grade science fair project to investigate how wheel size and tire material affect how far a trap-powered car travels.
Three experiments were run per configuration (18 total runs), covering three wheel sizes and two tire materials. The winning combination — large 200mm wheels with TPU rubber tires — averaged 49.1 meters (161 feet) on a single spring release!
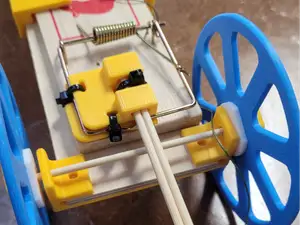
The car is powered by a standard snap-style rat trap, which stores energy in its spring and releases it through a string wound around the rear drive axle. This design intentionally uses a rat trap rather than a mouse trap — the larger spring arm and stronger spring store significantly more energy, which is why the car travels so far.
Build Levels — Start Simple, Go Further
This design has three levels of complexity. Print only what you need.
Level Plates What You Get
1 — Build the Car Plate 1 only A complete, working trap powered car with small wheels. Great standalone toy or first project.
2 — Wheel Size Experiment Plates 1 + 2 and/or 3 Swap in medium or large rear wheels and measure how far the car travels with each. One variable, easy to test, clear results.
3 — Tire Material Experiment All 4 plates Add TPU rubber tires and compare plastic wheels versus rubber tires. Requires a direct drive printer for TPU. The full science fair setup.
Most people only need Plate 1. Print more plates if you want to experiment.
How It Works
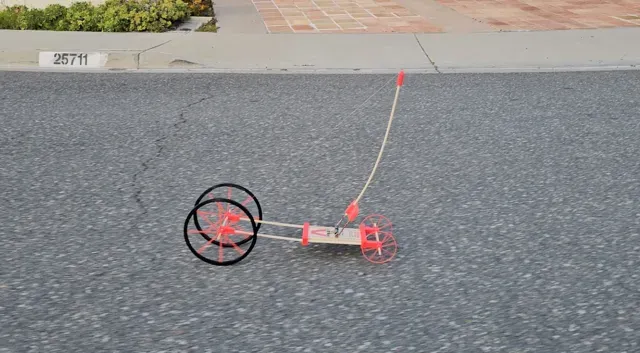
The car converts stored spring energy into motion. When the trap arm releases, it pulls a string wound around the rear drive axle, spinning the wheels and launching the car forward. As the car moves, elastic potential energy from the spring converts to kinetic energy (motion).
Wheel size and tire material both matter:
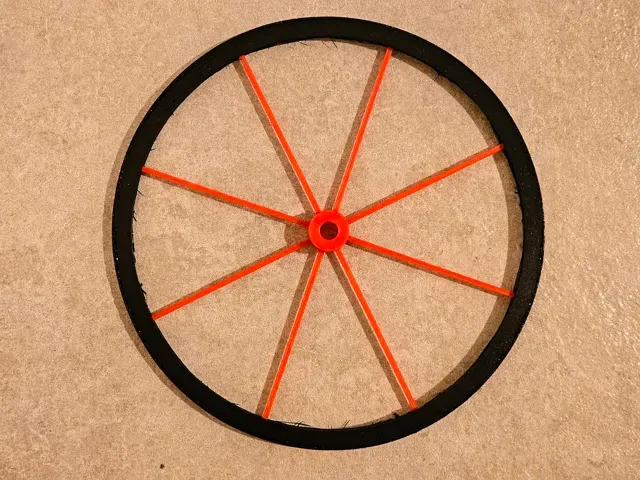
- Larger wheels cover more distance per rotation and roll over small surface irregularities more easily - Rubber (TPU) tires grip the surface better, transferring more energy into forward motion instead of losing it to wheel slip Printed Parts
Structural Parts — print in PLA or PETG
Part Qty 3MF File Notes
Body 2 Complete-Kit — Plate 1 One mounts to each end of the spring trap
Arm 1 Complete-Kit — Plate 1 Extends the trap arm for more string travel
Arm Cap 1 Complete-Kit — Plate 1 Secures the arm extension to the trap arm
Axle 4 Complete-Kit — Plate 1 2 hubs per axle × front + rear axle (fits 1/4" bamboo dowel)
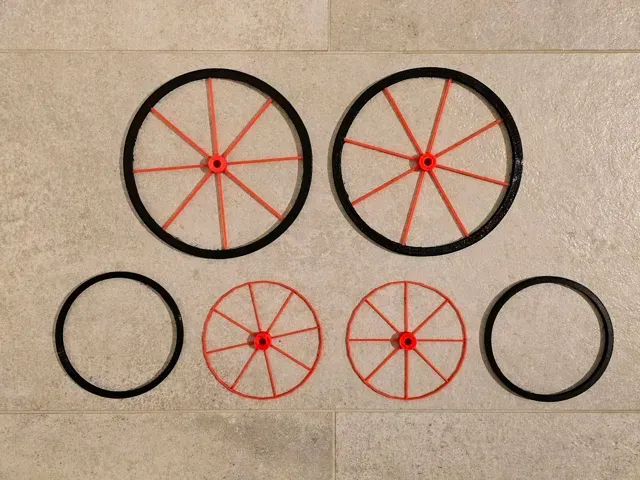
Wheel Small (100mm) 4 Complete-Kit — Plate 1 2 front (fixed) + 2 rear (small config)
Wheel Medium (150mm) 2 Complete-Kit — Plate 2 Print Plate 2 twice for a pair
Wheel Large (200mm) 2 Complete-Kit — Plate 3 Print Plate 3 twice for a pair
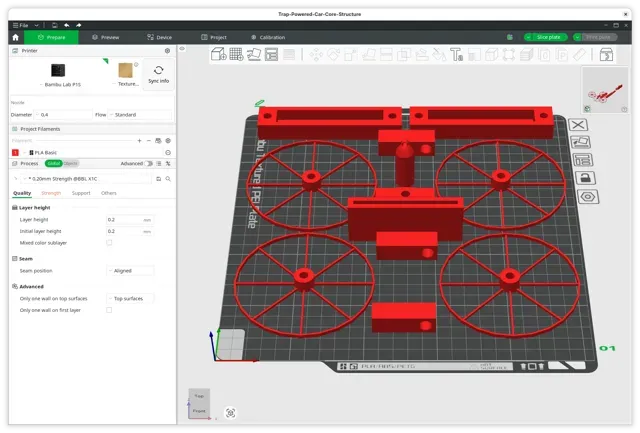
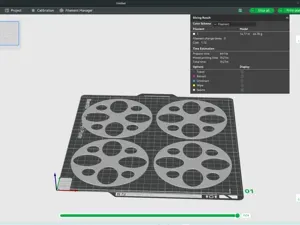
Everything is in one 3MF file with 4 plates. Plate 1 includes 4 small wheels: 2 for the front axle (always small) and 2 for the rear axle (small-wheel configuration). For medium or large rear wheels, print Plate 2 or Plate 3 twice — front small wheels are already on Plate 1.
Tire Treads — print in TPU 95A
Part Qty 3MF File Notes
Tire Small 2 Complete-Kit — Plate 4 See tire plate note below
Tire Medium 2 Complete-Kit — Plate 4 See tire plate note below
Tire Large 2 Complete-Kit — Plate 4 See tire plate note below
Tires are optional — the car works with plastic wheels only (we tested both!). TPU tires make a big difference though — see the results table below.
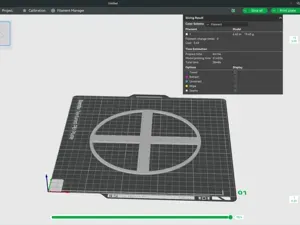
Tire plate note: Plate 4 uses TPU 95A with supports enabled — filament and supports are already configured in the 3MF. All three tire sizes are arranged concentrically on the plate — the rings nest inside each other because the smaller tires fit through the center hole of the larger ones. To get a matching pair, print Plate 4 twice. To print only one size, delete the other two objects in Bambu Studio before slicing.
Non-Printed Materials
- 1× Rat trap — Victor M205-9 Wide Plastic Pedal (recommended) or equivalent large rat trap. Use a rat trap, not a mouse trap — the stronger spring is essential for distance. - 2× Bamboo dowel, 1/4" diameter, ~17.5" long (front axle + rear drive axle). 12" may also work. Dowels vary in straightness and diameter — pick the straightest ones, especially for the axles. If a dowel fits loosely, a small drop of glue holds it. If too tight, try another from the pack. - Fishing line (monofilament) — light and strong - 1 small metal staple Print Settings
Structural Parts (PLA or PETG)
- Layer height: 0.2mm - Walls: 3 - Infill: 15% (gyroid or grid) - Supports: None required - Bed: Textured PEI plate PLA is recommended for most users — it's easier to print and more than strong enough for this application. PETG was used in the original build and also works great.
TPU 95A Tires
- Layer height: 0.2mm - Walls: 3 - Infill: 15% - Print speed: 30–40 mm/s (slow down for TPU reliability) - Supports: Enabled (pre-configured in the 3MF for Plate 4) - Direct drive extruder required — disable AMS/multi-material system for TPU Assembly Instructions
- Mount the trap to the body — slide the snap trap into the body's mounting slots - Install axles — push bamboo dowels through the front and rear axle holders on the body - Attach wheels — press wheels onto the ends of the rear axle - Press-fit tires — stretch TPU tires over each wheel rim gradually, working around the rim evenly. Take your time — forcing one side too quickly can crack the wheel. - Install arm extension — attach the printed arm to the trap's spring arm using the arm cap - Attach string — tie one end of fishing line to the tip of the arm extension. Press a staple into the center of the rear axle and bend one prong out as a small hook. Tie a loop at the other end of the string and hook it onto the staple. When the trap arm releases, it pulls the string until the loop slips off the staple — this clean release is what launches the car. How to Launch
- Set the trap arm back (use caution — keep fingers clear of the snap mechanism) - Wind the string around the center of the rear axle (consistent winding keeps the car straight) - Place the car on a smooth, flat surface behind your start line - Release the trap arm — the car launches! Tip: Wind the string at the axle center every time. Off-center winding causes the car to veer left or right, reducing distance.
0.2mm layer, 6 walls, 25% infill Plates 1–3 (structural parts) — PLA or PETG 0.2mm layer height, 6 walls, 25% gyroid infill, no supports. Textured PEI plate recommended.
Plate 4 (tires) — TPU 95A Filament and supports are pre-configured in the 3MF. Direct drive extruder required. Disable AMS before printing TPU. Print Plate 4 twice to get a matching pair of tires.

Названия используются только для указания источника результата. Polyzon не аффилирован с перечисленными площадками.