
Бесплатно 
Shaving Razor Travel Case
MakerWorld
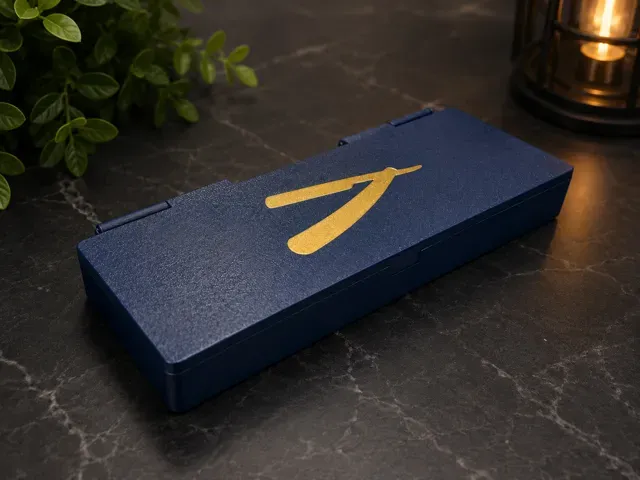
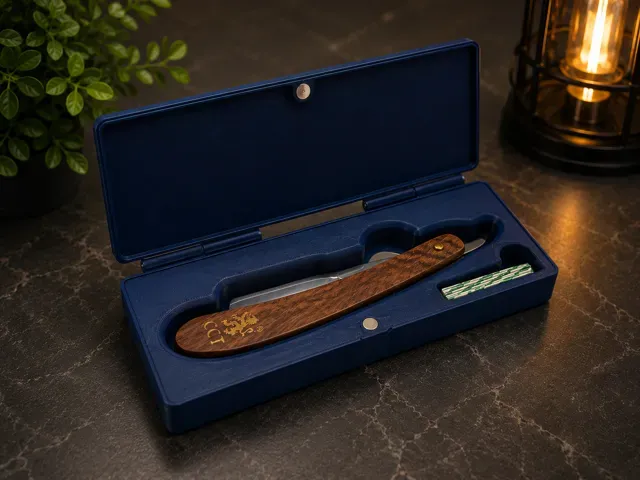
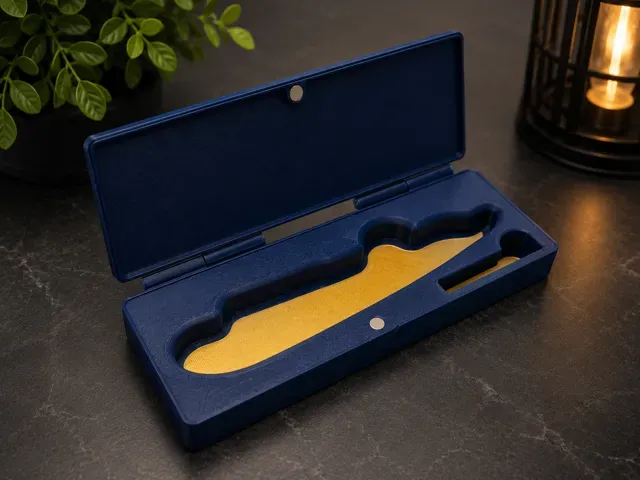
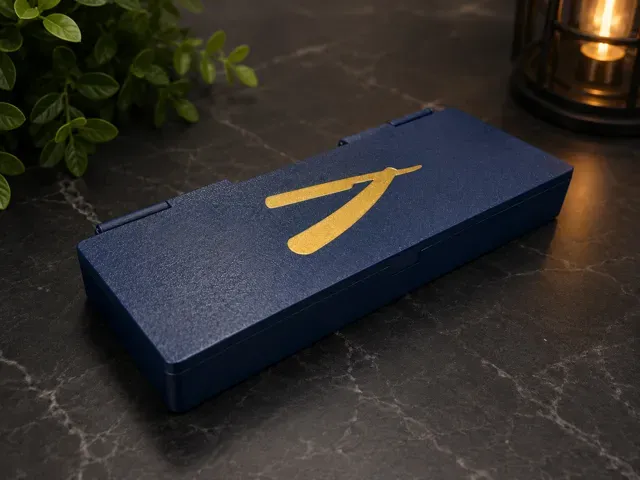
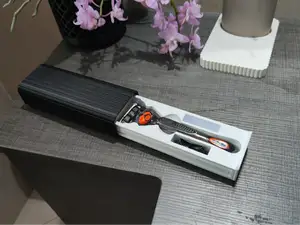
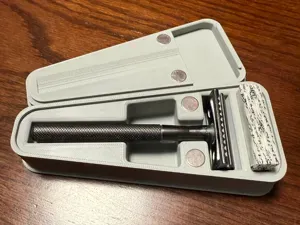
Protect your favorite straight razor in style with this elegant storage case. Designed for both home use and travel, this case keeps your razor secure while providing a dedicated compartment for spare blades.
Features
- Custom-fitted interior to securely hold a standard folding free hand razor - Integrated blade compartment for storing spare blades - Magnetic closure keeps the case firmly shut during transport - Protective hard shell prevents damage to your razor - Premium two-color design with contrasting interior and lid logo - Compact and lightweight, ideal for travel or everyday storage Perfect For
- Traditional wet shavers - Barbers and grooming professionals - Travel and toiletry kits - Father's Day, birthdays, and special gifts Assembly Instructions
This case uses printed hinges with a 2 mm hole. To assemble it, you will need a short piece of 1.75 mm filament to use as the hinge pin.
What you need
- 2 pieces of 6x3mm magnets (linked below) - Optional: a small drop of glue for the magnets - Small piece of 1.75 mm filament, long as the box - Scissors - A lighter
Steps
- Insert the magnets into the appropriate holes in the case and lid. - Before gluing or pressing them fully into place, check the polarity of the magnets. Make sure the magnets attract each other when the case is closed. - Once the polarity is correct, press the magnets into place. If needed, use a small drop of glue to secure them. - Align the lid and the case so the hinge holes line up. - Insert a piece of 1.75 mm filament through the hinge holes. - Trim the filament, leaving a small amount sticking out on both sides. - Carefully heat one end of the filament with a lighter until it softens slightly. - Gently press or flatten the softened end so it forms a small “mushroom” shape. - Repeat on the other side. This locks the filament in place and prevents it from sliding out. Be careful not to melt too much filament, otherwise the hinge may become tight or stop moving freely. Let the ends cool fully before opening and closing the case.
0.16mm layer, 2 walls, 15% infill




Названия используются только для указания источника результата. Polyzon не аффилирован с перечисленными площадками.
Комментарии