
Бесплатно 
Gridfinity Alex Ikea base slim (36cm) drawer.
MakerWorld
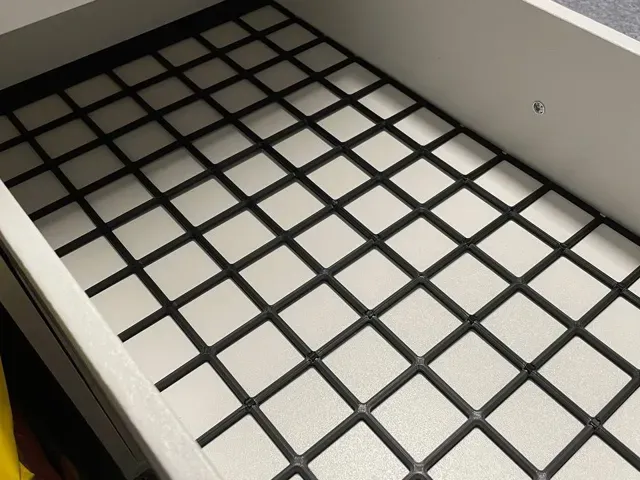
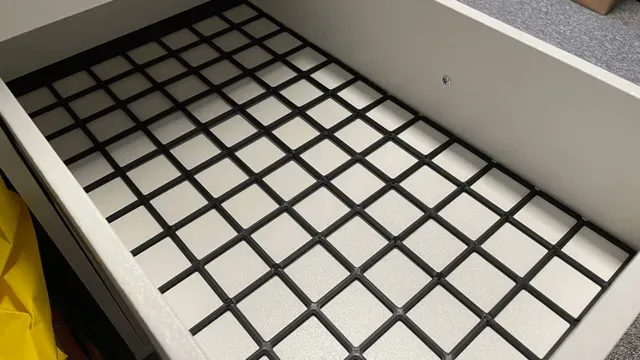
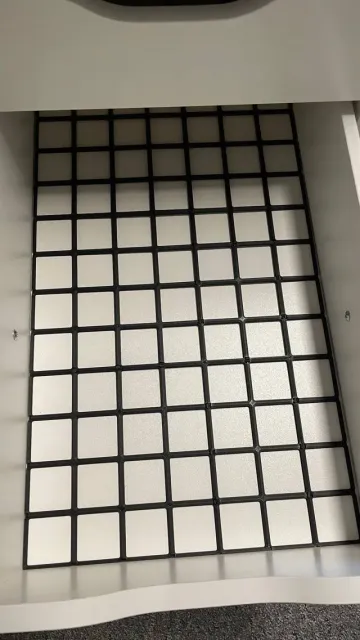
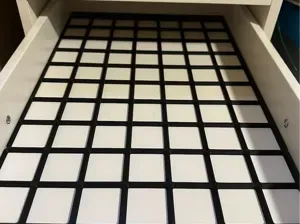
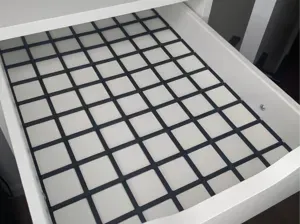
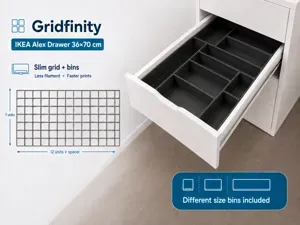
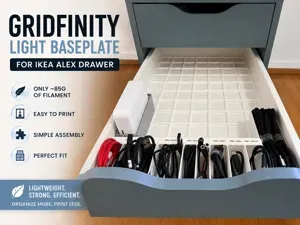
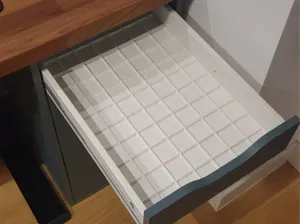
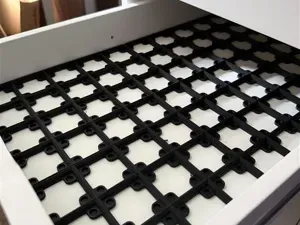
Fast and easy to print Gridfinity Base for Ikea Alex Drawer (36x70 cm) . The printfile contains 5 plates with all necessary parts for 1 drawer.
If your looking for bins, I've an ultimate collection for that.
- Plate 1 - Grid 4x5 - Plate 2 - Grid 4x5 - Plate 3 - Grid 3x5 - Grid 2x4 - Plate 4 - Grid 3x5 - Grid 2x3 - Plate 5 - Spacer - Plate 6 (optional) - 23x Connector (22 needed + 1 spare) Needed if the grid is to loose or you don't want a full grid in your drawer PLA printtime: ~3:55h and 116,9g material (single color)
PETG printtime: ~4:25h and 115,0g material (single color)
I recommend to put the 2 small grids and the spacer in the back of the drawer.
The grid can be printed in PLA or PETG. I recommend 0.4mm nozzle and 0.2mm layer height.
Additional Tools and Helpers
- Gridfinity Height ruler - slim Edition : Helps you to find the correct bin height. - AIO parametric Gridfinty Project : Generate you own gridfinity bin. - Slim Gridfinity Base for Ikea Alex: Perfectly fitting grid for Ikea Alex Drawer
Source: Gridfinity Base Spacer
A1 mini Edition:
I've included a profile for all A1 mini user out there. Basically you'll need three 4x4-Grids and three 3x4-Grids. The Spacer is cut in half, so it fits the print plate. You don't need to glue them together. Just use some connectors. The connectors are optional. You just need them if you don't fill the drawer space all with bins.
PLA | 0.2mm layer, 2 walls, 15% infill All parts for one drawer, the last plate is optional (needed if it is to loose or you don't want a full grid)
PETG | 0.2mm layer, 2 walls, 15% infill All parts for one drawer, the last plate is optional (needed if it is to loose or you don't want a full grid)
A1 mini Version PLA | 0.2mm layer, 2 walls, 15% infill Print all plates, and you should have all parts you need for 1 drawer.
Plate 1: Spacer in two parts
Plate 2-4: Grid 4x4
Plate 5-7: Grid 3x4
Plate 8:
Connectors (Optional)
A1 mini Version PETG | 0.2mm layer, 2 walls, 15% infill Print all plates, and you should have all parts you need for 1 drawer.
Plate 1: Spacer in two parts
Plate 2-4: Grid 4x4
Plate 5-7: Grid 3x4
Plate 8:
Connectors (Optional)
Spacer - 2MM lower for newer Alex cabinets Made the space 2mm lower so it fits perfectly in newer Alex cabinets without bulging the grid.
0.2mm layer, 2 walls, 15% infill While printing i had problems with the connectors. After 2 Attempts i just put them on a seperate build Plate and spaced them evenly and everything worked fine
H2 Series - 2 parts, 2 plates Easy, fast printing without connectors on 2 plates and only 2 parts
sub 30 min 4x4 - 0.28mm layer, 2 walls, 0% infill little fast profile sub 30min 4x4 print. 2 walls no infill concentric. may not want to print spacers or clips with it
Shorter spacer | 0.2mm layer, 2 walls, 15% infill Since many people (including me) are having issues with the spacer being too large, I've decided to cut off a bit and upload that file for anyone to use.
PLA+ | 4 Plate Version | Print is Fast and Quiet | 0,2mm - Only 4 Plates - 110g Filament - 0,2mm Layer Height - Surface Patterns set to Circular for noise reductio n - Infills adjusted for different Objects to increase print time and reduce Filament
Only 4 Plates with shorter Spacer (1,9mm less) Only 4 Plates (P1P/P1S) with an ~1,9mm shorter Spacer (splitted). Specs: 2 Walls 10% Infill (Line) Printed on Biqu CryoGrip (35°)
Stacked 2 plate print (plus optionals) 0.2mm gap & ironing. Update 2025-03-02: realised that the 8 & 6 plate were slightly below the print surface.
Used the Ironing Stacking method to put the bulk of the print onto 2 plates, with the 3rd optional parts plate, and a 2x2 test print so that you can check for yourself that the splitting method works before doing full print.
Splitting is achieved by ironing the top layer of the bottom part. It looks like they are one part, but you can get the scraper in between and split them apart without much effort (the larger parts require a few passes around the edge and then work your way in). Because the bottom part prints upside down I have enabled rafts on each assembly since the “tops” are quite skinny. Doesn't really save on pure print time, but saves on having to empty plates.
I did attempt the method of using PLA as support and printing in PETG, but just didn't work, the supports kept being stupid. Hopefully this saves some people some print time. In this case I used transparent PETG as I was running low on PLA.
Stacking method learned from this video (not me/mine):
H2D optimized Right Nozzle 2 Printplates Optimized for bigger Printbed of H2D. Print the Full Grid in only 2 Prints :)
A1 Optimized (2) 6x6 Grids & (2) 1x6 Grids This is optimized for a 256mm x 256mm bed. This has 2 6x6 plates and one plate with (2) 1x6s and the spacer/connectors.
Basic PETG 0.2mm layer, 3 walls, 25% infill
A1 Mini, PETG, 0.2mm layer, 2 walls, 10% infill
H2D optimized Left Nozzle 2 Printplates Optimized for bigger Printbed of H2D. Print the Full Grid in only 2 Prints :)
A1mini 堆叠版本,使用pla + petg 感谢原作者提供的A1mini版本,不过8盘打印实在让人头疼。我利用pla + petg叠加的方式,这样可以在一盘里打印所有的网格,另一盘用来打印其他的配件。在将网格分开时,只需要轻轻扭曲,然后利用铲刀插进pla和petg的接缝处(最好使用不同的颜色加以区分),轻轻撬开一个角,就可以轻松分离。



Названия используются только для указания источника результата. Polyzon не аффилирован с перечисленными площадками.