
Бесплатно 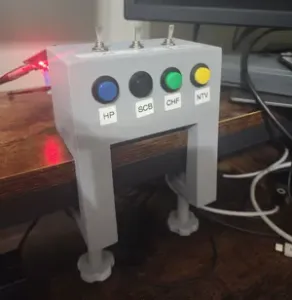
Macro Button Box - 4 button/3 switch
MakerWorld
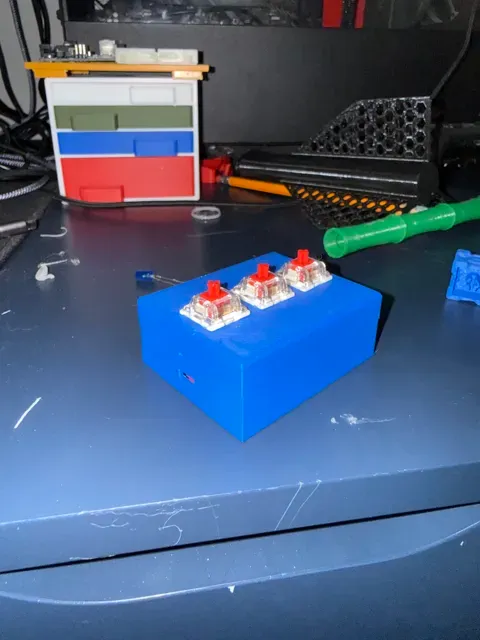
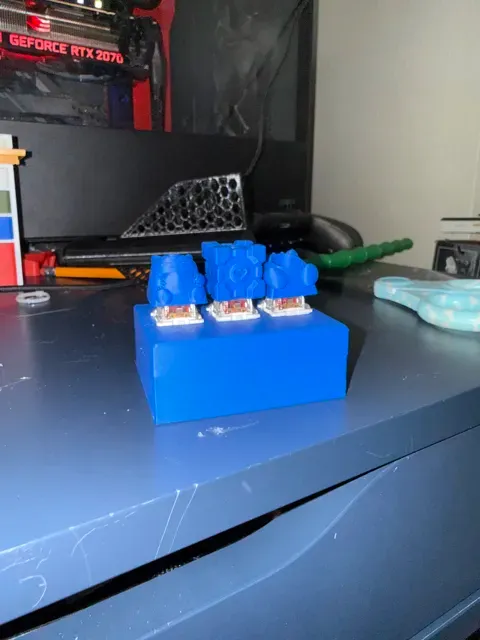
MACRO PAD
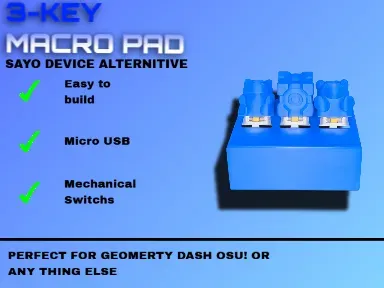
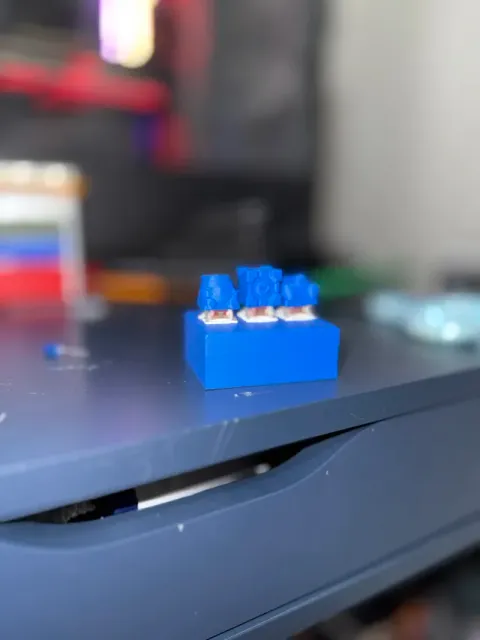
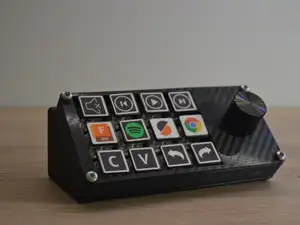
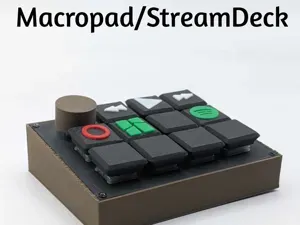
This project was created as an affordable alternative to the popular Sayo Device while maintaining compatibility with the same software ecosystem. Whether you're using it for Geometry Dash, OBS controls, push-to-talk, media controls, CAD shortcuts, or custom macros, this device provides a simple and customizable solution.
BOM(Bill Of Materials):
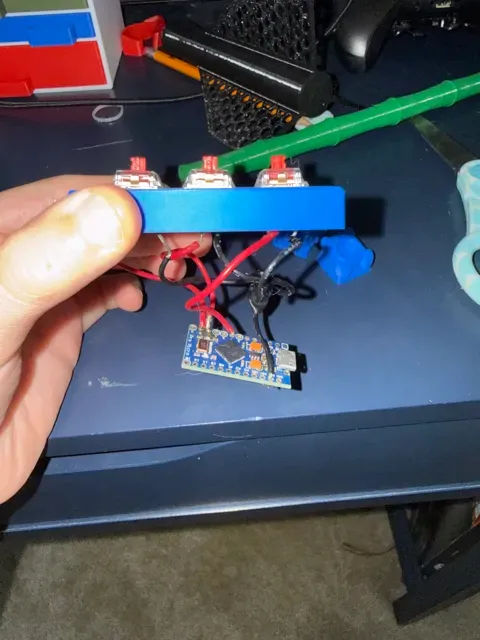
Arduino Pro Micro (this is optional you can use any micro controller)
3x Red linear switches(you can use holographic keycaps for a better response time)
3x Keycaps(I just 3d printed mine)
Micro USB cable
Assembly
Solder the switches positive to the digital pins(I used D2, D3, and D4)
Solder all the Ground wires together, then Solder it to the boards gnd
Glue the Pro Micro to the place to hold it
Plug it in and enjoy
Code
The code is super simple just modify it to your liking and load it onto Arduino ide
/* 3-Key Macro Pad Easy editable Arduino IDE code
Works with boards that support USB Keyboard: - Arduino Leonardo - Arduino Micro - Pro Micro / ATmega32U4 - Some RP2040 boards with Keyboard support */
#include <Keyboard.h>
// ======================= // EASY EDIT SECTION // =======================
// Button pins const int BUTTON_1_PIN = 2; const int BUTTON_2_PIN = 3; const int BUTTON_3_PIN = 4;
// What each button types or sends // Change the text inside the quotes String BUTTON_1_TEXT = "Hello!"; String BUTTON_2_TEXT = "GG"; String BUTTON_3_TEXT = "Subscribe";
// Set this to true if you want Enter pressed after the text bool PRESS_ENTER_AFTER_BUTTON_1 = true; bool PRESS_ENTER_AFTER_BUTTON_2 = true; bool PRESS_ENTER_AFTER_BUTTON_3 = true;
// Debounce delay int debounceDelay = 200;
// ======================= // ADVANCED SECTION // Most users do not need to edit below this line // =======================
void setup() { pinMode(BUTTON_1_PIN, INPUT_PULLUP); pinMode(BUTTON_2_PIN, INPUT_PULLUP); pinMode(BUTTON_3_PIN, INPUT_PULLUP);
Keyboard.begin(); }
void loop() { checkButton(BUTTON_1_PIN, BUTTON_1_TEXT, PRESS_ENTER_AFTER_BUTTON_1); checkButton(BUTTON_2_PIN, BUTTON_2_TEXT, PRESS_ENTER_AFTER_BUTTON_2); checkButton(BUTTON_3_PIN, BUTTON_3_TEXT, PRESS_ENTER_AFTER_BUTTON_3); }
void checkButton(int pin, String textToType, bool pressEnter) { if (digitalRead(pin) == LOW) { Keyboard.print(textToType);
if (pressEnter) { Keyboard.press(KEY_RETURN); delay(10); Keyboard.release(KEY_RETURN); }
delay(debounceDelay);
while (digitalRead(pin) == LOW) { delay(10); } } }
0.2mm layer, 2 walls, 15% infill

![Simple DIY Macro Keyboard [3/4 Key's]](https://cache.polyzon.org/api/img?url=https%3A%2F%2Fmedia.printables.com%2Fmedia%2Fprints%2F100704%2Fimages%2F1014025_feaf37a8-89bc-463b-80f1-76f3dd5170ac%2Fimg_0672.jpeg&w=300)


Названия используются только для указания источника результата. Polyzon не аффилирован с перечисленными площадками.
Комментарии 0
Загружаем комментарии…