
Бесплатно 
Shelf Dividers
MakerWorld
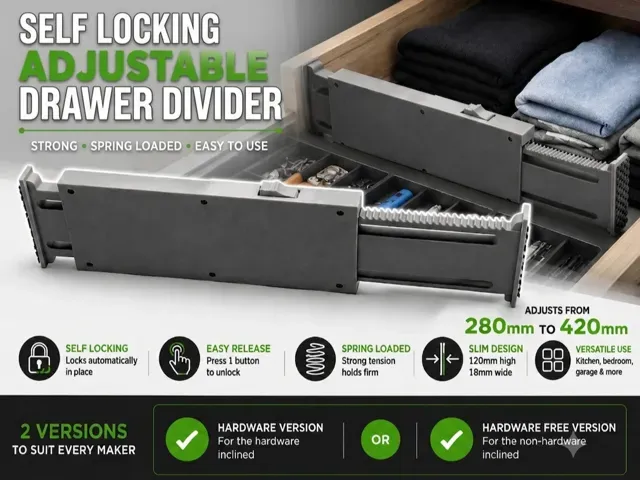
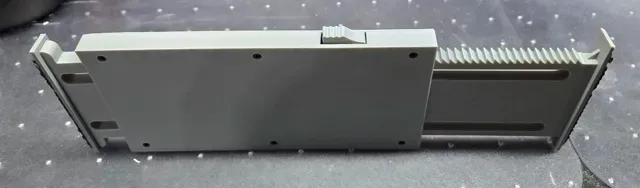
Boost Me Thank you for viewing my model. Please consider boosting me. It helps me to continue designing and developing new models to share. Self-Locking Adjustable Drawer Divider
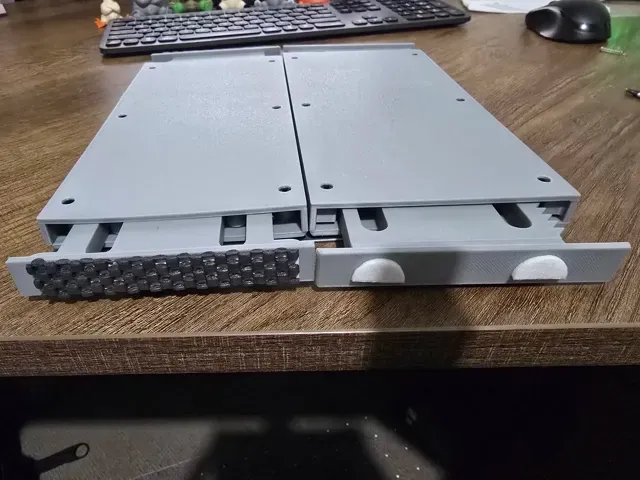
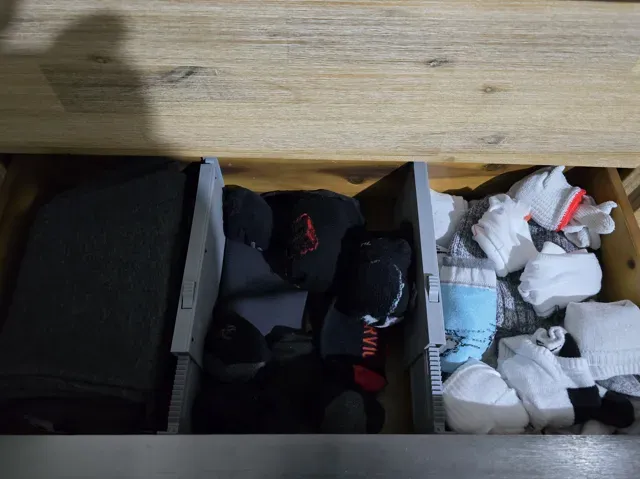
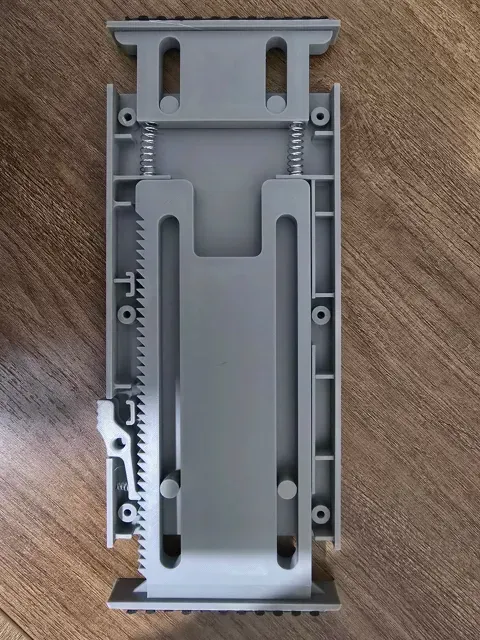
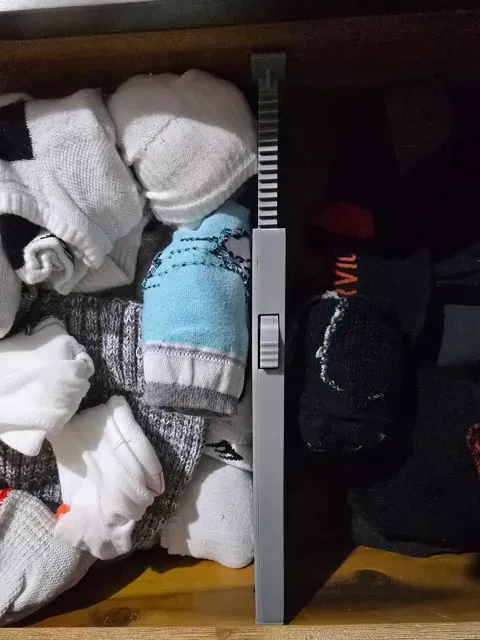
Organise any drawer in seconds with a clean, custom fit. Designed for maximum versatility and built to last, this adjustable divider snaps securely into place using an integrated tension mechanism—no slipping, no sliding, and zero hassle.
Key Features
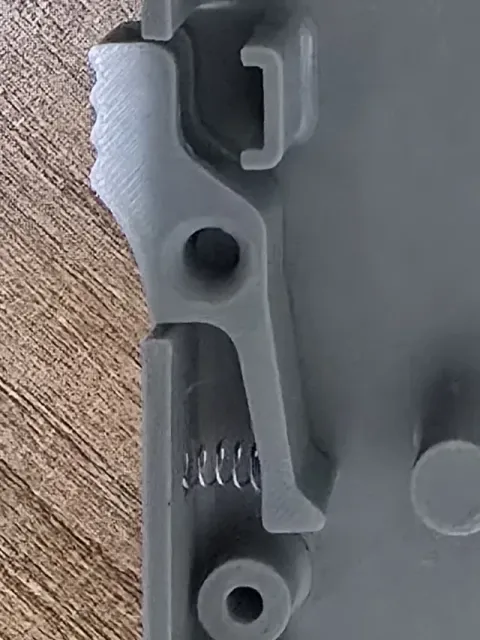
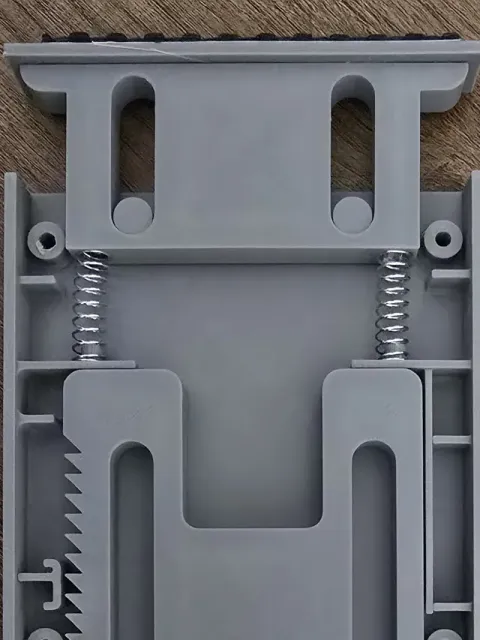
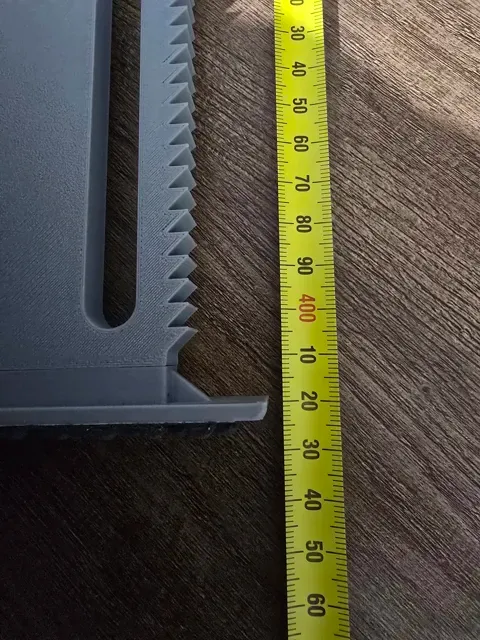
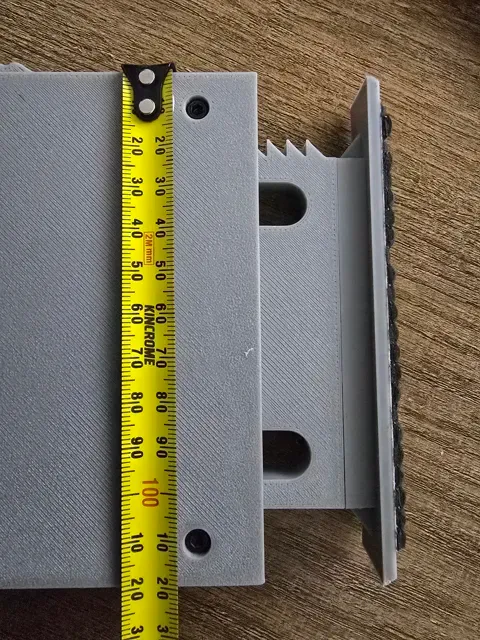
- Self-Locking & Easy Release: Locks automatically in place as you adjust it. Need to reposition? Just press the single-button quick release to unlock instantly. - Non-Slip Grip: Features textured, non-slip end pads that firmly grip drawer walls without leaving marks or damaging surfaces. - Spring-Loaded Tension: Maintains strong, continuous pressure to hold firm even when opening and closing drawers quickly. - Versatile Range: Smoothly adjusts from 280mm to 420mm to fit kitchen drawers, bedroom dressers, workshop toolboxes, and garage storage. - Slim Profile: At 120mm high and just 18mm wide , it maximizes your storage space without taking up unnecessary bulk. 2 Versions Included (To Suit Every Maker!)
- Hardware Version: Optimized for makers who prefer incorporating standard metal springs/screws for maximum mechanical durability. - Hardware-Free Version: 100% 3D printed! Perfect for a quick print-and-use model with zero extra parts required. SIMPLE. STRONG. ADJUSTABLE. FUN TO MAKE. BUILT TO LAST.
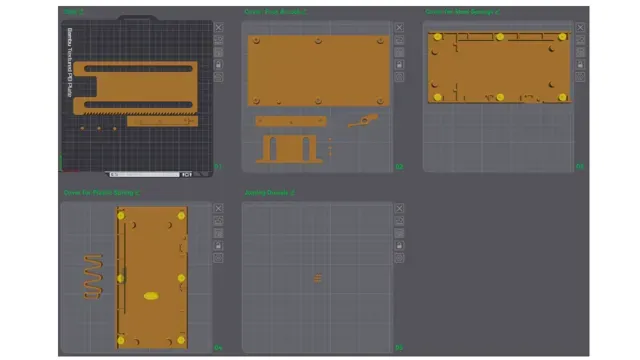
Version 1 - With Hardware. - Print Plates 1, 2 and 3 Only
This version needs the following:
Qty 6 M3 x 15mm Allen Cap screws
Qty 6 M3 Nuts
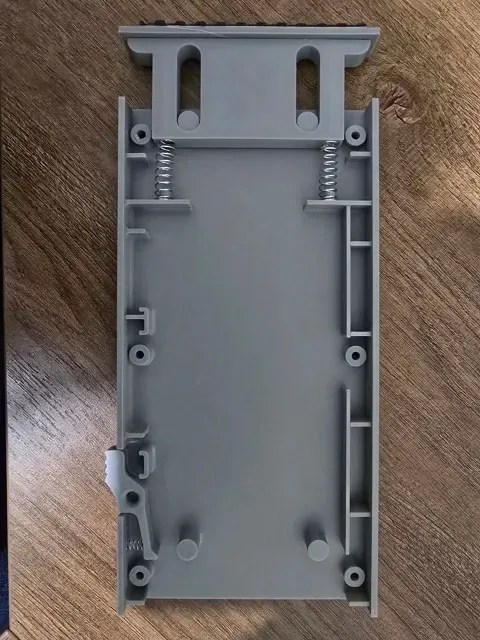
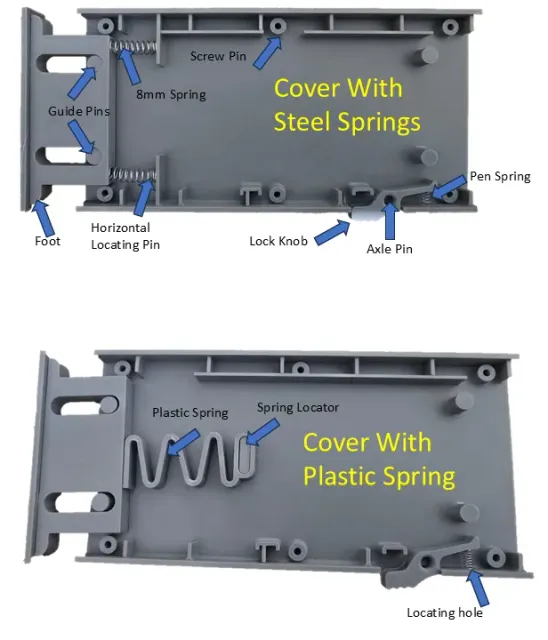
Qty 2 8mm x 35mm Compression Springs
1 x spring from a ball point pen
Optional - Anti slip mat strips
Assembly:
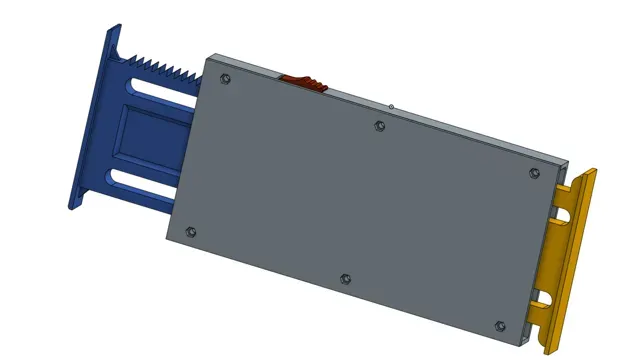
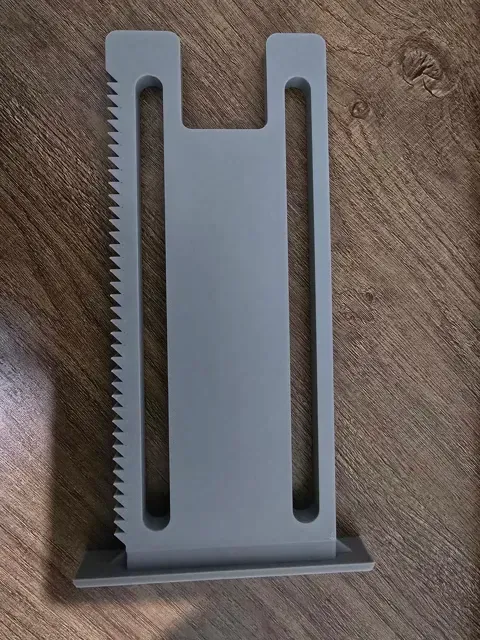
- The Slide Front and the Foot Front are both attached using dowels and superglue. Do this before assembling anything else. - Cut the spring from the pen to 14mm long - Glue the spring into the groove around the pin of the Lock Knob - Drop the Lock Knob over the small axle pin then slide the loose end of the spring into the locating hole on the side of the cover - Glue the 2 x 8mm springs into the holes on the back of the Foot - Slide the 2 springs over the 2 horizontal locating pins on the cover and guide the foot slots over the guide pins. The foot should now be held in place under tension from the springs. - Insert the Slide with the teeth facing towards the Lock Knob. Make sure it's pushed all the way towards the Foot as far as it can go. NOTE: It does not slide in all the way - Close up the assembly with the 2nd Cover making sure that the axle pin slots into the Lock Knob. - Secure the assembly with the cap screws and nuts - Attach a strip of anti slip mat or furniture felt pads to the foot and slide to improve the grip when fully extended and locked Version 2 - Without Hardware - Print Plates 1,2 and 4 Only. Optional Plate 5
This version only needs a spring from a ballpoint pen
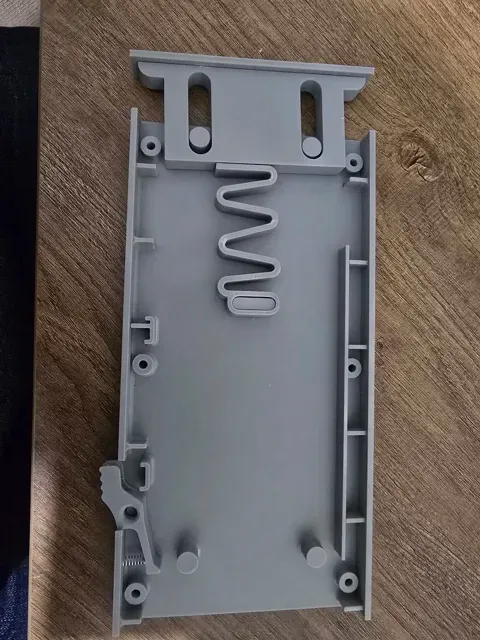
- The Slide Front and the Foot Front are both attached using dowels and superglue. Do this before assembling anything else. - Cut the spring from the pen to 14mm long - Glue the spring into the groove around the pin of the Lock Knob - Drop the Lock Knob over the small axle pin then slide the loose end of the spring into the locating hole on the side of the cover - Slide the printed plastic spring over the spring locatoron the cover and guide the foot slots over the guide pins. It is advisable to print the spring out of Nylon. Other materials ted to lose their shape when under sustained periods of tension. - Insert the Slide with the teeth facing towards the Lock Knob. Make sure it's pushed all the way towards the Foot as far as it can go. NOTE: It does not slide in all the way - Apply a small amount of superglue to the faces of the Screw Pins and the edges of the cover. - Close up the assembly with the 2nd Cover making sure that the axle pin slots into the Lock Knob. DO NOT apply any glue to the Axle Pin. - Optional - Insert the Joining Dowels on sheet 5 into the screw holes to help with alignment. These can be glued in place for added strength. - Press down firmly across the entire surface area until the glue has cured. - Attach a strip of anti slip mat or furniture felt pads to the Foot and Slide to improve the grip when fully extended and locked
0.2mm layer, 2 walls, 15% infill
0.16mm layer, 2 walls, 15% infill



Названия используются только для указания источника результата. Polyzon не аффилирован с перечисленными площадками.