
Бесплатно 
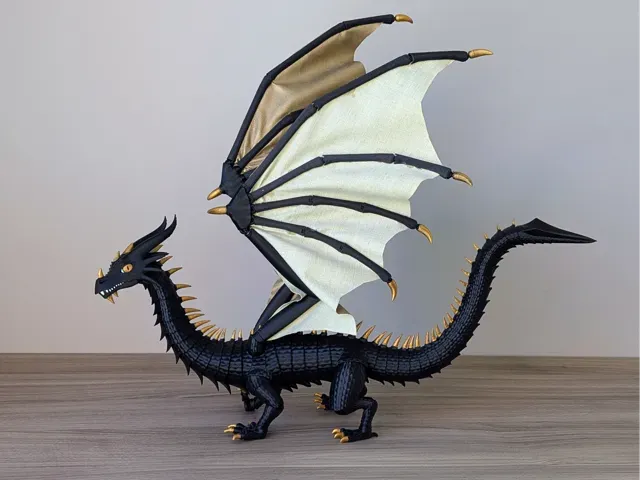
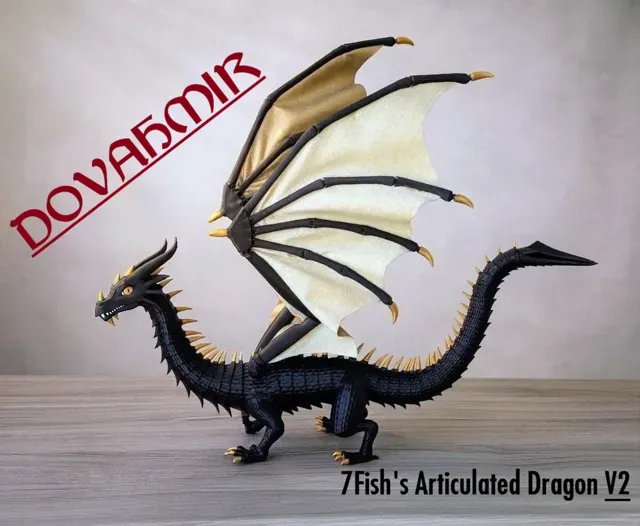
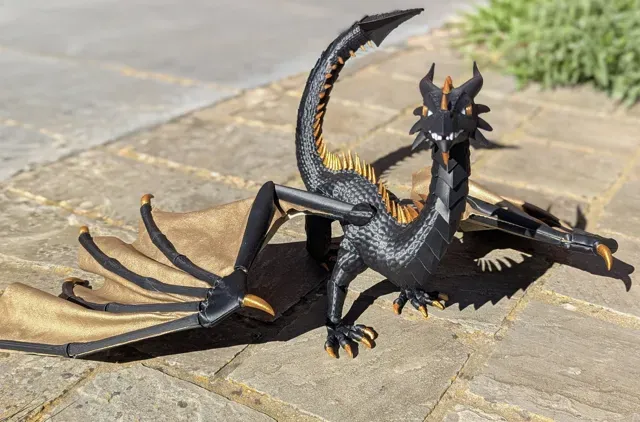
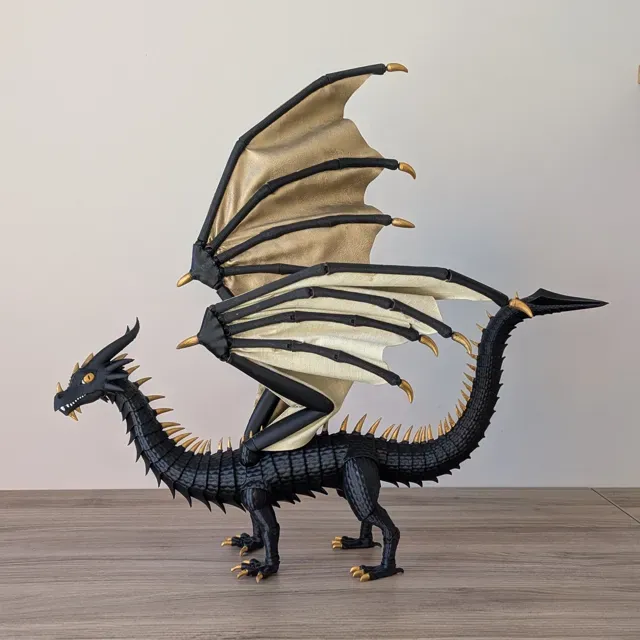
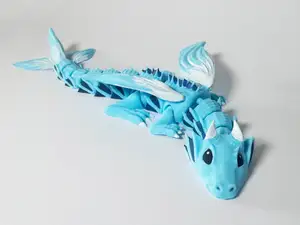
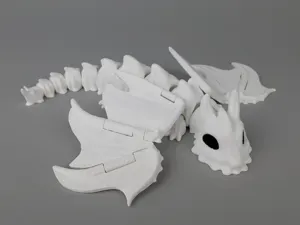
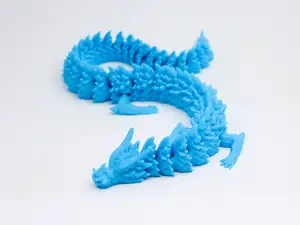
Draconic - Winged Articulated Dragon
MakerWorld
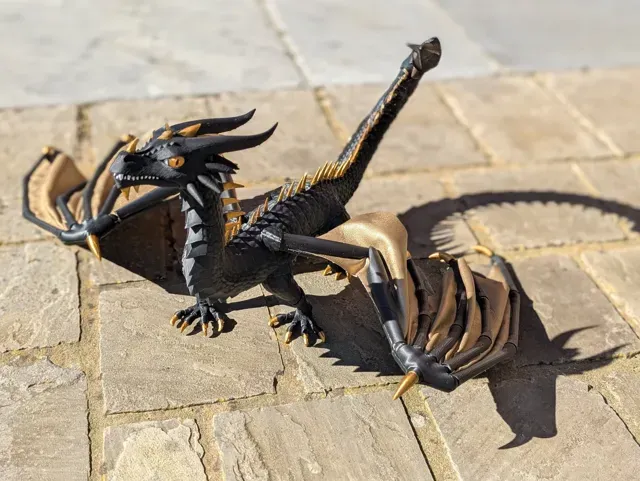
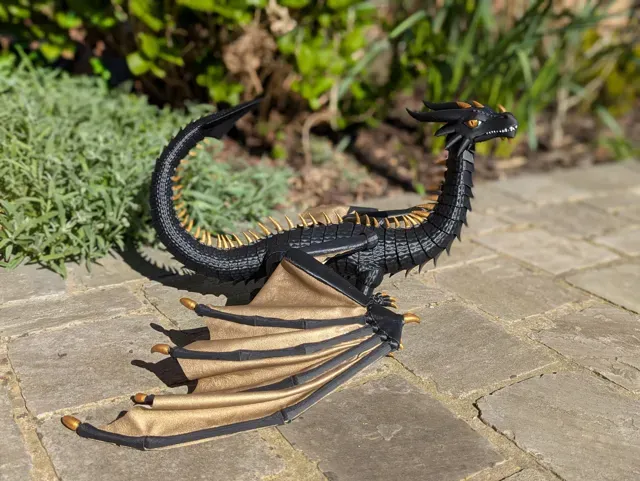
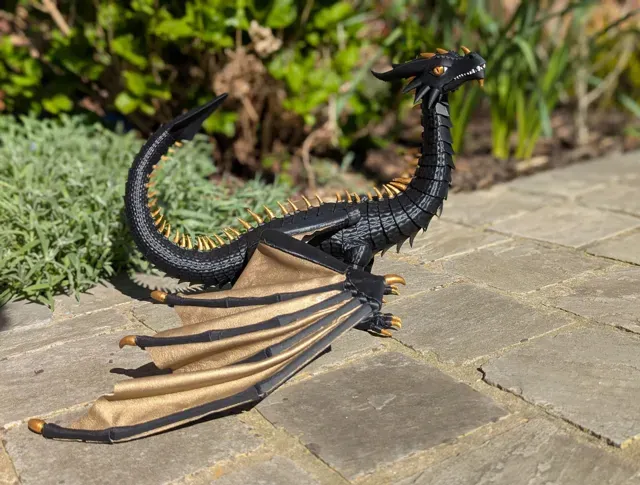
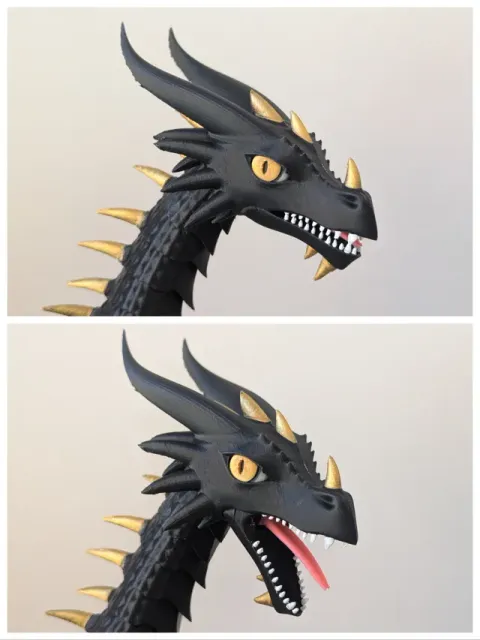
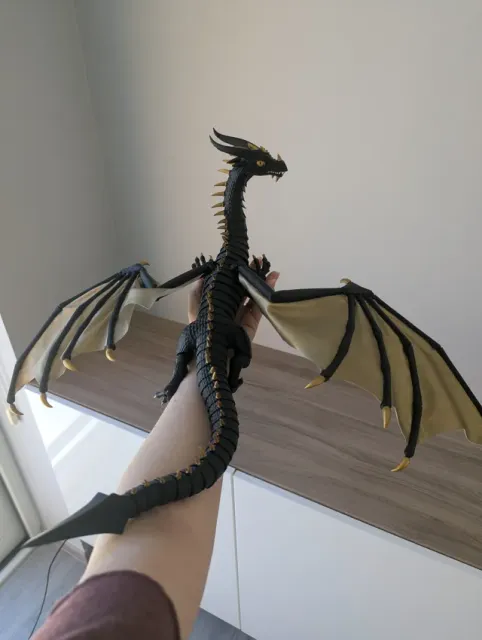
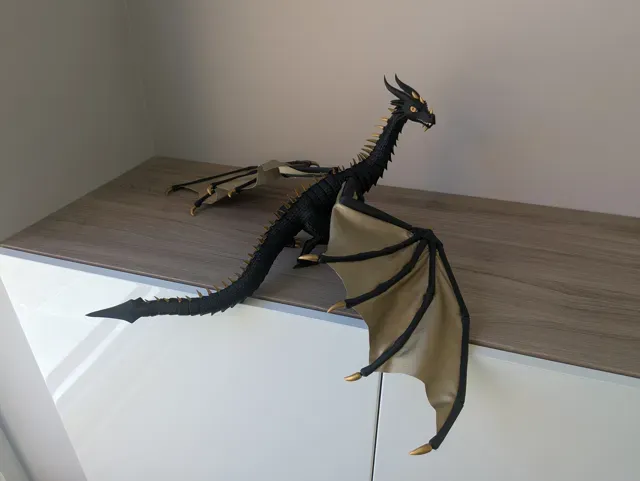
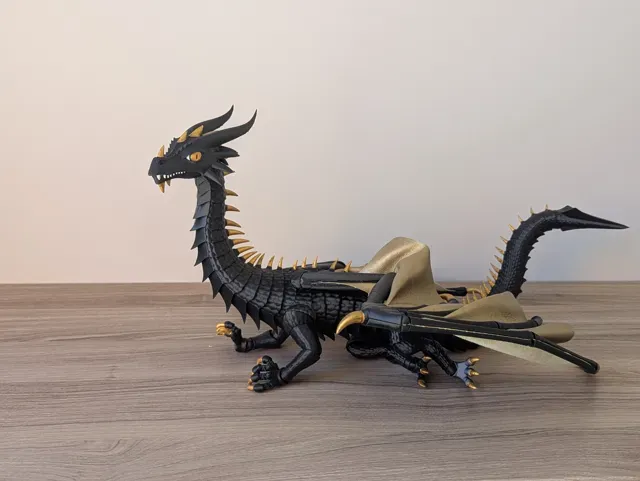
🔥 Before you continue: 🔥
THIS IS A HEAVILY MODIFIED REMIX.
THE ORIGINAL IS CALLED “ARTICULATED DRAGON SEVEN POINT FIVE AND NINE” BY 7FISH ON THINGIVERSE.
I take NO credit whatsoever to the design , the original artist did an amazing job back in 2018. The original dragon was uploaded to Thingiverse under the "CC BY-NC-SA" license (" Creative Commons - Attribution - Non-Commercial - Share Alike "), please check out the license for more information.
Boost Me I get it, it's weird for me to put up a boost-me box despite it being a remix, but hear me out! Although I'm not the original designer, I still spent a remarkable amount of my spare time into modifying all the parts. I do this because I find it very gratifying and I just really like fixing things. If you're happy with this remix and you feel like giving something back, even just a simple thank-you, or a photo of your finished dragon, then that would 100% make my day. About the remix 🐲
Anyone who ever made " Seven the Articulated Dragon " or " Articulated Dragon Seven point five And Nine " by 7Fish on Thingiverse knows how difficult it is to print AND assemble. Some parts of the model sometimes had slicer errors, some parts like the ball joints were a real pain to assemble or even kept breaking during assembly, when printing multiple parts you had to keep close track of the order of assembly because the neck and tail parts all look so similar,... There were many issues that made it difficult to get a successful dragon.
I printed one such dragon, I made the mistake of printing it in tricolor silk PLA (IYKYK), and despite the end result being a beautiful dragon, I never even managed to get the wings right and it took me about a month to finish. It also gave me bruises on my hands. The whole thing just felt very exhausting to do. I made my first dragon over 2 years ago, even started writing a manual on how to assemble everything, but never finished the manual because of how difficult and discouraging it was to assemble.
So! I decided that I would modify the dragon. I've made improvements that make it so much easier to assemble and almost eliminate the need to reprint some parts. It's still a lot of work, but assembly has definitely gotten easier. Parts will no longer break during assembly, as long as you follow the assembly instructions and print the parts using the 3MF files provided. If you insist on downloading all parts separately, then please take a look at the bottom of the description for the general must-have settings that you need to apply to your project if you want to prevent mistakes.
This project is constantly improved, meaning I still often do test prints to ensure the best print settings and make updates on the print profiles accordingly. If you use a different setting than what I provided, but you find it to have better results, then please let me know what you changed, what you printed with, and what the result was so that I can further improve the print profile for everyone.
The majority of the modifications have been done using Bambu Studio because I don't know enough about Blender yet, but some minor mesh fixes were done with Blender. I'm not good with 3D modeling software, but I'm excellent in using Bambu Studio! It kind of feels like using MS Paint to draw the Mona Lisa: it's entirely possible, it just takes more time. But anyway, like 98% of the changes were done using Bambu Studio. Special thanks to Bambu Academy because the advanced course made this possible. There really is a lot you can do with just the slicer, this project is great proof of that.
Also just a heads-up to anyone who plans on inspecting the parts in Blender (or similar software): yes, I know the insides of the ball joints are a bit weird. Like I said, I did almost everything in Bambu Studio. The only thing that mattered to me is if it would print and if it would be easier to assemble, and I met those two requirements, so apologies for the weird insides of the parts (which again, won't be seen during printing). They don't impact the print quality of the functionality of the parts at all .
Why Dovahmir? 🐉
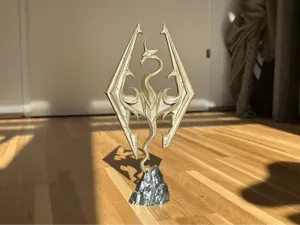
The dragon reminds me of the dragons from The Elder Scrolls V: Skyrim , so I wanted to give it a name that was written in Dovahzul (" Dragon-Voice ", the dragon language). Skyrim is also of my favorite games.
- Dovah means dragon - Mir means strong, allied, loyal So basically, Dovahmir means strong/loyal dragon .
What changed? 🤷
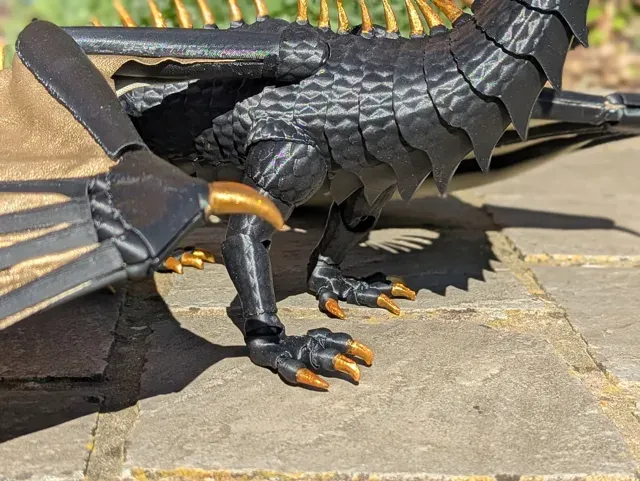
- All parts : upscaled everything to be 25% bigger - Head : modified ball joint - Eyes : eye clip has been included and upscaled to be 25% bigger - Front foot : changed ankle joint to cup-and-ball type - Back leg, top part : merged ball joint and leg part to make it a single piece - Back leg, middle part : upscaled size by another 1% for tighter fit - Back leg, bottom part : merged ball joint and leg part to make it a single piece - Back foot : - upscaled size by another 1% for tighter fit - changed ankle joint to cup-and-ball type - made an alternative version with jointed toes - Toe joints: - upscaled size by another 1% for tighter fit - made an alternative version to allow for more movement range - Neck parts 1 to 13 : - modified sockets and ball joints - added numbers on the inside for easy identification of parts - Body parts 1 to 6 : - modified sockets and ball joints - added numbers on the inside for easy identification of parts - Tail parts 1 to 20 : - modified sockets and ball joints - added numbers on the inside for easy identification of parts - Tail part 21 : modified socket - Wing template : NOT YET FINISHED, STILL NEEDS NEW HOLE LOCATIONS - Wing connector : - split into half for easier assembly and added snap connectors - fixed claw to top of wing connector - modified sockets to ball joints - Lower and upper wing arm : modified sockets and ball joints - Wing bone A, B, C, D : - merged all parts of A, all parts of B, all parts of C and all parts of D together - modified ball joints - Wing end tip : added ball joint - Containers : created sorting / organising containers to help keep things tidy
The containers to sort the parts in were created with MakerWorld - Make My Desk Organizer .
Items required for assembly 🪛
You will need:
- galvanized iron binding wire, Ø 1,5 mm - plastic glue for PLA - small cutting pliers - long skinny pliers - sandpaper or needle files (a manicure nail file buffer also works) - optional: protective gloves and protective eyewear - heavily suggested: cool plate SuperTack Why iron wire? Because without it, your dragon will be a floppy mess and you might as well call it a flexi dragon. You will need a wire to be able to get it to pose. I suggest 1.5 mm, I tried it with 1.2 mm and that's just not strong enough. You can find iron wire in a hardware store or a garden centre.
Why protective gloves? Because let me tell you, those spikes hurt, the teeth bite, the horns are sharp. You're assembling a dragon here, you can expect it to be a bit feisty.
Why protective eyewear? Because when you want to use cutting pliers to cut off a small piece of support here and there, the last thing you want to see is a piece flying straight towards your eyeballs. I was lucky to be wearing my prescription glasses. Also that iron wire needs to be cut to a certain length and I nearly scratched my face with it when I was trying to straighten the wire. So I strongly suggest you wear some form of eye protection.
Why a cool plate SuperTack? Doesn't have to be this exact one, can also be another brand as long as it's a plate that is known to be super sticky. On to the why: because for some parts (I'm looking at the wings here), using any other plate ended in failure, and I had flawless results with the cool plate SuperTack. That's why. If you're good with printing the wings on any other plate, great! You do you, you know your printer better than I do. But if you want to be absolutely sure that it'll stick, use this one. Don't hold me accountable for bed adhesion issues please.
Post-printing 🛠️
If you plan on just assembling it without painting, then there's very little post-processing. Maybe a little sanding here and there.
If you plan on painting some parts, then there's quite a bit of post-processing. I've made organiser trays to keep all parts nicely organised, it definitely helps with keeping track of all the parts! I use it for easier assembly.
I did not use a primer before I painted the parts, in my opinion paint seems to stick pretty well on PLA. I used Valejo paint and sometimes basic acrylic paint. I did put on a sealant after all painted parts had dried, to keep the paint from chipping. It is definitely good to do so with the eyes. A glossy sealant is perfect for those. If you have an AMS then you can do a multicolor print of the eyes, too.
Assembly
Fairly straightforward! I'm still in the process of writing a proper manual, but in the meantime, you can start printing your dragon and by the time you're done I'll maybe (or rather hopefully) be done with the manual. If I may suggest: print the trays first, then print all other parts. It makes it SO MUCH EASIER to keep track of all the parts. For now, here's the assembly in broad lines.
Before anything, wear protective goggles. Cut 70cm of iron wire, the iron wire needs to be Ø 1,5 mm. Keep this wire as straight as possible. Insert the wire through the neck of the head, through the mouth of the dragon. When it's out of the mouth: bend that end of the wire into a U-shape, as short of a bend as you can make. Push it back into the mouth, and use skinny pliers to push the short bend into the other hole in the mouth. Pull the wire on the other end at the same time, get that bend fixed in the head as best as you can.
With the wire in place, now's a good time to fix the eyes. Insert the eyes into the head, use long skinny pliers to put them in place. You can use putty to fix them into the head (like the type of putty to stick posters or pictures on your walls, or eye putty made for ball jointed dolls), or use the included eye clip. You'll definitely need the pliers if you use the eye clip. You'll also curse a couple of times because this is finicky. Once the eye clip is in place, add a few drops of PLA glue to keep it in place.
Add the tongue to the lower jaw, if it can lay flat inside the jaw then you did it right. Click the lower jaw into the head. You'll know that it's in correctly if you can close the mouth without the dragon having an underbite.
We'll make groups of the neck parts first, then assemble them to the head group by group. If you use the print profile I provided, then the neck parts will be numbered on the inside for easy identification.
Connect neck parts 01 and 02 (group 1). Connect neck parts 03 and 04 (group 2).
Connect neck parts 05, 06, and 07 (group 3).
Connect neck parts 08, 09 and 10 (group 4).
Connect neck parts 11, 12 and 13 (group 5).
Slide group 1 over the wire and firmly push it onto the ball joint of the head until you hear it snap together. Repeat this with groups 2, 3, 4 and 5. Now you have a head and a neck. Here's an image of what it should look like (this was a prototype so it is missing the eyes):
Next up: the body.
Start with Body01, slide it over the wire and pop it into place. Do the same for parts 02, 03, 04, 05 and 06.
Dovahmir - optimal settings This print profile was made with very specific settings for an optimal result, please use this one.
Dovahmir - organisers Organisers only
Dovahmir - optimal settings - A1 mini Print profile just for the A1 mini.




Названия используются только для указания источника результата. Polyzon не аффилирован с перечисленными площадками.