
Бесплатно 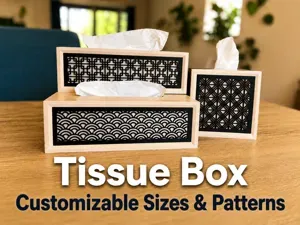
Customizable Multi pattern Tissue Box
MakerWorld
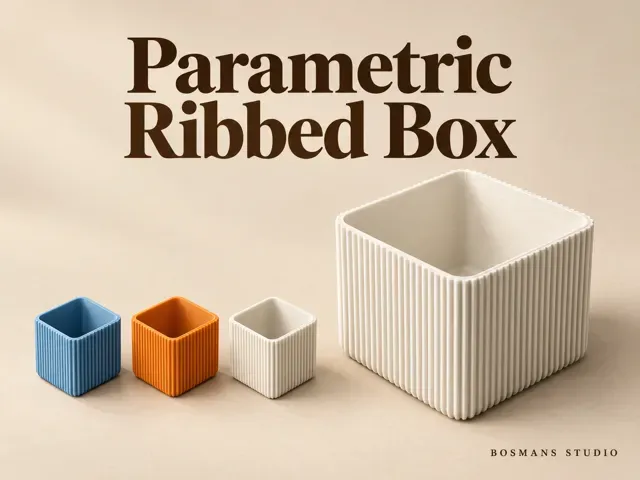
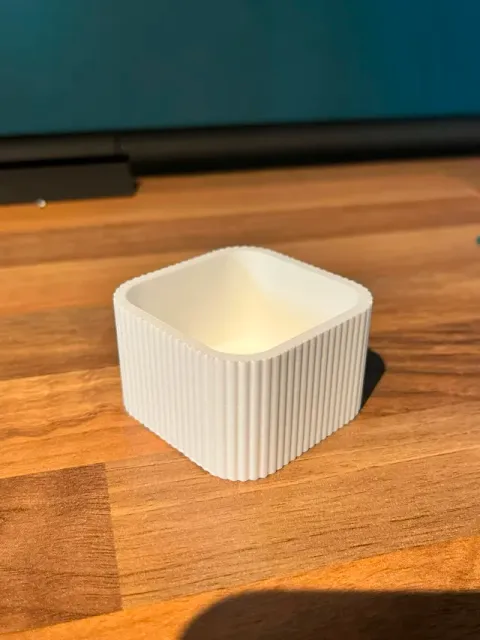
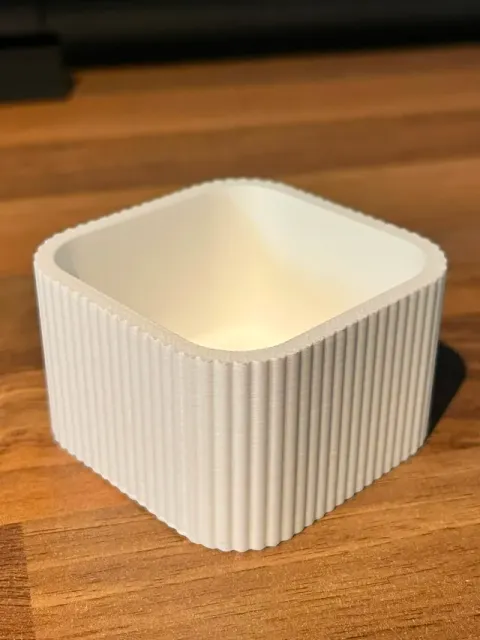
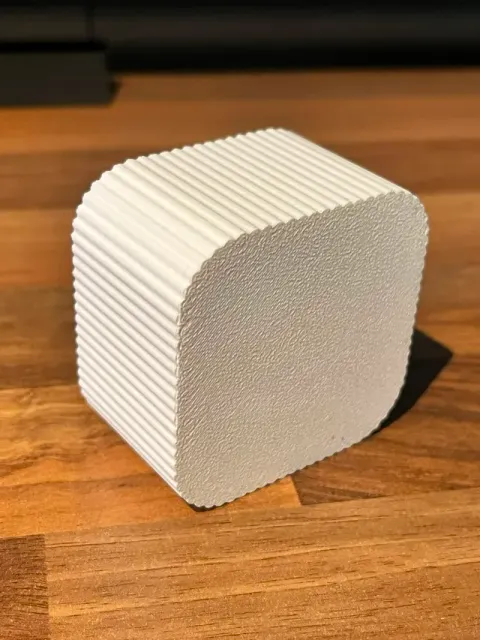
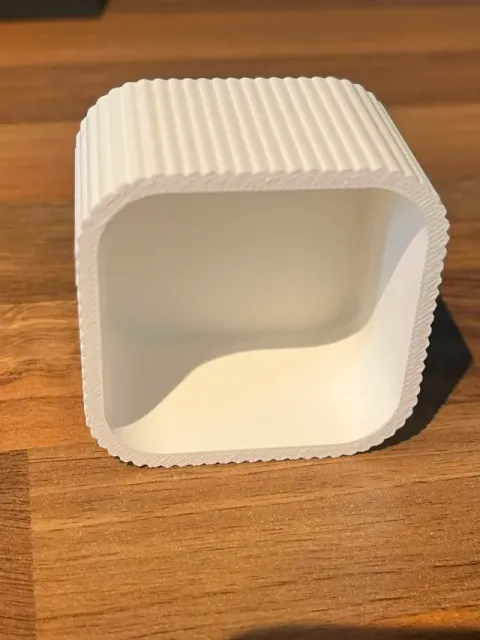
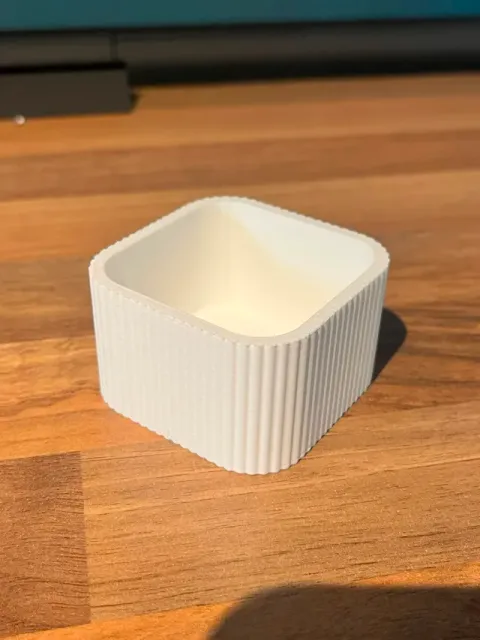
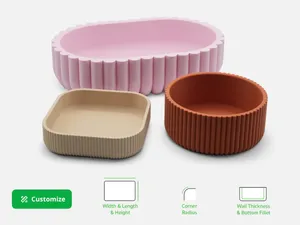
Parametric Ribbed Box Design
I couldn't find a fully parametric ribbed box that allowed me to easily customize every important dimension while keeping the ribbed design adjustable. So I decided to create one myself.
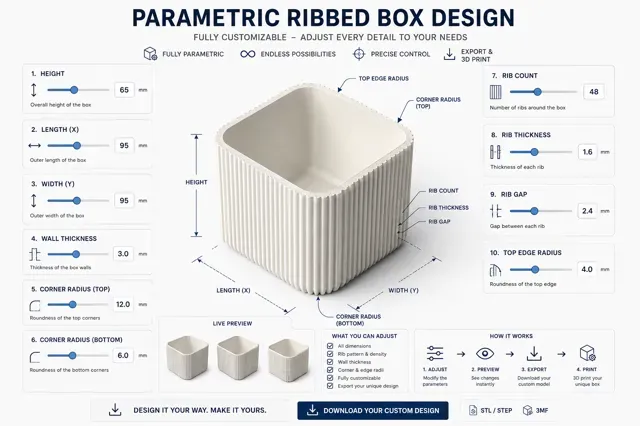
This model is fully parametric , allowing you to customize the width, length, height, corner radii, and rib pattern to create a box that perfectly fits your needs.
Whether you're making a desk organizer, storage box, planter, or simply experimenting with different designs, this model gives you complete control over the final result.
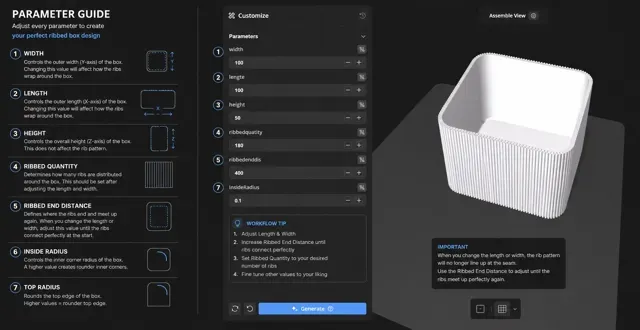
Because the ribs wrap around the entire model, the order in which you adjust the parameters is important . Following the steps below will give you the best results.
How to Customize
Step 1 — Width
Start by adjusting Width .
This changes the overall width of the box. Since the rib pattern is distributed around the entire perimeter, changing the width may cause the ribs to no longer line up perfectly where the pattern starts and ends.
Don't worry about that yet—we'll fix it later.
Step 2 — Length
Next, adjust Length .
This changes the overall length of the box and, just like the width, affects the total perimeter.
After changing the length, you may notice that the rib pattern no longer connects perfectly at the seam.
This is completely normal. Ignore it for now.
Step 3 — Height
Adjust Height to the size you want.
This only changes the height of the box and normally does not affect the rib alignment around the perimeter.
Step 4 — Ribbed End Distance (Most Important)
This is the most important parameter.
Ribbed End Distance determines where the rib pattern finishes.
After changing the width or length, the ribs may no longer meet perfectly. Increase or decrease the Ribbed End Distance until:
- the first and last rib line up correctly; - there is no visible gap at the seam; - the rib pattern wraps smoothly around the entire box. Take your time with this step—it only takes a few seconds and ensures a perfect result.
Step 5 — Ribbed Quantity
Only adjust Ribbed Quantity after the Ribbed End Distance has been corrected.
This parameter controls how many ribs are distributed around the box.
- Lower values create fewer, wider ribs. - Higher values create more, finer ribs. Choose the amount that looks best for your design.
If you make a very large change to the rib count, you may need to make a small adjustment to Ribbed End Distance afterwards.
Step 6 — Inside Radius
The Inside Radius controls the roundness of the inside corners.
- Smaller values create sharper corners. - Larger values create smoother, more rounded inside corners. Step 7 — Top Radius
The Top Radius controls how rounded the upper edge of the box is.
- Small values create a sharper edge. - Larger values create a softer, more premium-looking finish. Recommended Workflow
For the best results, adjust the parameters in this order:
- Width - Length - Height - Ribbed End Distance - Ribbed Quantity - Inside Radius - Top Radius Following this workflow ensures the rib pattern stays clean and perfectly aligned.
Printing Tips
- Always check the preview after making changes. - Pay special attention to the seam where the rib pattern starts and ends. - This model is designed to print upright and generally does not require supports . - A 0.20 mm layer height works great for most prints, but feel free to adjust your print settings to suit your printer and material. Membership If you enjoy my free designs, consider joining my Membership. Your support helps me continue creating and sharing free models with the community. Thank you! ❤️ Boost Me Thanks for checking out my model! If you like it, a Boost is greatly appreciated. It helps me create more free designs. 😊 If you enjoy this model, I'd really appreciate a like ❤️, download 📥, or rating ⭐ on MakerWorld.
I'd also love to see your creations, so don't forget to upload your Makes and share your customized ribbed box with the community! Happy printing! 🚀
0.12mm layer, 2 walls, 15% infill

Названия используются только для указания источника результата. Polyzon не аффилирован с перечисленными площадками.