
Бесплатно 
Parametric Desktop Organizer
MakerWorld
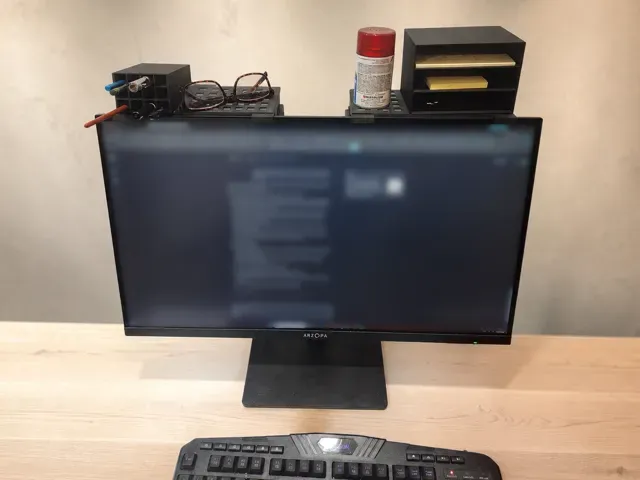
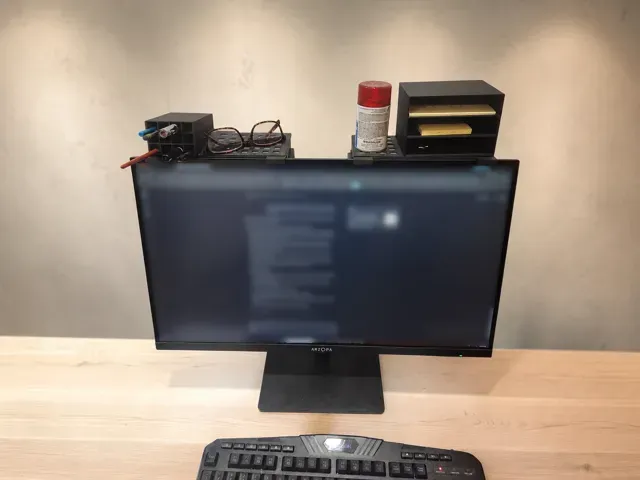
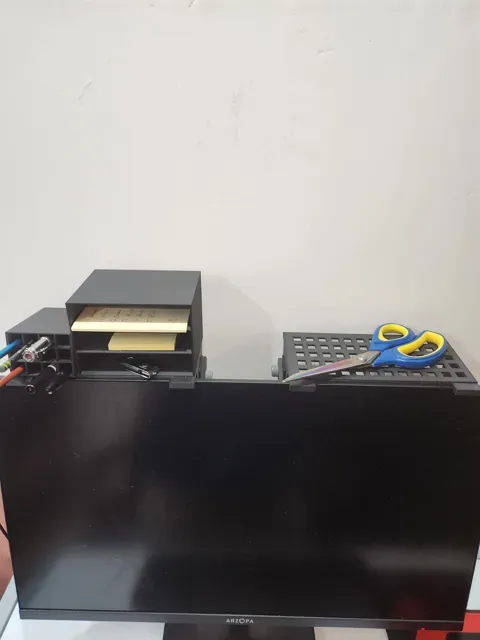
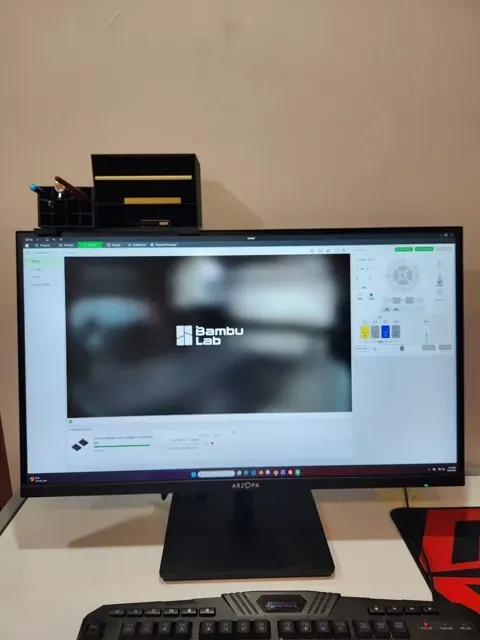
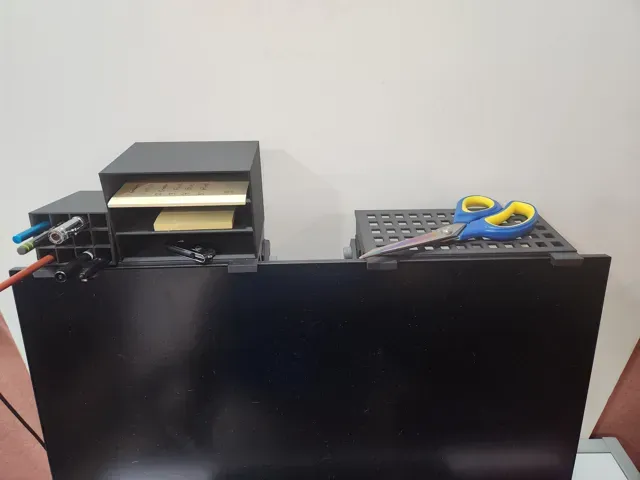
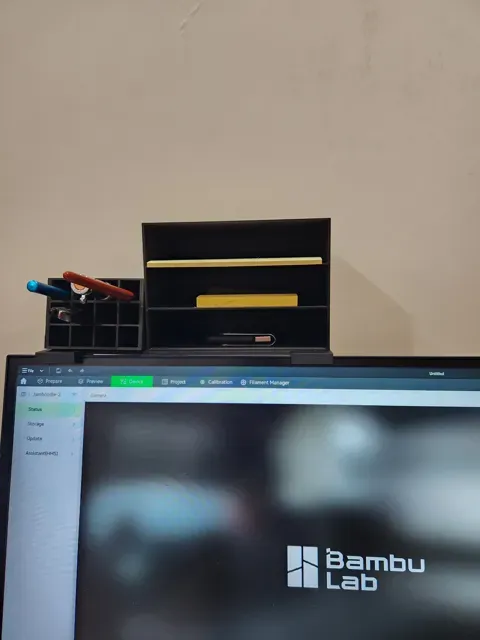
Modular Monitor Shelf & Storage System
Transform the unused space above your monitor into a clean, organized workstation! This Modular Monitor Shelf & Storage System is designed to maximize desk space while keeping your everyday essentials within easy reach.
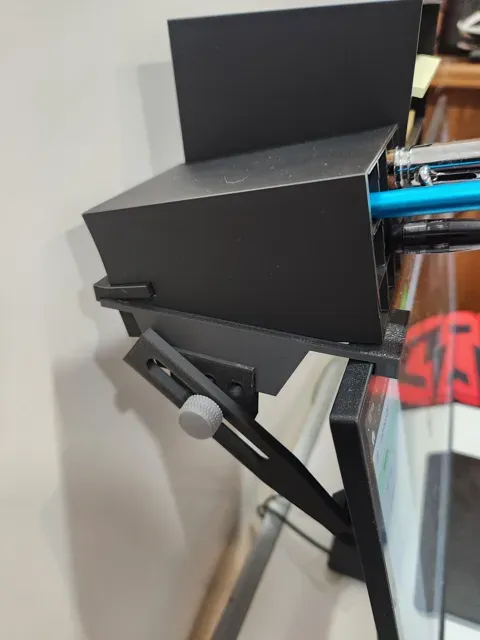
The system securely mounts to the top edge of most flat-panel monitors using an adjustable clamping frame, requiring no permanent modifications. Once installed, the modular design allows each accessory to be positioned wherever it works best for your setup.
Included modules can be arranged in countless combinations, including:
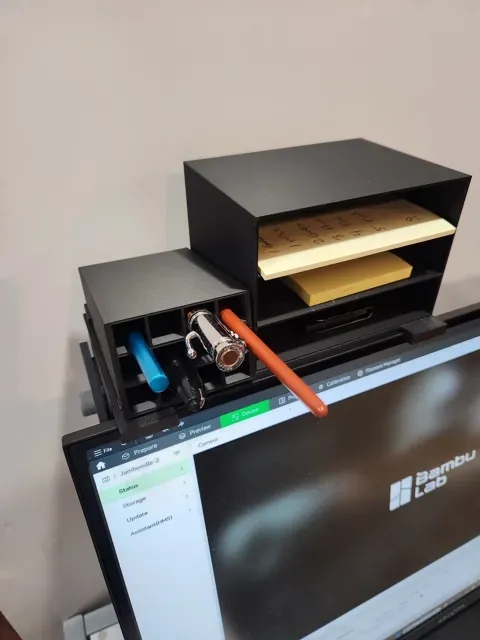
- 🖊️ Pen and marker organizer - 📝 Sticky note holder with multiple shelves - 🧺 Universal utility trays for everyday items - ✂️ Tool tray for scissors, glasses, remotes, or other accessories Because every module slides into the mounting frame independently, you can easily swap their positions, remove pieces you don't need, or design your own custom accessories using the same mounting interface.
Whether you're organizing an office, workshop, classroom, or gaming setup, this system keeps frequently used items off your desk while making use of space that normally goes unused.
Features
- Modular and fully reconfigurable - Adjustable to fit a wide variety of monitor thicknesses - No adhesives required - Compact design keeps desk clutter to a minimum - Easy to print with minimal hardware - Expandable—design and add your own modules - Strong enough for everyday office supplies Membership Want to print and sell this design? Purchase Commercial License here Boost Me If you appreciate this model remaining free please consider giving it a like and maybe a Boost. Be sure to post your print in the comments for everyone to see.
Please check out my other work: Jamboodle
Thanks for looking and Happy Printing!
Assembly Instructions
Hardware Required
- 2 printed adjustment arms - 2 knurled thumb screws - 2 threaded inserts (or embedded threaded nuts depending on your version) No additional hardware is required if your printed parts already contain the threaded inserts.
Step 1 – Install the Threaded Blocks
Slide one threaded block into the slot underneath each end of the main frame.
The slotted portion should face upward as shown in the photo.
Step 2 – Attach the Adjustment Arms
Place one adjustment arm against each threaded block.
Insert the thumb screw through the slot in the arm and thread it into the block.
Do not fully tighten yet.
The slot allows the arm to slide and pivot for different monitor thicknesses.
Step 3 – Adjust for Your Monitor
Place the frame over the top edge of the monitor.
Slide both adjustment arms upward until they firmly contact the rear of the monitor.
Tighten the thumb screws evenly until the frame is secure.
The monitor should be held firmly without excessive pressure.
Step 4 – Install the Modules
Each accessory has a mounting rail on the bottom.
Align this rail with any of the slots on the top frame.
Slide the module straight down until it seats completely.
Modules can be installed anywhere along the frame.
Assembly of pencil holder: slide retainer into body paying attention to the orientation of the clip
Step 5 – Install the Trays
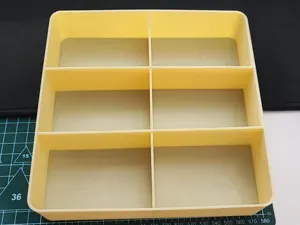
The utility trays use the same sliding rail system.
Simply slide each tray into an available slot until fully seated.
The trays may be repositioned at any time.
Step 6 – Organize Your Workspace
Arrange the modules however you like.
Some example layouts include:
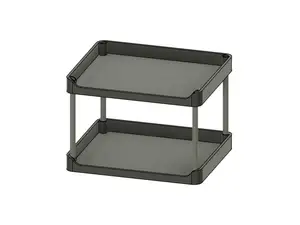
- Pen holder + sticky note organizer + tray - Two trays with a center organizer - Storage cube + large tray - Office setup on one side with tool tray on the other Because every module is independent, you can completely change the layout in seconds.
Complete Starter Kit Includes all basic parts






Названия используются только для указания источника результата. Polyzon не аффилирован с перечисленными площадками.
Комментарии