
Бесплатно 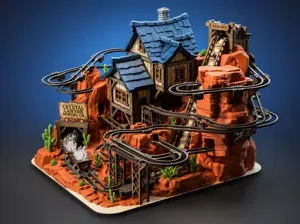
Crystal Canyon Mine – Marble Run
MakerWorld
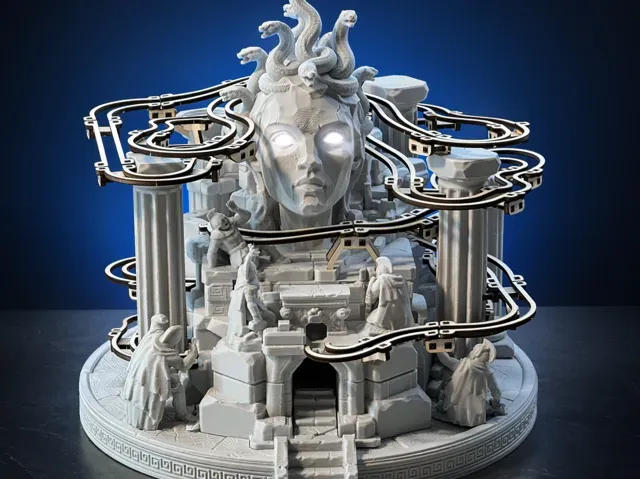
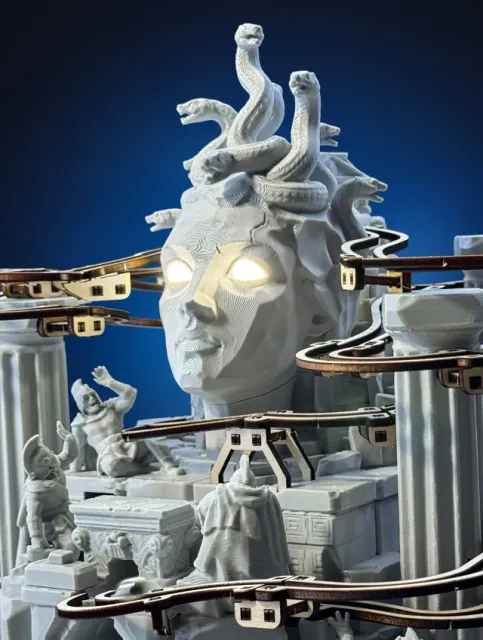
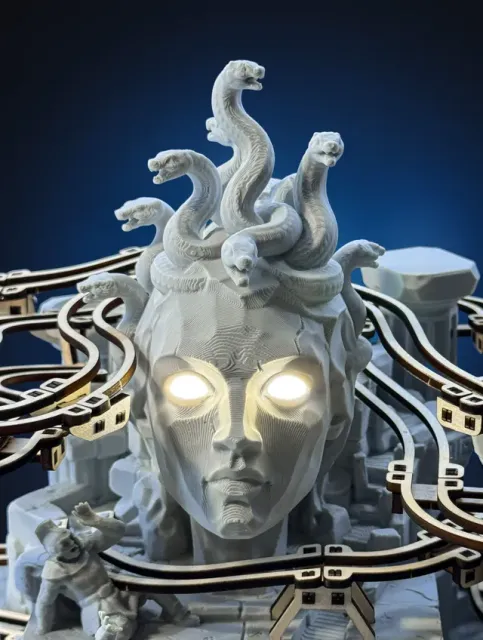
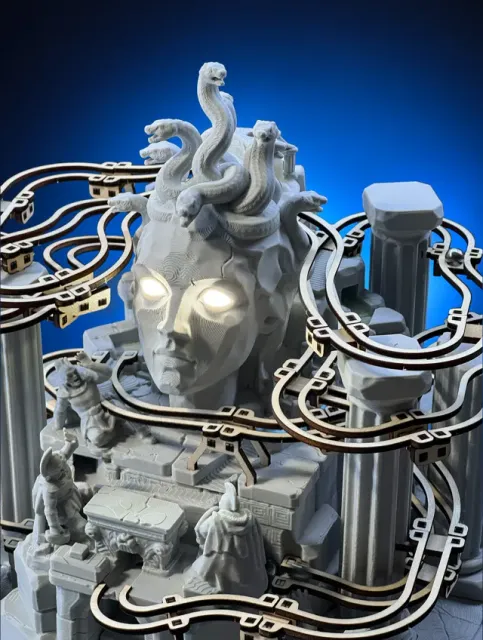
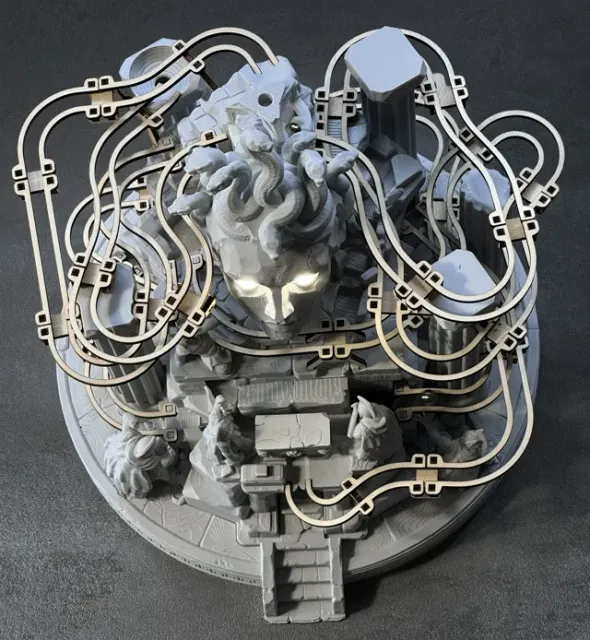
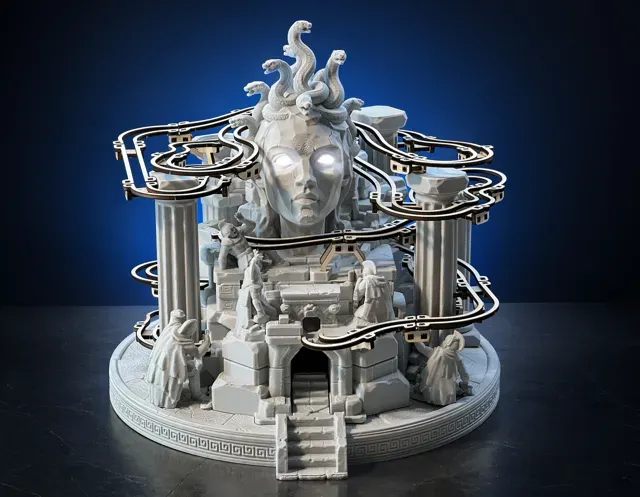
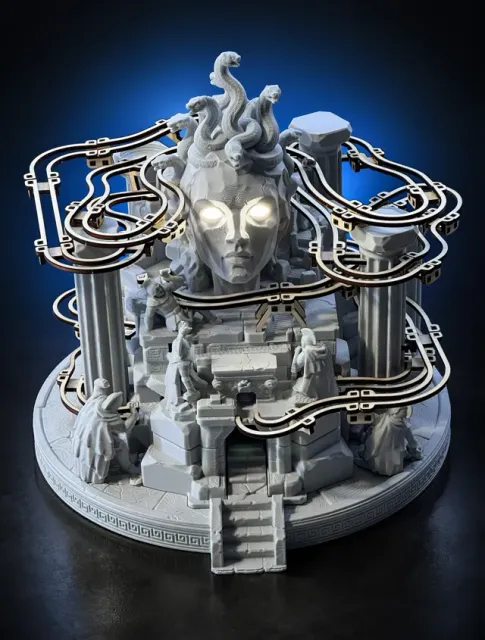
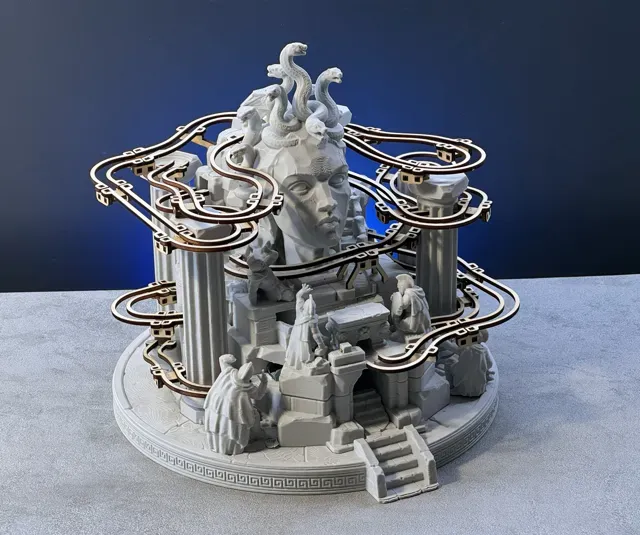
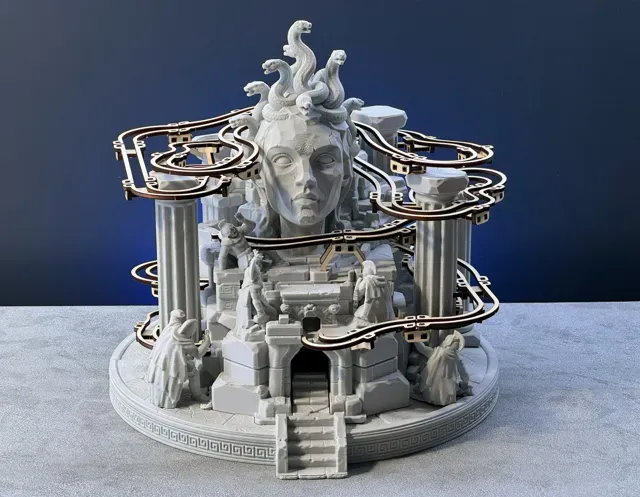
Enter Medusa’s Temple - a motorized hybrid marble run inspired by Greek mythology, combining 3D-printed parts with laser-cut wooden tracks.
Marbles travel through three different routes, winding through the ruined garden, past serpents and warriors who have been turned to stone.
At the center waits Medusa herself, watching over the entire run with glowing eyes.
Can you withstand Medusa’s gaze?
Features
- Hybrid 3D printed stone + laser-cut wooden tracks - 3D Printed Tracks also available - for a 3D Print only Build - Motorized 3 sided marble lift - 3 different marble routes - Glowing Medusa eyes - Battery powered - 4x AAA - Simple Maker's Supply Electronics Materials
For the stone parts, I recommend:
- Bambu PLA Basic – Light Gray (10104) - Or try it with a Marble PLA For the wooden tracks:
- 3 mm basswood - Or any other suitable 3 mm wood sheet And some 8mm Steel-marbles for the Tracks.
Assembly & Tipps
Part 1: 3D Printed Parts & Electronics
First, assemble the 3D printed structure, motorized lift and electronics.
Part 2: Lasercut Wooden Tracks
Guide Part2 is the attached PDF “AssemblyGuide_Tracks_MedusasTemple.pdf”. Once the main structure is finished, the laser-cut wooden tracks are added. All tracks are numbered, making the final assembly easy to follow. The wooden supports and connectors are placed close to their corresponding numbered tracks, so the required parts should be easy to identify during assembly. The numbered tracks starting at the bottom and going more and more up.
All parts are connected to the sheet with small tabs, so they should stay in place when you remove the plate from your laser cutter.
If you have trouble releasing a part, gently press it out from the back using a small blunt object. Avoid using anything sharp, as this could damage the wood.
No Laser Cutter?
No problem!
Fully 3D printable tracks are here.
Assembly Part 2: 3D Printed Tracks
- Keeping track of the parts: It can be difficult to remember which part belongs to which track. When printing, try to keep the parts as organized as possible. Ideally, leave them on the print plate until assembly. If that isn't possible, keep the parts from each plate separated and print the “Medusa_3DPrinted_Tracks_Reference.pdf” You can place the printed parts onto the guide to identify the correct track number. - Printing tolerances: Some of the connections are intentionally quite tight. You may need to use a screwdriver or another suitable tool to carefully push the parts together. It is also possible that some supports won't fit perfectly into the main structure due to normal printing tolerances. That's no problem—simply trim or cut away a small amount of material until they fit. On my build, only three supports needed a little adjustment.
Enjoy the build — and be careful where you look.
Medusa Marblerun V1 All needed supports activated in the 3mf already.
3D Printed Tracks - Medusas Temple V1 The 3D-printed tracks come with two main challenges:
- Keeping track of the parts: It can be difficult to remember which part belongs to which track. When printing, try to keep the parts as organized as possible. Ideally, leave them on the print plate until assembly. If that isn't possible, keep the parts from each plate separated and print the “3D Print Tracks Guide.” You can place the printed parts onto the guide to identify the correct track number. - Printing tolerances: Some of the connections are intentionally quite tight. You may need to use a screwdriver or another suitable tool to carefully push the parts together. It is also possible that some supports won't fit perfectly into the main structure due to normal printing tolerances. That's no problem—simply trim or cut away a small amount of material until they fit. On my build, only three supports needed a little adjustment.



Названия используются только для указания источника результата. Polyzon не аффилирован с перечисленными площадками.