
Бесплатно 
PowerDot Air - Home Assistant Air Sensor Case
MakerWorld
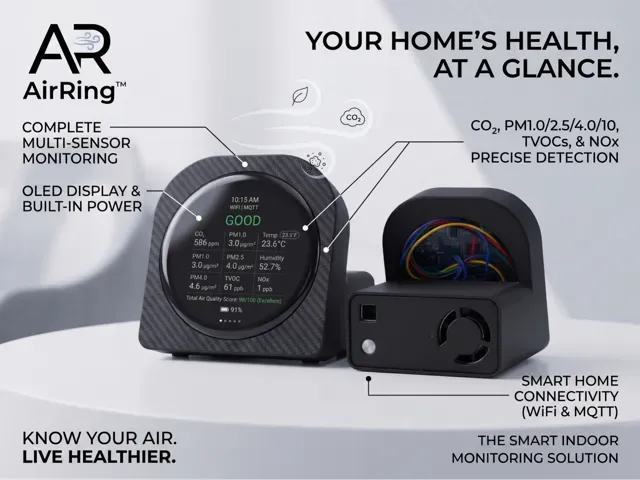
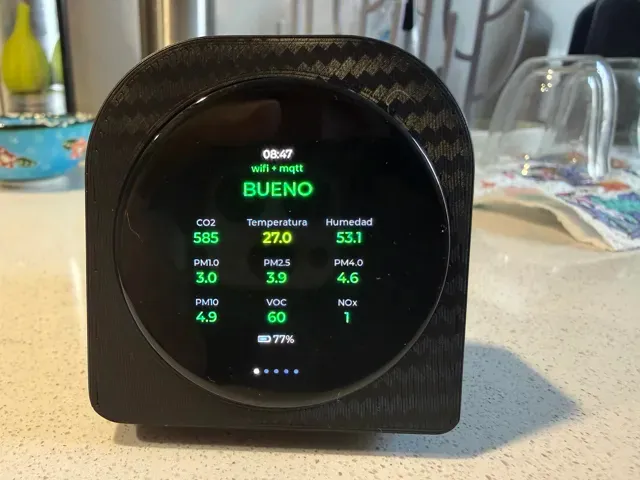
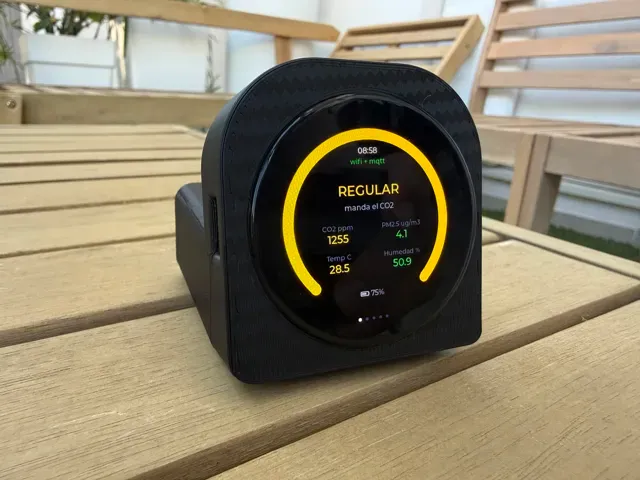
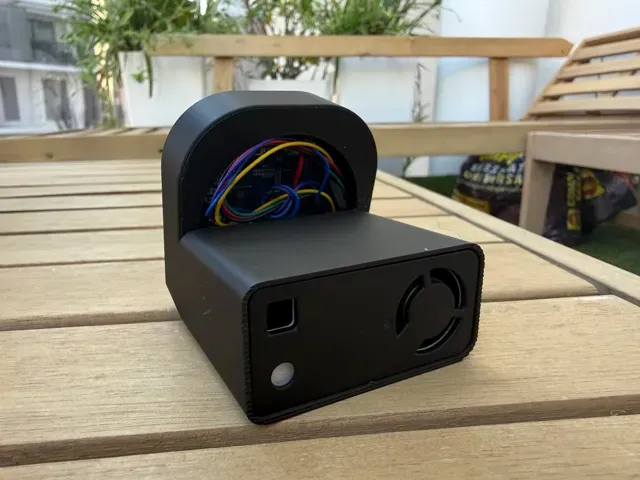
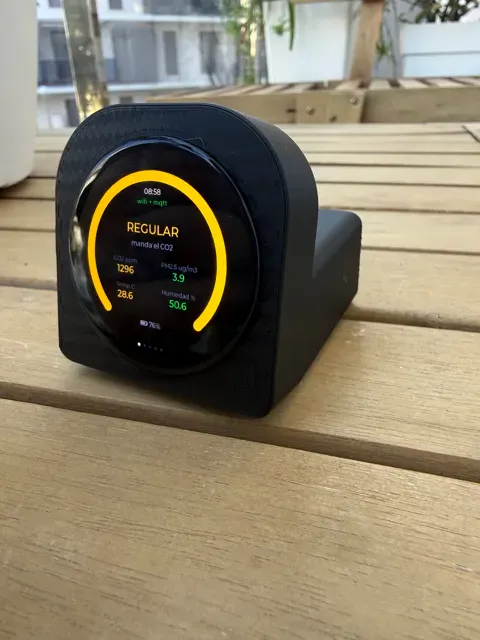
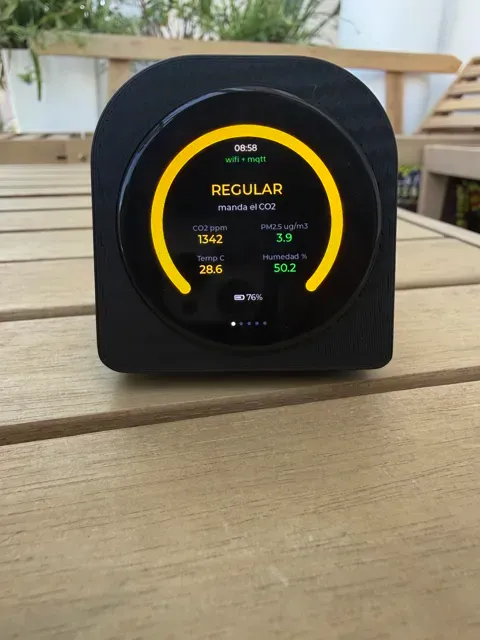
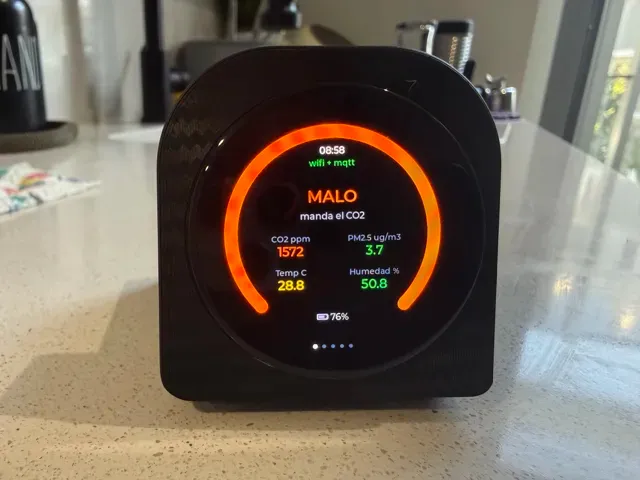
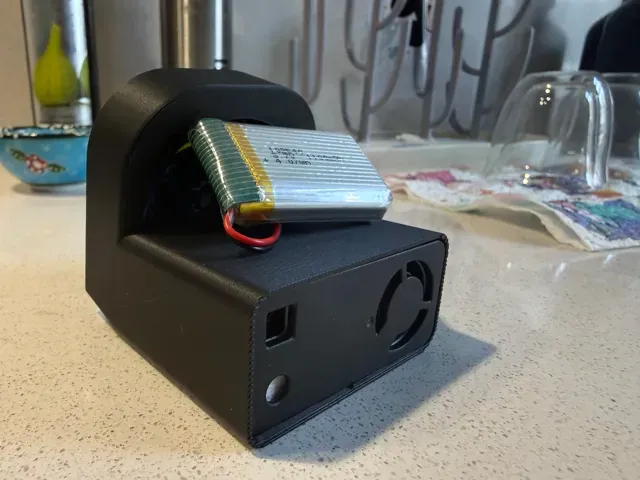
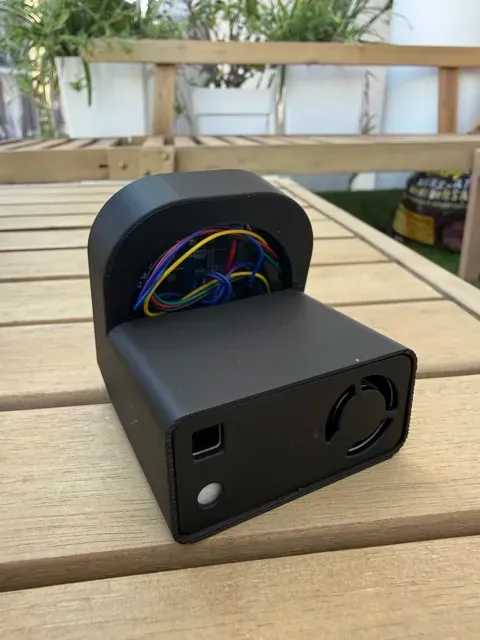
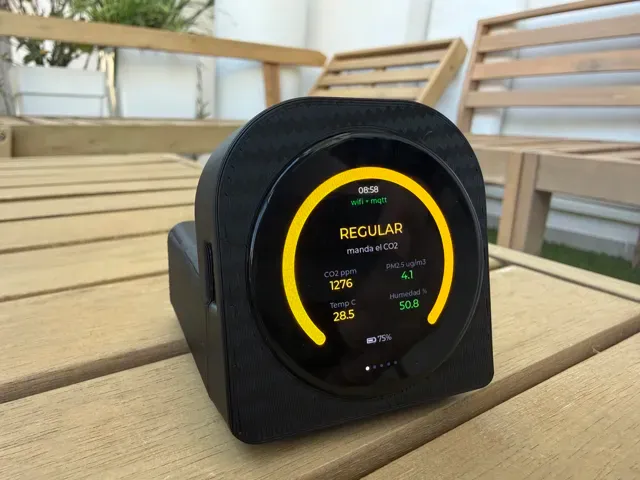
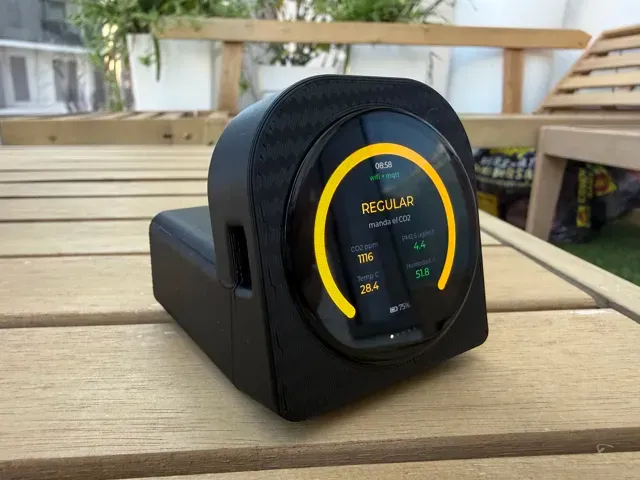
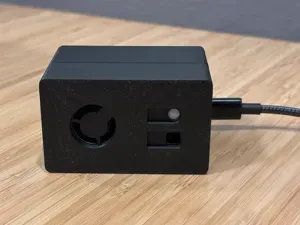
An air quality meter for your desk. It uses a Sensirion SEN66 , which measures nine things at once, and a round AMOLED display you can read from across the room.
It talks to Home Assistant and Apple HomeKit , but depends on neither. If the network goes down, the display keeps measuring. Nothing leaves your house — no cloud, no account, no telemetry.
What it measures
CO₂ ppm — the number that tells you to open a window
Particulates PM1.0, PM2.5, PM4.0, PM10 in µg/m³
VOC / NOx Sensirion indices for volatile compounds and nitrogen oxides
Climate temperature and relative humidity
What it does
- Five pages you swipe through, plus an idle view showing all nine readings at once. The screen turns itself off when you stop touching it and comes back exactly where you left it. - Shows up by itself in Home Assistant. MQTT auto-discovery: eleven entities appear as one device, no YAML. Needs an MQTT broker — see below. - Works with Apple HomeKit through Homebridge — guide and ready-made config included. - Beeps when CO₂ crosses your threshold, with hysteresis so it doesn't nag. - Runs on battery : about 6 hours measured with a 1000 mAh cell, with a power-saving profile that kicks in the moment you unplug it. - The display speaks English, Spanish and German . - Updates over WiFi from its own web panel. Smart home: what you actually need
The monitor works on its own . It shows everything on its screen and keeps its own history — no network, no account, no cloud, nothing to sign up for.
If you do want it in Home Assistant or HomeKit, there is one prerequisite: an MQTT broker on your network. That is normal for MQTT devices, but worth saying out loud rather than letting you find out after ordering the parts:
- Already running Home Assistant? Install the Mosquitto broker add-on, one click. Then the monitor appears on its own — eleven entities, no YAML. - No broker yet? Mosquitto is a two-minute install on any Raspberry Pi, NAS or small Linux box. Step-by-step guide, including the two settings everyone trips over: https://github.com/socquique/Monitor-SEN66/blob/main/docs/MQTT.md - HomeKit goes through Homebridge with homebridge-mqttthing. The accessories are written and tested, ready to paste: https://github.com/socquique/Monitor-SEN66/blob/main/docs/HOMEBRIDGE.md One honest caveat: HomeKit has no concept of a VOC or NOx index , so those two stay on the device's own screen and web panel. Open source, and installed from your browser
The firmware is on GitHub and installs straight from the browser : plug the board in over USB-C, press one button. No ESP-IDF, no Python, no drivers. Needs Chrome, Edge or Opera on a computer — Safari and Firefox don't implement WebSerial.
- Installer: https://socquique.github.io/Monitor-SEN66/flash.html - Source and docs: https://github.com/socquique/Monitor-SEN66 Bill of materials
Qty Part Notes
1 Waveshare ESP32-S3-Touch-AMOLED-1.75 SKU 31261. Round 466×466 AMOLED, touch, display included. The -B and -G variants also fit
1 Sensirion SEN66 SEN66-SIN-T. Ships with its 6-wire JST GH cable; only 4 wires are used
4 Dupont jumper wires, female–female To the board's 8-pin header
3 M2 × 6 mm screws Fasten the board to the bezel ring
1 USB-C cable, data Charge-only cables will not work — this is the single most common problem
Optional
Qty Part Notes
1 1S LiPo battery, MX1.25 connector ~1000 mAh gives about 6 hours. Fits the board's battery header
1 Small 8 Ω speaker, MX1.25 For the CO₂ alert. The board has the connector and amplifier already
Prices and stock vary by country; the distributor links are a starting point, not a recommendation.
Assembly
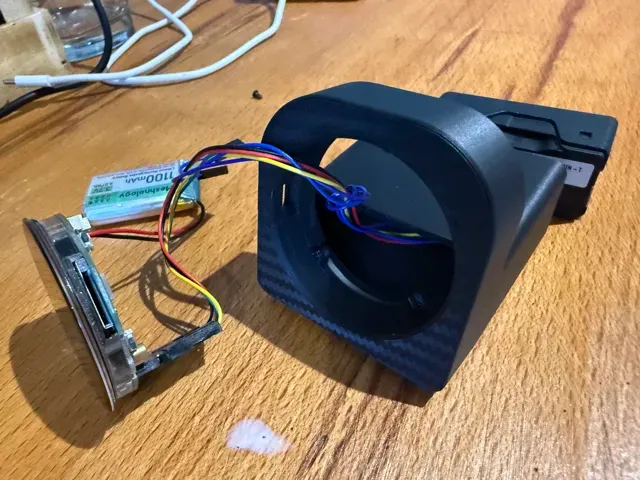
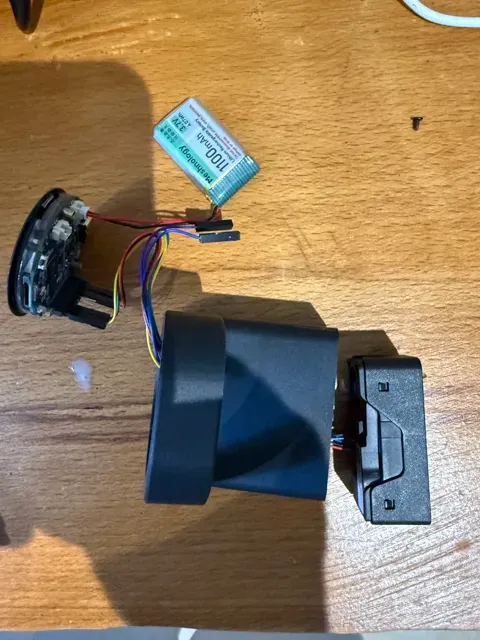
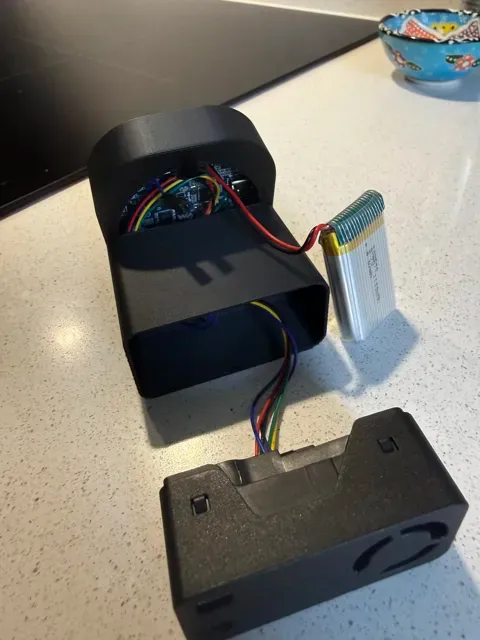
Four wires, no soldering. The SEN66 ships with a 6-wire JST GH cable and only four of them are used.
Go by the label printed on the board, not by pin number. The silkscreen order is not the 1..8 order the official pinout document uses. Reading the 8-pin header left to right, board face down, USB-C on the right:
IO18 · IO17 · IO16 · RXD · TXD · 3V3 · GND · VBUS
SEN66 wire Goes to
red (VDD) 3V3
black (GND) GND
green (SDA) IO17
yellow (SCL) IO18
Blue and violet stay unconnected — inside the sensor they are tied to GND and VDD and carry nothing. Holding the connector with the cable running upwards, pin 1 is the red end.
⚠️ 3V3, never VBUS. The SEN66 wants 3.3 V ±5 %. VBUS is the 5 V rail from USB and it sits two positions from 3V3, at the right-hand end of the header. Getting those two wrong destroys the sensor, and the board's GPIOs are not 5 V tolerant either. Check that one wire twice before powering up.
⚠️ Feed it from a real charger. Sensirion warns of peaks up to 350 mA when the fan spins. A 1 A USB-C supply is fine; a hub port may brown out — the symptoms are random reboots, I2C CRC errors, or fan_error in the status.
The sensor uses IO17/IO18 rather than the board's main I2C bus for a reason: the SEN66 answers at address 0x6B, the same address as the IMU soldered on the board. On one bus they collide, so the sensor gets a bus of its own.
Full diagram, the pins that look free but are not, and the start-up checks: https://github.com/socquique/Monitor-SEN66/blob/main/docs/CABLEADO.md
Then screw the board to the bezel ring with the three M2 x 6 mm screws.
0.24mm layer, 2 walls, 15% infill





Названия используются только для указания источника результата. Polyzon не аффилирован с перечисленными площадками.
Комментарии