
Бесплатно 
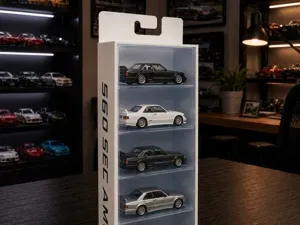
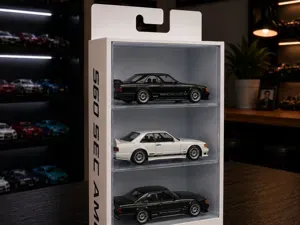
OpenView display for 1:64 and 1:43 !
MakerWorld
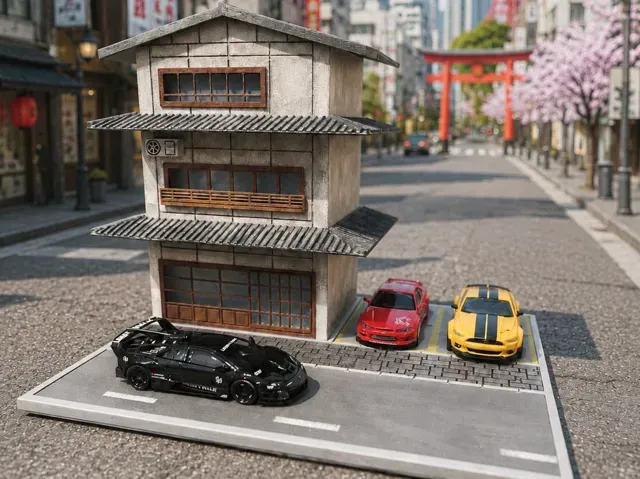
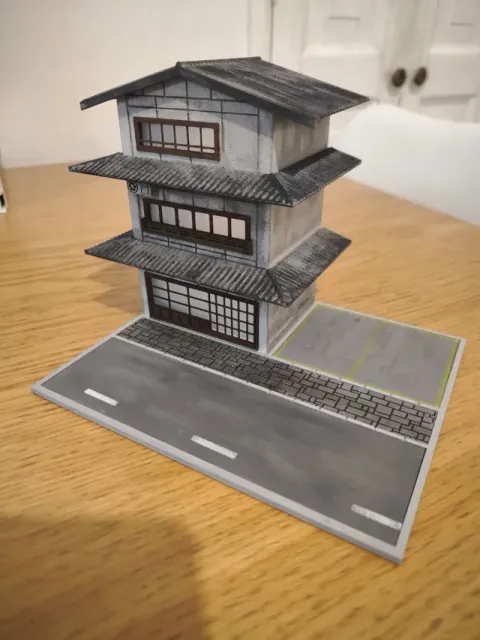
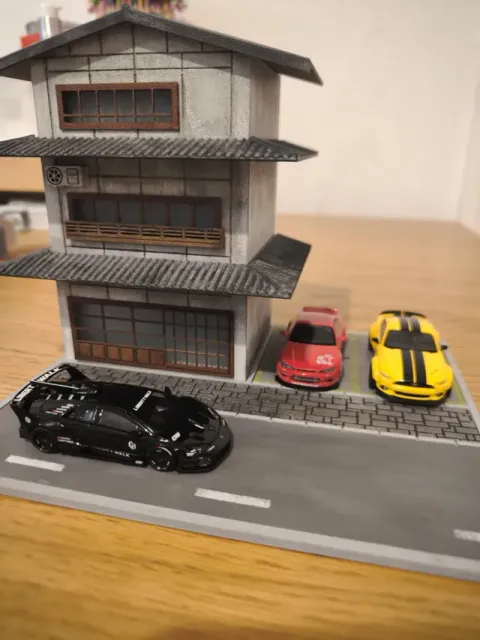
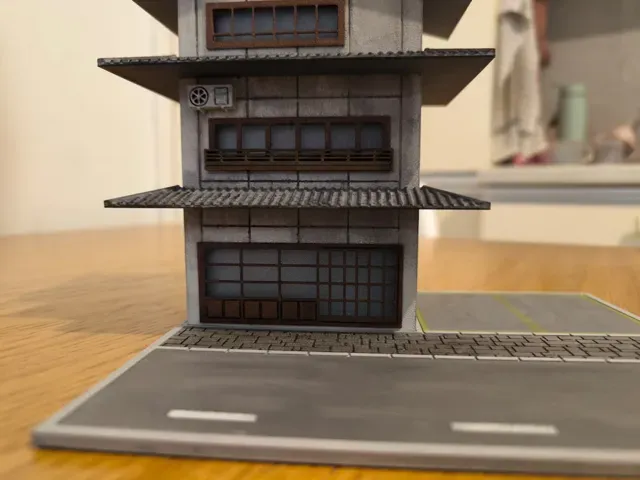
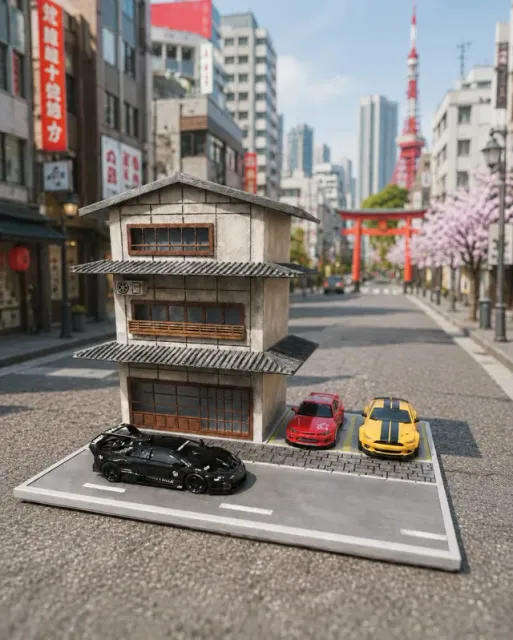
Here is my first design for a Japanese-style building. It is a near-exact replica of a structure I discovered while touring Japan (via Google Maps ^^).
All parts are designed for a snug fit, so glue isn't strictly necessary—though I do recommend using it to ensure the diorama's durability. ;)
If you are configuring your print settings, please set the first layer line width to 0.28. This is very important!
Quick guide...
These are all the parts needed to assemble the model. In my case, they are painted. I’m no expert, but it turned out pretty well ;)
You don’t have to paint the parts yourself. You can use colored filaments ;)
The base consists of 4 parts. You can join them using superglue or double-sided tape. ;)
The files also include details for AMS, as well as a PDF you can use to cut out the road structure! ;) Use whatever technique you prefer!
The roof is a piece of cake. I designed special grooves so you can slide it right into place ;)
You fit the windows into the openings. You can glue them in by applying adhesive to the frame edges, or—if your equipment is well-calibrated—simply press them into place.
I designed a railing for the first floor. You just need to press it into the holes. You can add some glue here, too ;)
The air conditioning is just a single vent!
The roof has grooves, too! So you won't have any trouble setting it up. ;)
The files also include a diffuser panel. You can use white or transparent material, or simply a piece of Plexiglass. This is for cases where you might want to insert an LED or a small memorial candle inside. The effect will be amazing ;)
We simply glue it to the building; connectors wouldn't make sense here ;)
Now, attaching the building to the base. It’s as simple as fitting it onto the special pins. I glued this part down too, but—just like in the previous steps—you can simply press it into place.
You can close the building using the flap at the back; it’s a friction fit. You can change the interior setup or play with the lights at any time ;) If you prefer a different lighting method—like an LED strip powered by USB—you can modify the flap and add a hole for the cable. Have fun! ;)
All done! You’ve just "built" your new Japanese-style home! ;))
The projects I work on are always evolving. I keep coming back to them! I continuously develop and—where necessary—improve them. If you’ve found a bug or want to change or improve something, just leave a comment and we’ll get to work! ;)
List of updates:
Boost Me THX !!!
ALL : 0.2mm layer, 2 walls, 15% infill
AMS Parts : 0.2mm layer, 2 walls, 15% infill

Названия используются только для указания источника результата. Polyzon не аффилирован с перечисленными площадками.