
Бесплатно 
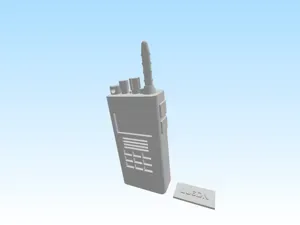
Walkie Talkie We Were Here
Thingiverse
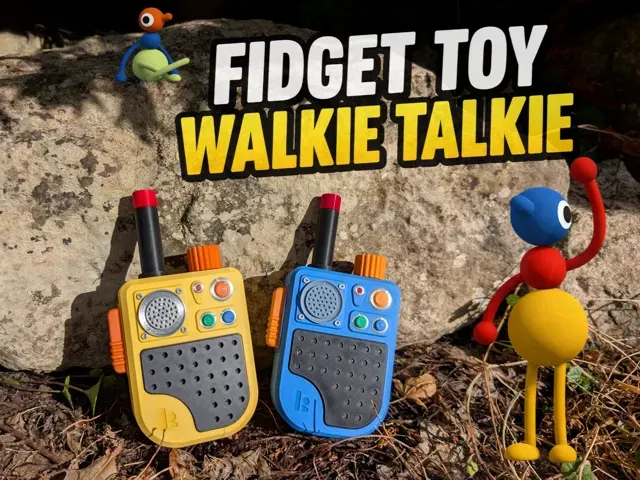
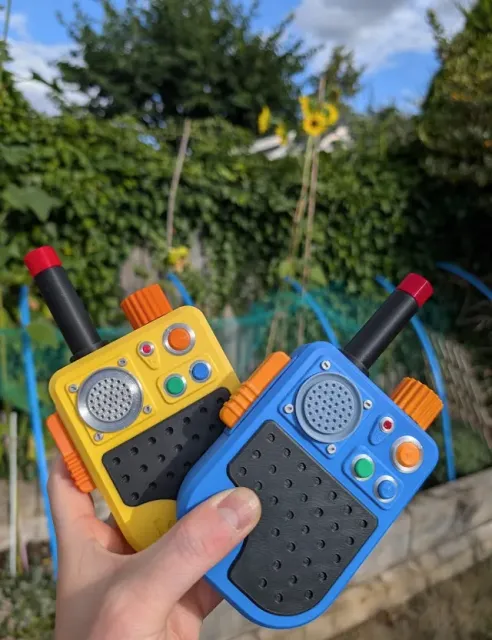
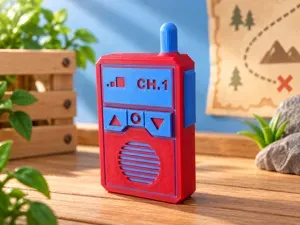
If you've played Big Walk then you'll know exactly what these are!
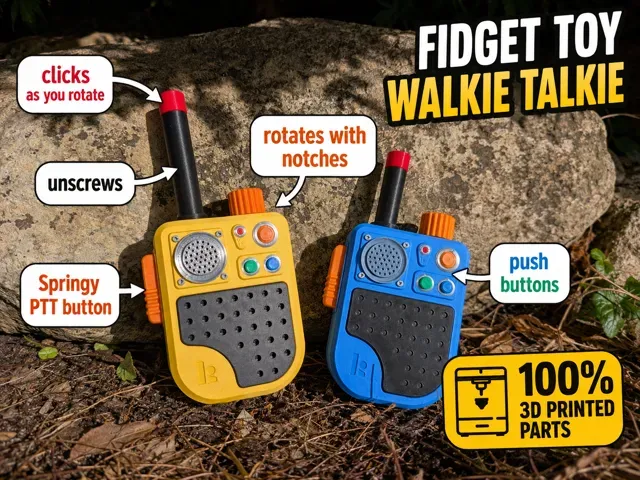
If you haven't then this is a cool fidget toy walkie-talkie with springy buttons and clicky knobs to rotate.
This model uses 100% 3D printed parts , no screws, glue or other parts needed.
No AMS required - the print profile is split into colours per plate.
Fidgety features include:
- Springy Push To Talk button - Push buttons - Rotating knob - Ratchet knob with loud click - Removable antenna
Printing
- Plates are labeled with suggested colours - Manual supports are enabled where required - Springs are printed with PLA. They seem to work well, but easily replaced if they start to age with time. PETG could also be used, although I haven't tested this. - Springs can be printed in any colour (e.g as purge items on other prints) since they are hidden. Assembly
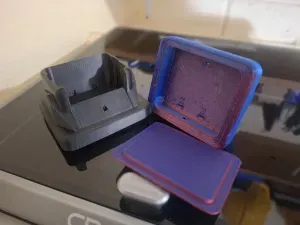
- Remove supports from main body. Ensure no remnants of support interface remain (they'll look like squiggly bits) as they may interfere when adding the trim piece.
- Insert 2 or 3 large springs depending on how springy you want it (different filaments will be stronger/weaker) - Add PTT button and test for springy-ness (add/remove/try different filament)
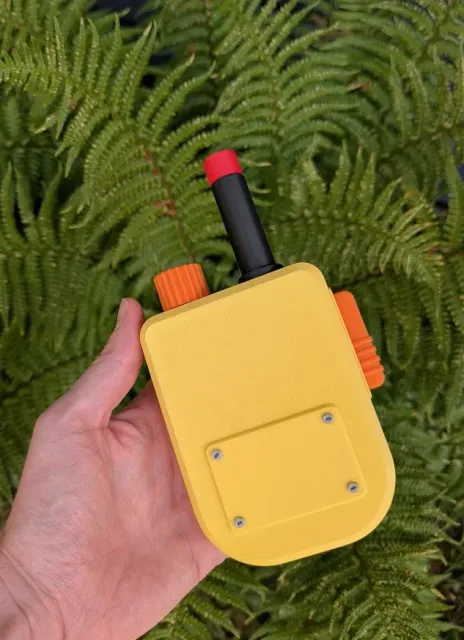
- Once happy, add trim piece around PTT button. It should click into place and sit slightly proud of the main body. - Click in the 4 screws around the microphone piece (grey/silver). If they are tight you can insert them part way then flip over and carefully push them in against a hard surface. You should hear a click. Then add the microphone
- Insert the 2 small springs into the deeper holes. - Insert the blue, green, red and orange buttons/lights into their corresponding silver rings from the underside. - Push them all into place in the main body
- Insert the ratchet piece into the main body. At the point shown you can apply a bit of pressure and it should click into place. - Add the orange knob. Be careful with this piece, gently insert it as far as it will go, ensure it is straight before pushing down. You should hear a click. Gently rotate anti-clockwise to activate the 3 small arms. - Add the red tip to the top of the antenna. Again, make sure it's on straight before applying pressure to click into place. - Screw antenna into body. - Add the backplate and 4 screws (again you can push against a hard surface if needed) Please enjoy your new walkie-talkie fidget toy - over!
Boost Me If you've enjoyed this model then please consider leaving a boost which will help towards what is coming next on a similar theme! psst….. coming soon… a full functioning walkie talkie - just need to do some more testing and tweaking of the design. If you want to order the parts ahead of time then you will need this kit https://s.click.aliexpress.com/e/_c3CYTklr Make sure you are buying a pair of kits and not an individual kit. (as a guide, the price for the pair is currently around £20 / US$27) Note: this project requires soldering of some components and some thin wire <1mm e.g wires from an old ethernet cable.
No AMS - 1 colour per plate (v1.4) v1.4 includes looser fit for the speaker grill piece


Названия используются только для указания источника результата. Polyzon не аффилирован с перечисленными площадками.