
Бесплатно 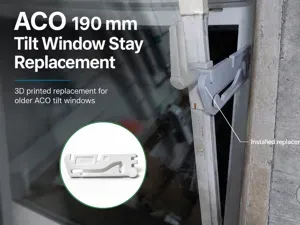
ACO 18 cm Tilt Window Stay Replacement
MakerWorld
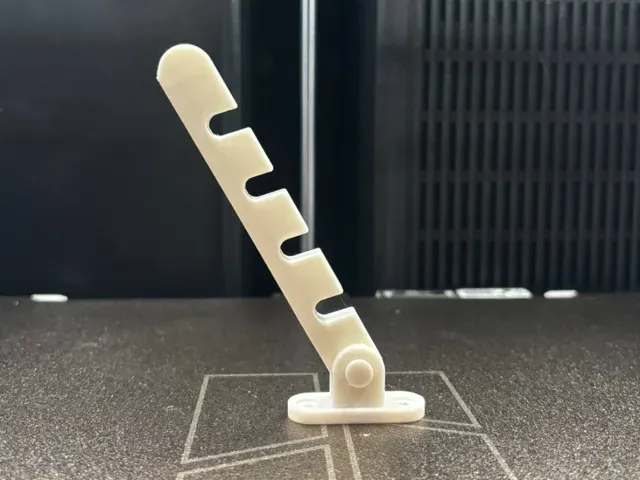
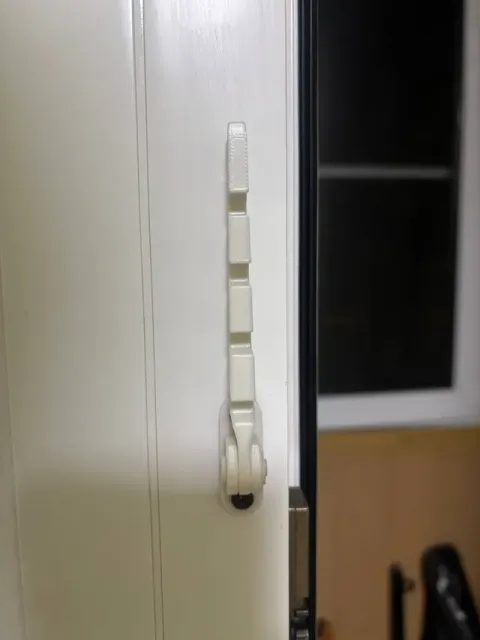
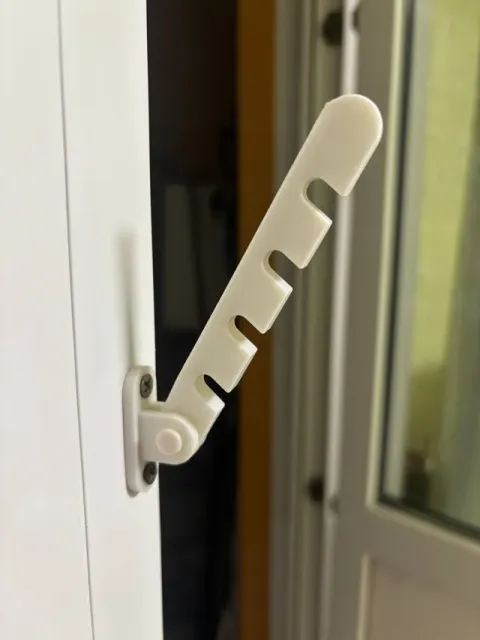
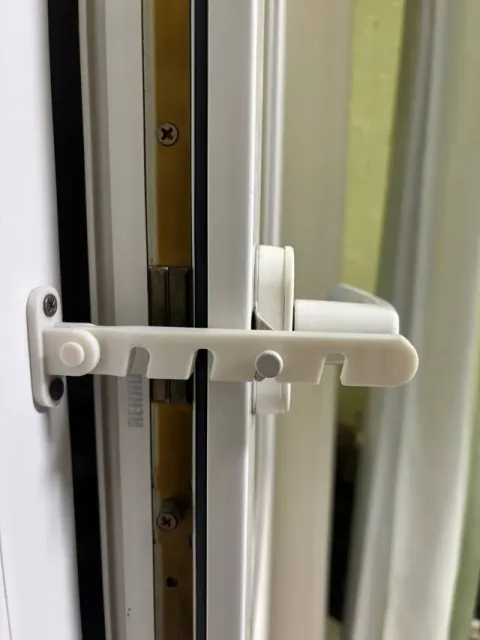
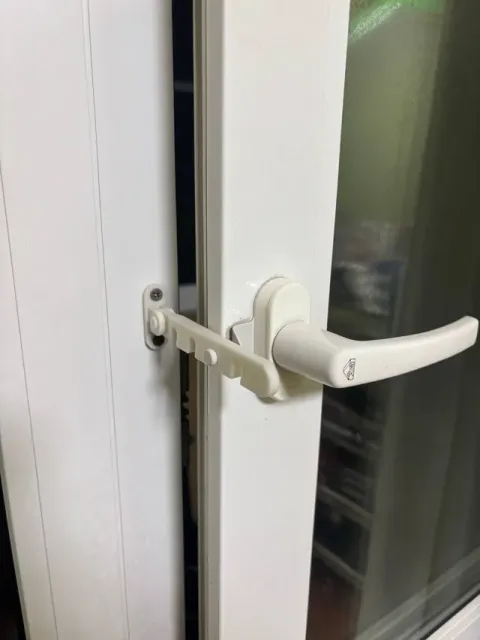
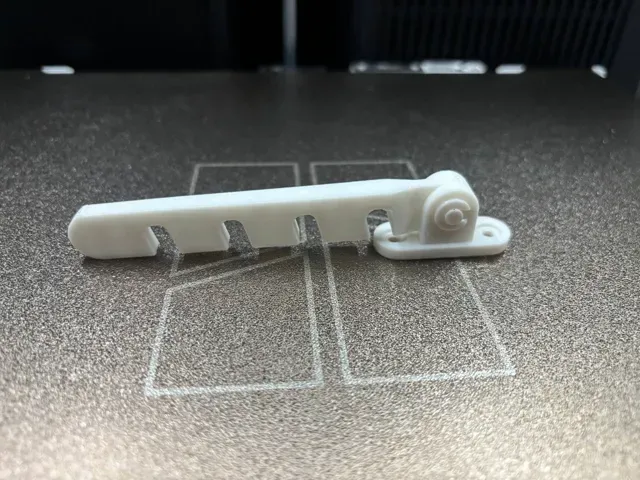
Adjustable Window Restrictor / Window Opening Limiter
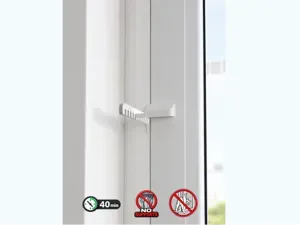
A compact and functional 3D-printable replacement for a broken window opening restrictor .
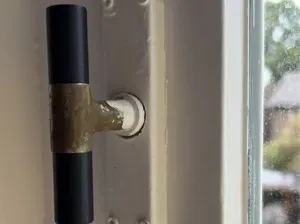
I designed this model after the original plastic restrictor on my window broke. The metal counterpart / locking pin mounted on the window remained intact , so there was no need to reproduce it.
The mechanism allows the window to be fixed in several partially open positions while remaining compact enough not to interfere with the window sash when closed.
⚠️ Important — Metal Counterpart Is NOT Included
This model does NOT include the counterpart / locking pin that the restrictor hooks onto.
On my window, this part is made of metal and remained intact when the original restrictor broke . Only the plastic restrictor itself was damaged, so I designed a replacement specifically for that part.
Therefore, this model is intended for situations where:
- your original restrictor/locking arm is broken; - the existing metal counterpart or window pin is still installed and usable; - the dimensions of your existing hardware are compatible with this model. Please check your window hardware and dimensions before printing.
If both parts of your original window restrictor are missing or damaged, this model alone will not provide a complete installation.
Model Design
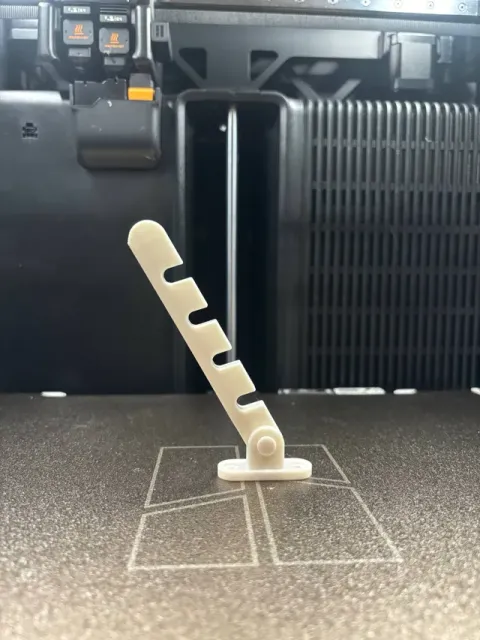
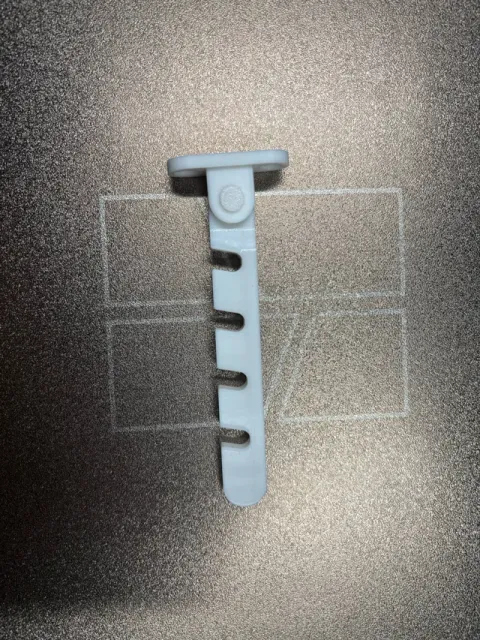
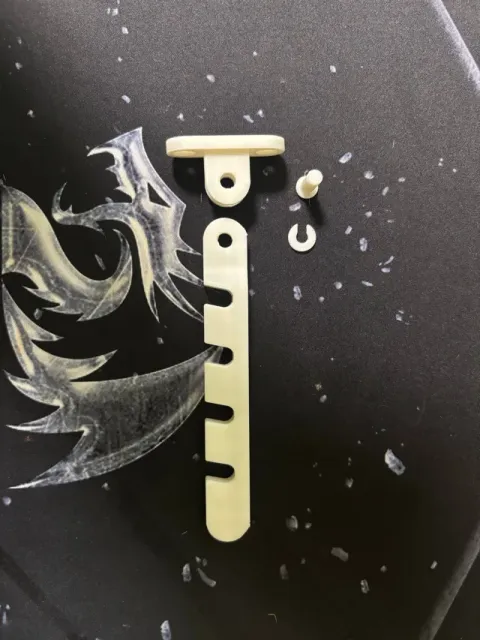
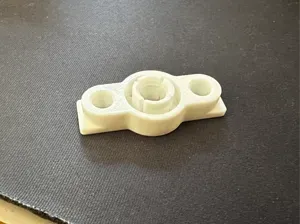
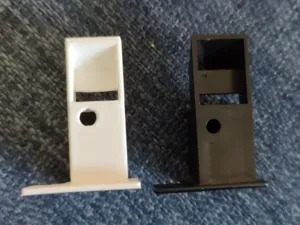
The model consists of two printed parts:
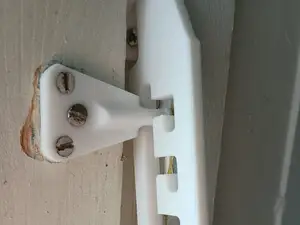
- mounting bracket with two reinforced pivot ears; - adjustable locking arm with several angled locking positions. The arm is installed between the two mounting ears and rotates freely around the side pin.
The existing metal window counterpart / locking pin is reused and is not part of the printable model.
Features
- Compact design with a low overall profile - Reinforced mounting ears for improved strength - Countersunk mounting holes for screw heads - Multiple window opening positions - Angled locking slots help prevent the window pin from accidentally slipping out - Rounded edges around the locking slots - Tapered locking arm for reduced weight while maintaining rigidity - Designed as a replacement for the broken plastic part of an existing window restrictor - Reuses the original metal locking counterpart - Designed specifically for FDM 3D printing Dimensions / Compatibility
The model was designed around the following hardware:
- Existing metal window locking pin: approximately 5 mm - Mounting screw holes: approximately 5.5 mm - Reinforced mounting plate: approximately 5 mm thick - Locking arm width: approximately 9 mm at the base , gradually narrowing to approximately 5 mm at the end Please check the dimensions of your existing window hardware before printing.
Window restrictors from different manufacturers may look very similar while having slightly different dimensions, so compatibility with every window system cannot be guaranteed.
Recommended Print Settings
Material: PETG recommended
PLA can also be used for testing, but PETG is preferable for long-term use because of its better toughness and temperature resistance.
Suggested settings:
- Layer height: 0.20 mm - Walls: 4–5 - Top / Bottom layers: 5 - Infill: 30–50% - Infill pattern: Gyroid or similar - Supports: only if required by your printer/profile - Brim: optional For maximum strength, make sure the pivot ears and locking arm have sufficient wall thickness.
Assembly
- Print both parts. - Place the locking arm between the two mounting ears. - Insert the pivot pin through the side holes. - Check that the arm can rotate freely without excessive play. - Mount the base to the window frame using suitable screws. - Use the existing metal counterpart / locking pin already installed on your window . - Check that the window closes completely without touching the restrictor. - Test every locking position before regular use. Why I Made It
The original window restrictor installed on my window broke, while the metal counterpart that the locking arm engages with remained completely functional .
Instead of replacing the entire mechanism, I designed a printable replacement for only the damaged part.
Several iterations were made to improve:
- the strength of the mounting ears; - the thickness of the screw mounting area; - the geometry of the locking slots; - the countersunk screw holes; - the overall clearance when the window is closed. The goal was to create a simple replacement that could reuse the existing metal hardware without modifying the window.
Important Safety Note
This model is intended as a window opening restrictor , not as a certified child-safety, fall-protection, security or anti-burglary device.
Always check the printed part for cracks, layer separation or deformation before use.
The strength of the finished part depends on the material, print orientation and slicer settings.
Files
The included 3MF profile contains the printable replacement parts arranged and prepared for printing.
The original metal counterpart / locking pin is not included and must already be present on your window.
If your window hardware has slightly different dimensions, modification of the model may be required.
0.2mm layer, 2 walls, 15% infill
Названия используются только для указания источника результата. Polyzon не аффилирован с перечисленными площадками.