
Бесплатно 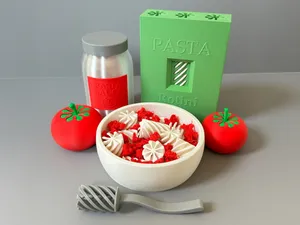
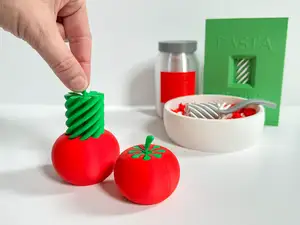
Pasta Playset: Pasta Box,Noodles,Bowl,&Funny Fork
MakerWorld
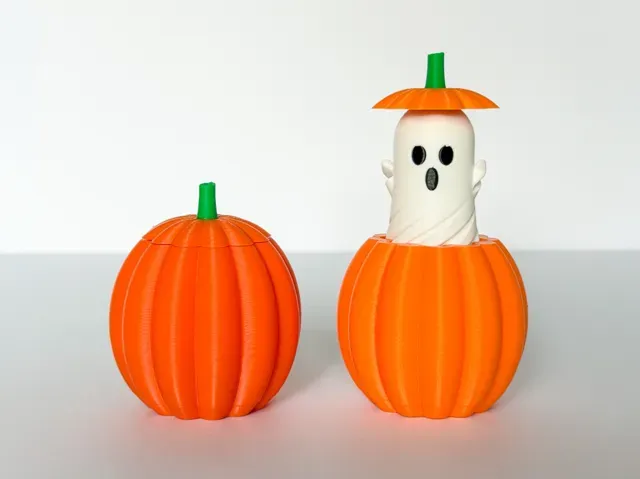
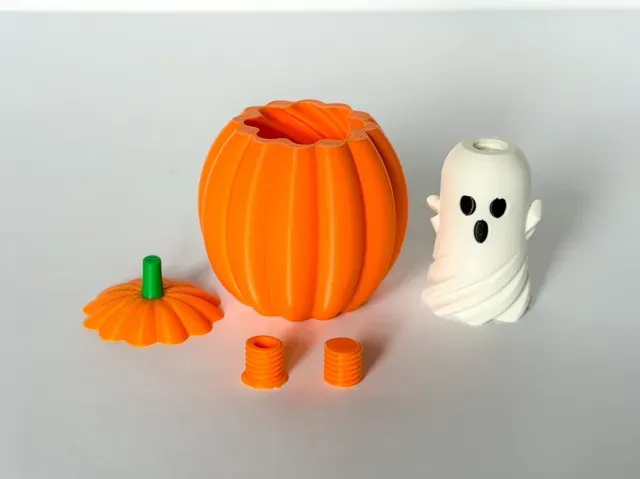
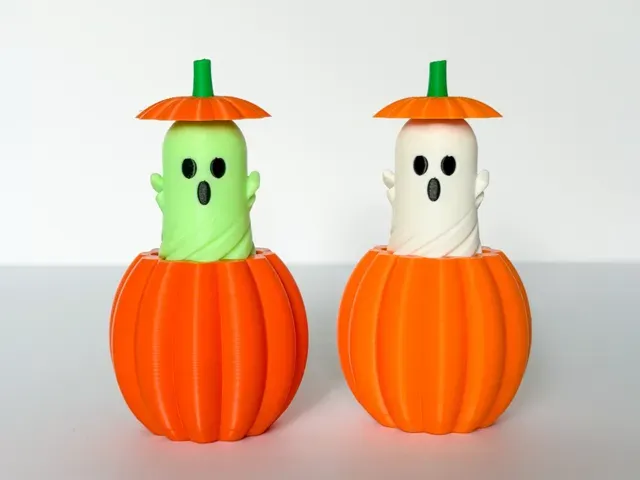
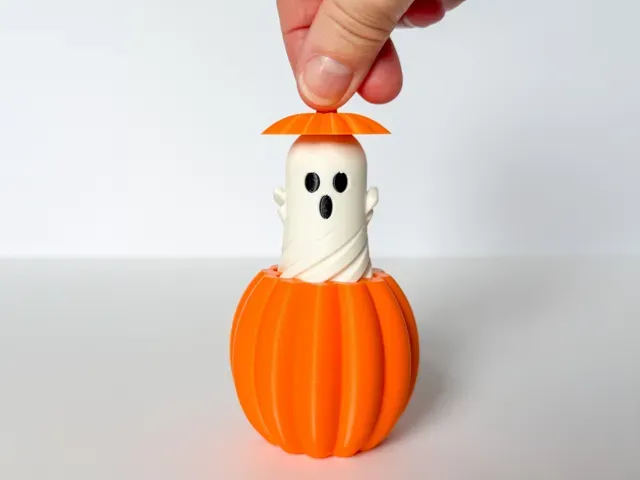
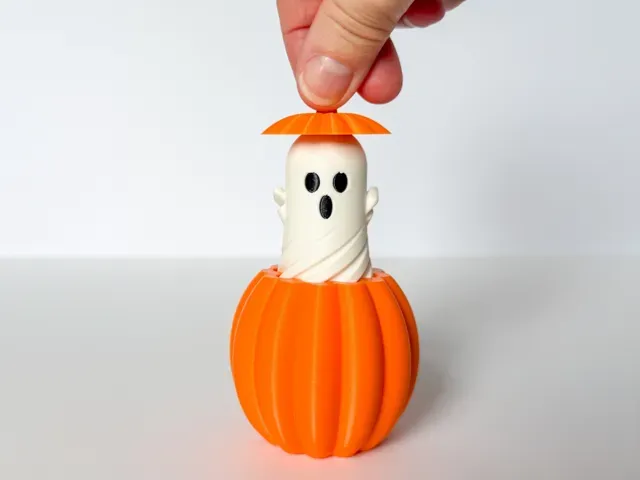
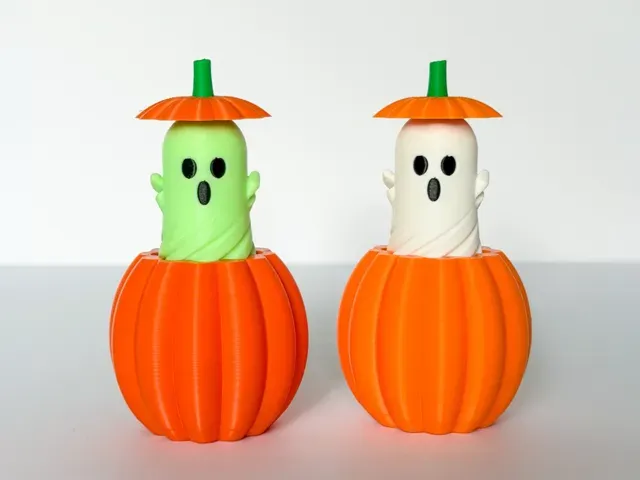
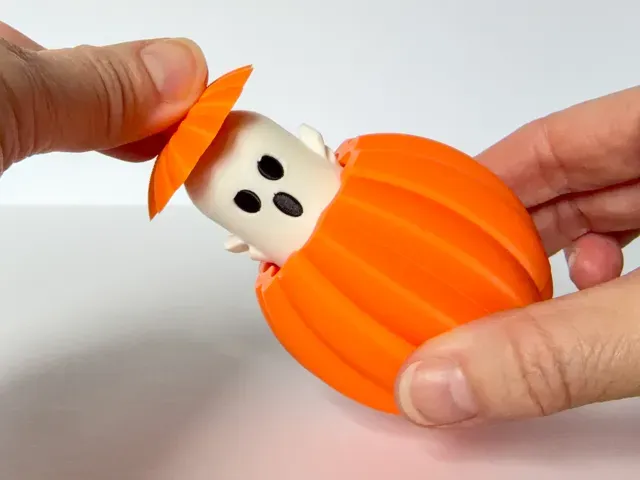
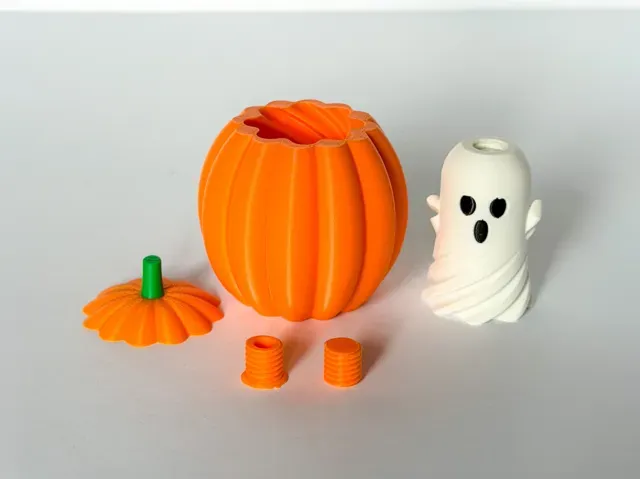
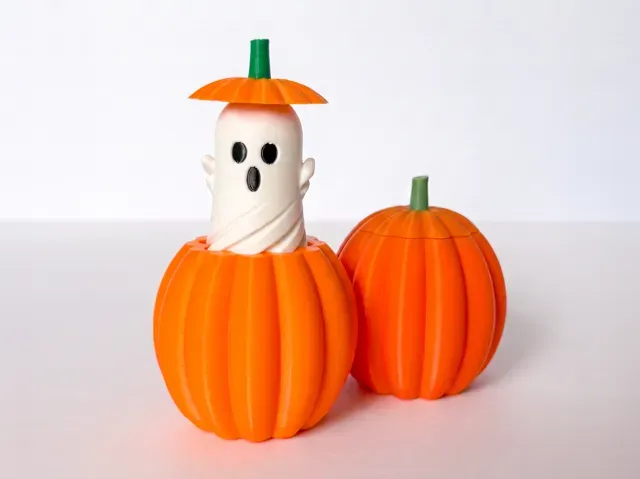
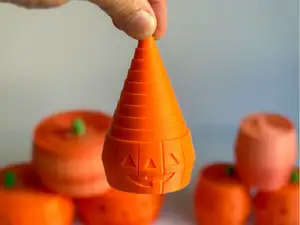
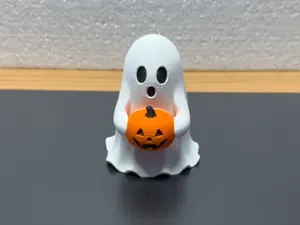
Here is a fun twist on a Pass-Through Pumpkin Fidget 👻
Dimensions: 2 ¾ in x 2 ⅓ in.
- PLA works great - 0.2 Layer Height for Pumpkin Body and Ghost - 0.16 Layer Height for Top Screw, Bottom Screw and Stem Top (I used a shorter layer height to improve the quality of the threads) - 15% Infill - Painted brim (dots or brim ears) added to bottom of ghost - Small support added under the screw hole of the pumpkin body
Specifics of 3mf project profile :
Print Plate #1 (ghost): 2 colors, outer & inner walls 0.6mm, outer wall speed 50 mm/s, inner wall speed 100 mm/s, Arachne wall generator selected ‘on’, brim ears added
Print Plate #2 (pumpkin body, top screw & bottom screw): 1 color, 0.16 layer height for screws, 0.20 layer height for pumpkin body, small support added at under hole of pumpkin body
Print Plate #3 (stem top): 2 colors, layer height 0.16mm
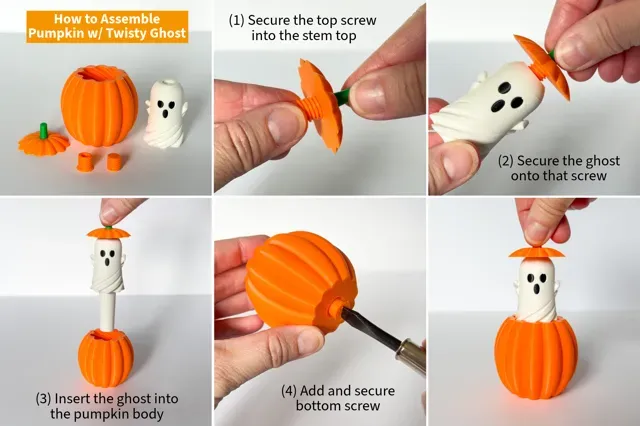
How to assemble :
- Add and secure top screw into stem top - Attach ghost to that same screw - Insert ghost into pumpkin body - Use bottom screw to secure ghost into pumpkin body
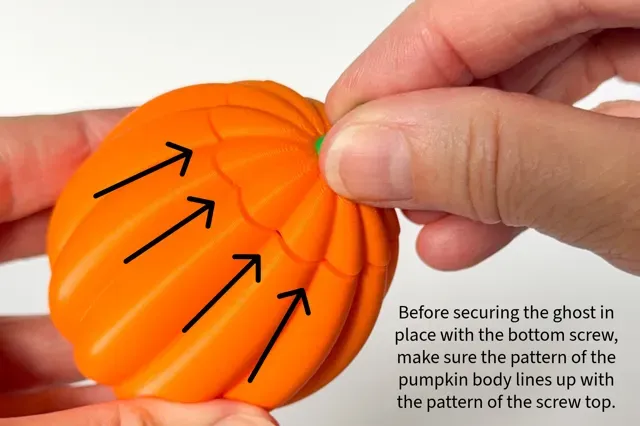
Important : Make sure the stem top lines up with the body before you screw it in place. When you insert/twist the ghost into the pumpkin the ‘ribbing’ (pattern) of the stem top may not line up with the ‘ribbing’ (pattern) of the pumpkin body. If this happens, take the ghost out and rotate it a notch or two to see if the stem top and pumpkin body line up better. Repeat that until it is lined up and then secure the screw in place.
My designs are free for personal and non-commercial use. I offer a commercial license on Thangs. Here is a link if you'd like to check it out 👉 https://thangs.com/designer/3DPmom
If you like my work and want to help support it, you can buy me a Diet Coke at https://www.buymeacoffee.com/3dpmom Thanks so much!
Have fun printing! Erin
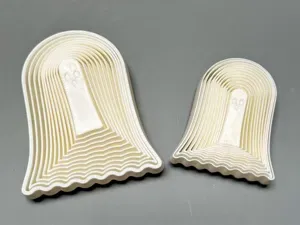
Pumpkin w/ Twisty Ghost 0.16mm & 0.2mm layer,15% infill Instructions for 3D Printing :
- PLA works great - 0.2 Layer Height for Pumpkin Body and Ghost - 0.16 Layer Height for Top Screw, Bottom Screw and Stem Top (I used a shorter layer height to improve the quality of the threads) - 15% Infill - Painted brim (dots or brim ears) added to bottom of ghost - Small support added under the screw hole of the pumpkin body Specifics of 3mf project profile :
- Print Plate #1 (ghost): 2 colors, outer & inner walls 0.6mm, outer wall speed 50 mm/s, inner wall speed 100 mm/s, Arachne wall generator selected ‘on’, brim ears added - Print Plate #2 (pumpkin body, top screw & bottom screw): 1 color, 0.16 layer height for screws, 0.20 layer height for pumpkin body, small support added at under hole of pumpkin body - Print Plate #3 (stem top): 2 colors, layer height 0.16mm
How to assemble :
- Add and secure top screw into stem top - Attach ghost to that same screw - Insert ghost into pumpkin body - Use bottom screw to secure ghost into pumpkin body
Important : Make sure the stem top lines up with the body before you screw it in place. When you insert/twist the ghost into the pumpkin the ‘ribbing’ (pattern) of the stem top may not line up with the ‘ribbing’ (pattern) of the pumpkin body. If this happens, take the ghost out and rotate it a notch or two to see if the stem top and pumpkin body line up better. Repeat that until it is lined up and then secure the screw in place.


Названия используются только для указания источника результата. Polyzon не аффилирован с перечисленными площадками.