
Бесплатно 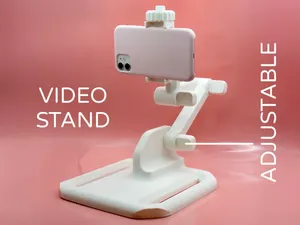
Phone Holder Video Stand by Pork3D.com
MakerWorld
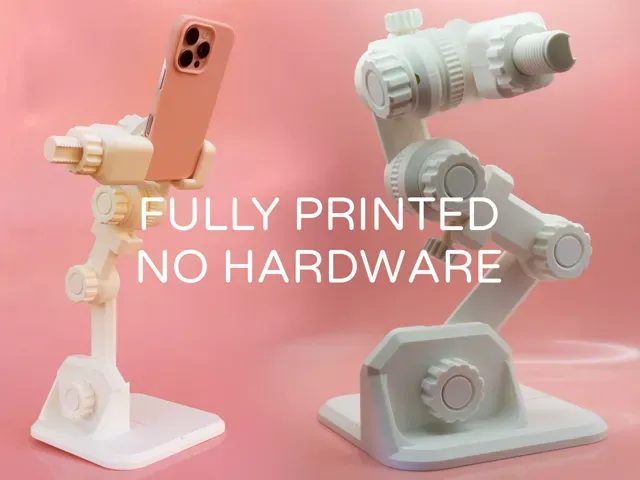
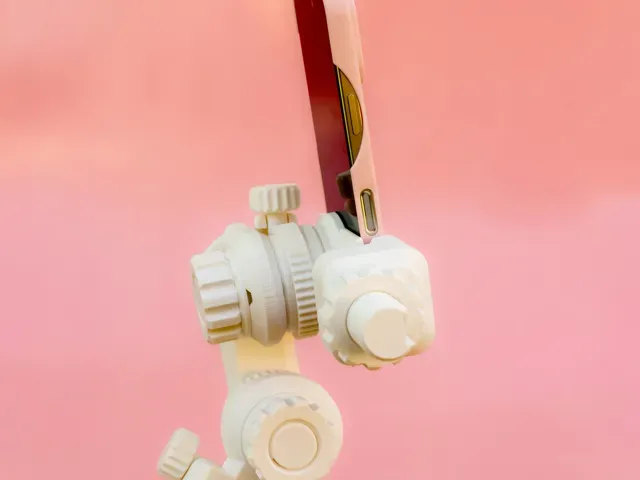
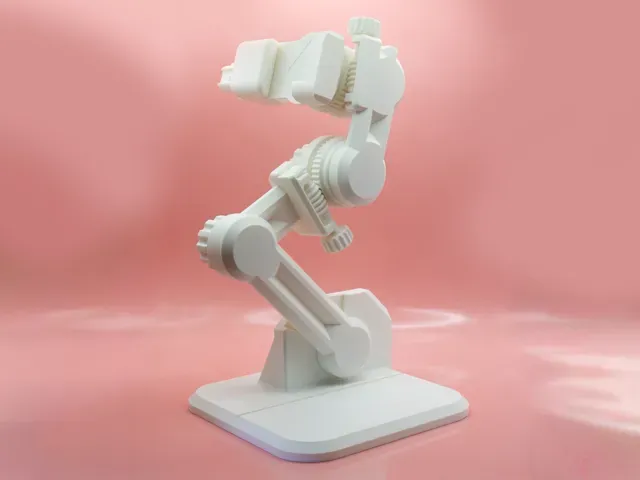
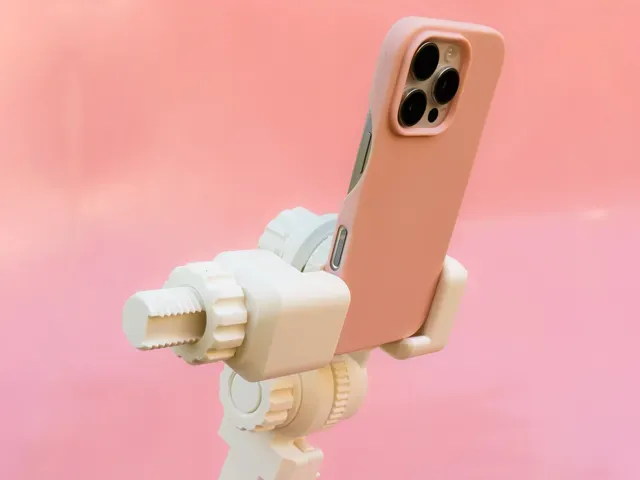
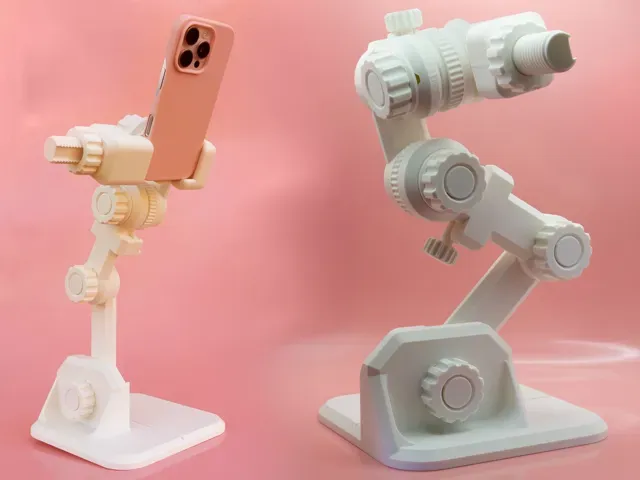
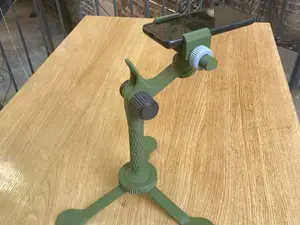
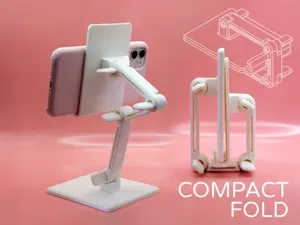
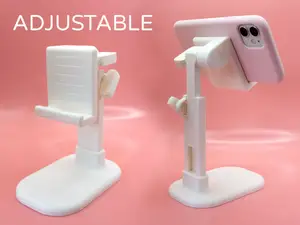
The Adjustable Video Phone Stand is a fully 3D-printed articulated arm for filming with your phone. Three arms on a wide base put the phone where you want it: upright for a video call, out over the desk for a top-down shot, in portrait or landscape. Two worm-gear thumbwheels give fine, stepless control of tilt and roll, so you can level the picture exactly. There are no screws, no springs and no glue, and the whole mechanism is on show.
Features:
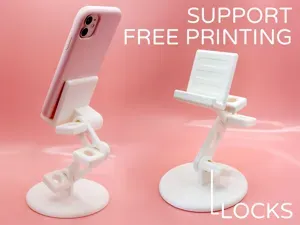
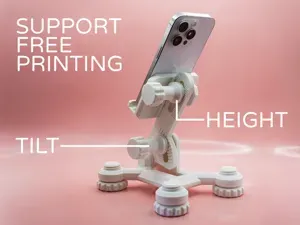
- Three-Arm Reach: Three arms and four joints let you set the height, reach and angle of the phone. - Toothed Joints: The arm joints lock on printed teeth in 15° steps under big hand knobs, so they do not sag. - Worm-Gear Fine Adjust: Two thumbwheels drive printed worm gears for tilt and roll. One full turn moves the phone about 9°, so small corrections are easy, and the worm holds the angle by itself. - Portrait and Landscape: Turn the holder 90° and level it with the thumbwheel. - Clamping Jaw: A sliding jaw on a keyed post clamps the phone with a hand knob. The angled jaws hook over the edges of the phone and pull it back onto the plate. - Fits Most Phones: Made for phones and cases about 64 to 93 mm wide. - Fully Printed: All 18 parts are printed and go together by hand. No screws, no springs, no glue, no tools. - Mechanism on Show: Worms, gear rings, knobs and teeth are all visible. It looks like a little robot arm on your desk. - Support-Free Printing: Every part prints without supports, in the orientation supplied. - Fits a 180 mm Bed: The Base is 170 x 170 mm, the longest arm is 173 mm and the tallest part stands 172 mm high, so every part fits a 180 x 180 x 180 mm printer.
Printing No supports needed 0.2 mm layer height, 0.4 mm nozzle, 2 walls, 15% infill. The number at the start of each file name is how many to print. Print every part in the orientation supplied. For a stiffer stand, print the three arms with 4 or more walls. Before you assemble it, clean any stringing from the threads, the gear teeth and the notches the worms sit in.
Parts
- 1 x Base - 1 x Arm 1 - 1 x Arm 2 - 1 x Arm 3 - 1 x Holder - 1 x Jaw - 1 x Swivel Bolt - 2 x Gear Ring - 2 x Worm Swivel - 2 x Keyed Washer - 5 x Knob
Assembly (see the assembly video) Directions are for the stand seen from the front, the phone side. All threads tighten clockwise.
- Push the lower hub of Arm 1 through the hole in the tower of the Base from the right, with the ridges on the arm against the grooves on the tower. The small lug on Arm 1 drops into the pocket in the tower. Screw a Knob on from the left. - Fit the small grooved hole of Arm 2 over the upper hub of Arm 1 from the left, grooves against ridges. Screw on a Knob. - Lay Arm 2 with its cradle facing up. Drop a Worm Swivel into the cradle beside the big hole, with its two round journals in the two V-notches, its small end against the end stop and its thumbwheel outside the cradle. - Push the round journal of a Gear Ring into the big hole from the cradle side, so its teeth mesh with the worm. Turn the thumbwheel a little if they do not line up. The grooved face of the ring points away from Arm 2. - On the other side of Arm 2, drop a Keyed Washer over the two dogs of the ring. Push the hub of Arm 3 through the ring and Arm 2 from the ring side, so the ridges on Arm 3 sit in the grooves of the ring. Screw a Knob onto the hub, against the washer. - Drop the second Worm Swivel into the cradle on the head of Arm 3, thumbwheel at the top. Push the second Gear Ring into the hole in the head from the front, with its teeth meshing with the worm and its grooves facing forwards. From behind, drop the second Keyed Washer over the dogs of the ring. - Put the square head of the Swivel Bolt into the diamond pocket in the Holder from the phone side. Push the bolt through the ring and Arm 3 from the front, so the ridges on the Holder sit in the grooves of the ring. Screw a Knob on from behind. - Slide the Jaw down over the post of the Holder, with its key in the slot of the post and its angled lip facing the lower jaw. Screw the last Knob onto the post.
Using it
- Arms: Loosen a knob about half a turn, move the arm to the next tooth and tighten by hand. - Fine tilt and roll: With that joint's knob just snug, turn the thumbwheel. Tighten the knob when you are happy. - Big changes of tilt or roll: Loosen the knob, lift the part off the teeth of the gear ring, turn it and seat it again. - Portrait: Loosen the knob behind the holder, turn the holder 90° and level it with the thumbwheel. - Phone: Loosen the clamp knob and lift the jaw. Rest the edge of the phone in the lower jaw, against the end stop, then lower the jaw and tighten by hand. - Balance: Keep the phone roughly over the base. Reaching far out past the base can tip the stand.
Size The base is 170 x 170 mm.
0.2mm layer, 2 walls, 15% infill Printing No supports needed


Названия используются только для указания источника результата. Polyzon не аффилирован с перечисленными площадками.
Комментарии