
Бесплатно 
Gridfinity 1xY Multi Compartment Lidded Bins with Tabs Version 2.1 in 3U, 6U and 9U heights
Printables
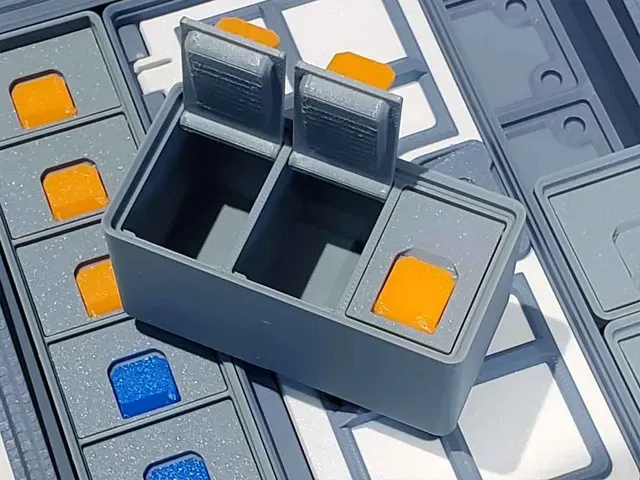
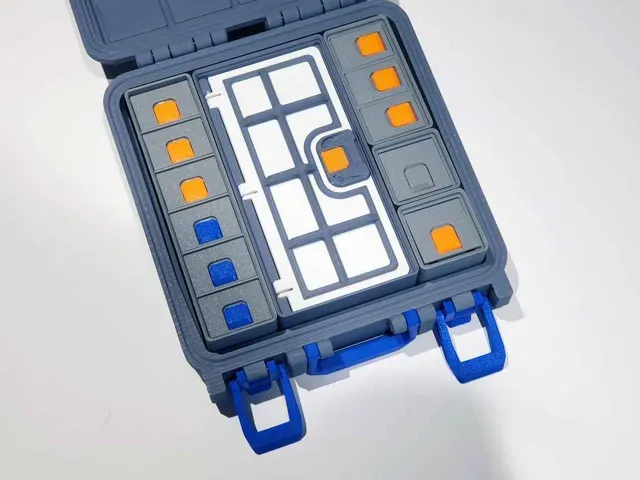
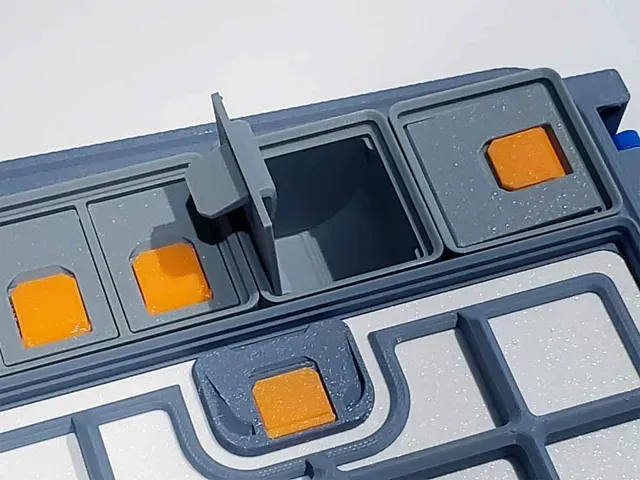
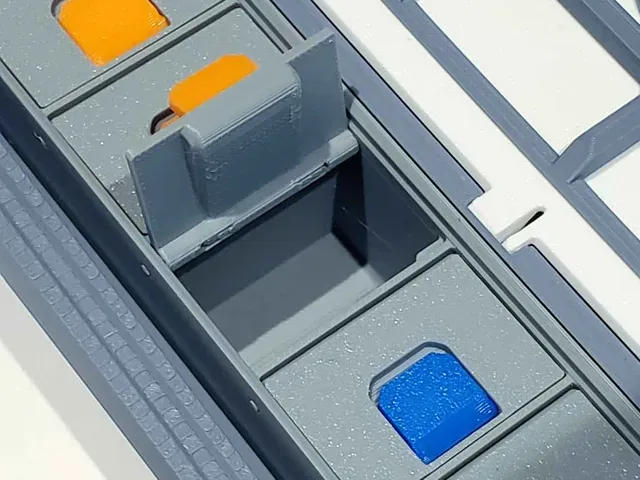
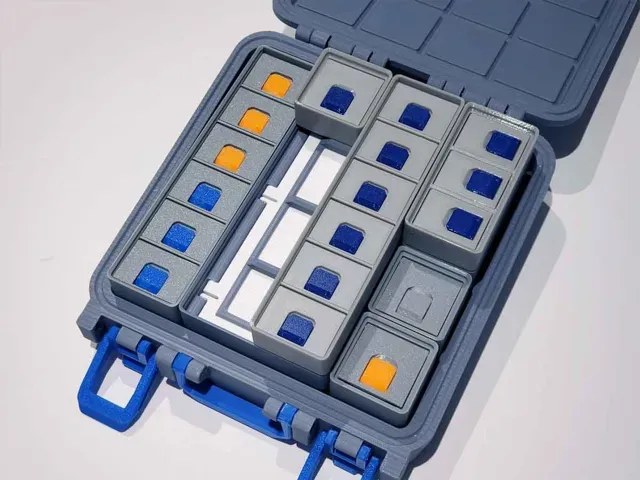
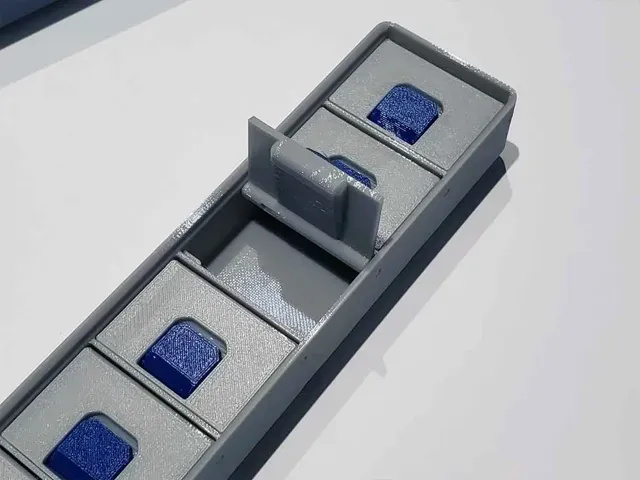
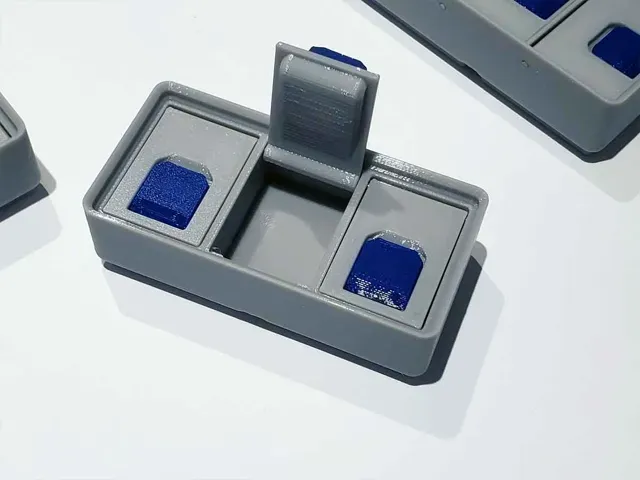
These bins are an earlier design which does not latch closed. If you are looking for a newer latching version of this design, see the links below under “Other Stuff”.
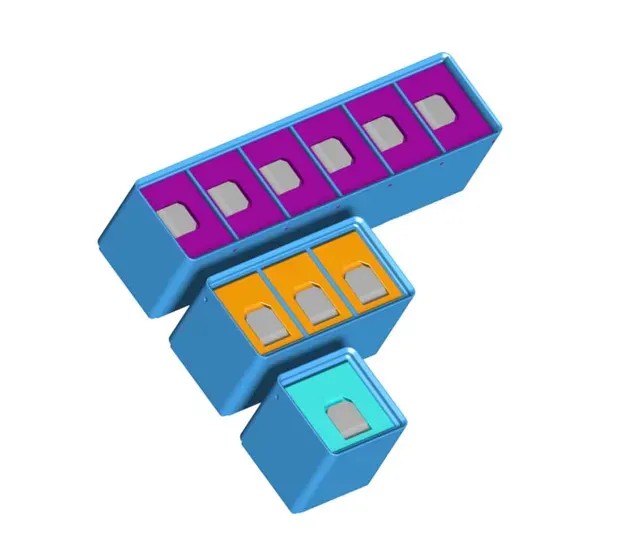
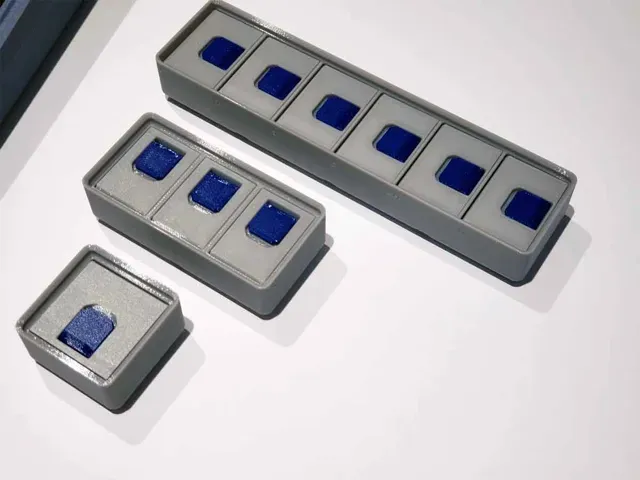
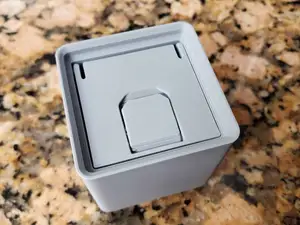
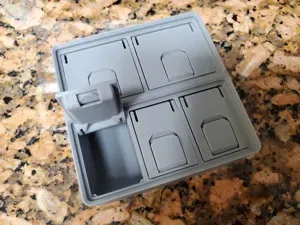
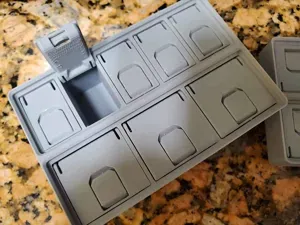
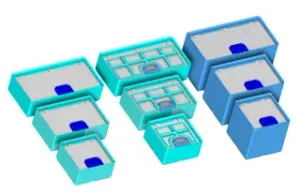
This is an Version 2.1 update to the 2nd version (v2.0) Gridfinity Bins with lids. These bins now use a much simpler filament hinge pin. The bins have been updated to include 3U, 6U and 9U heights , and this set includes the following types (see image below):
- 1x4 (6 compartment) lidded bin with tab - 1x2 (3 compartment) lidded bin with tab - 1x1 (one compartment) lidded bin with tab These have the following features:
- These use normal 1.75mm filament for the hinge pins - The covers are intended to prevent the migration of tiny parts between the bins, when used in a case . - Tabs open to 80° - The bins are available in 3U, 6U and 9U heights. - The doors on the bins have room for a 9mm wide Brother P-Touch Label. - Each bin module has spaces for four 6x2 cylinder magnets (The pockets are 6.4 ⌀ x 2.4mm so they will require superglue to secure the magnets). - 3MF set up for single and multicolor printing options. Assembly info:
For the hinge pins, recommend using a filament which does not become brittle with exposure to moisture. I use PETG, which does absorb some moisture but seems to do better than PLA. I heard that HIPS is not very hydroscopic, but I don't have any of that. It may also help to seal the cut ends of the filament with superglue, since filament seems to absorb the most moisture from cut ends. I don't suspect it's that big of a deal though, unless using PLA, since that stuff will definitely become too brittle to use as a hinge. It can help when installing the filament hinge pins to cut the filament end at an angle, which may make it easier to insert them in the lids (thanks to MagnetDanny for the suggestion).
To assemble the 1x2 (3 compartment) bins:
Insert a length of filament though the bin and then thread it through each of the lids, until it is through all three lids. The filament will extend about 2.6mm into the bin. Test that the bin doors swing open and closed freely, and then trim the excess filament.
To assemble the 1x1 and 1x4 (6 compartment) bins:
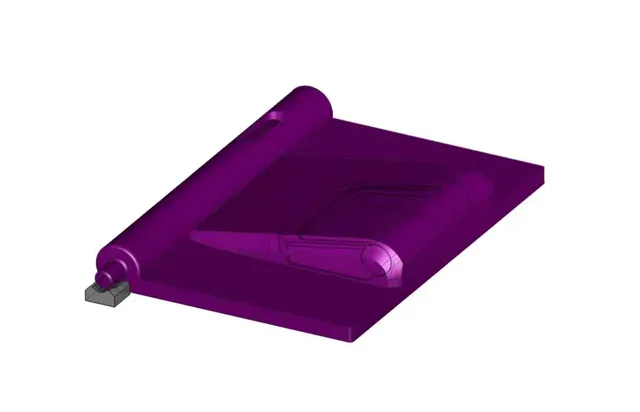
To install the doors, first remove the integrated support from the pin on the right side of the lid.
Then, install the lid by pushing the integrated pin on the lid into the right side hinge pin hole in the base. Then close the lid, and push a length of filament though the hole on the left side. The filament will go into the lid, and will meet some resistance after 9-10mm. It should be possible to push past the initial resistance by hand, but if not, a small pliers may help to feed the filament past the resistance point. Just be sure to grip the filament close to the hole it is going into, to support it. Once the filament hinge pin is fully seated in the lid, open and close the lid several times. If it does not sit flat, remove the filament, close the lid and re-insert the filament with the lid closed. Once it looks good, gently pull the filament (and lid) back a mm or so, and cut the excess filament flush to the bin.
Troubleshooting:
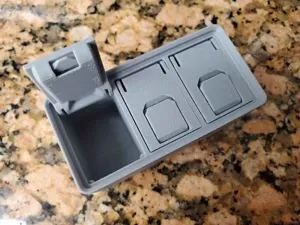
If you find the filament is not going into the lids more than a 9-10 mm, remove the lid, and carefully cut the sides of the spring catch as shown in the pic below. That will cut through the single strand of supporting material that holds the catch in place:
Printing:
You can use the included 3MF (BambuStudio) which has all the files set up for printing. There are 2 plates included in the 3MF. One is for single color printing, and the other is for multicolor printing. The 3MF is set up for a Bambu X1C with AMS, however it can easily be modified for other printers.
If you are looking for some single compartment bins similar to these, you can find them here .
If you find these models useful, please post a like or a comment with some pics of your prints.
Boost Me Thank you for supporting my work!
Other stuff:
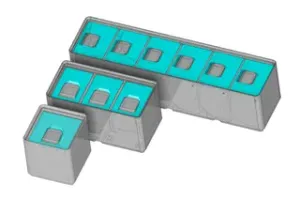
Below are some links to similar multi compartment with lids that LATCH closed. Just click on the images below, which are linked to the designs here on MakerWorld (the images link to the different size bins with latching lids):
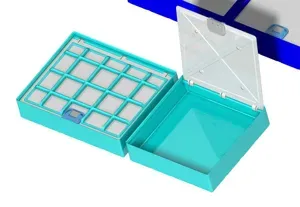
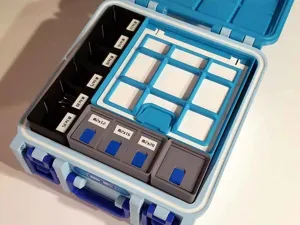
If you need some bins for small parts , the following bins with covers are a good option to use with the Box For Stuff 20 bin and 25 bin cases (or other 6U tall cases):
- 1 compartment 2x1 (3U, 6U, 9U) bin with a magnet pickup tool - 1x1, 1x2 (3 Compartment) and 1x4 (6Compartment) bins with lids (6U) - version 2.1 (older non-latching type) - 1x2, 1x3 and 1x4 single compartment bins with tabbed lids (3U, 6U and 9U) - version 2.1 (older non-latching type) - 1x2, 1x3, 1x4 (6U, 9U and 12U) Lidded Bin for Stuff with Latch Version 2.0 - 2x2, 2x3, 2x4 (6U, 9U and 12U) Lidded Bin for Stuff with Latch Version 2.0 - 3x3, 3x4 (6U, 9U and 12U) Lidded Bin for Stuff with Latch Version 2.0 - 4x4, 4x5 (6U, 9U and 12U) Lidded Bin for Stuff with Latch Version 2.0 If you want to check out my other Gridfinity cases , you can find them at the links below:
- Gridfinity Box For Stuff 20 bin (6U) - Gridfinity Box For Stuff 25 bin (6U) (max size for a Bambu X1C/P1S) - Gridfinity Box For Stuff 16 bin (6U) (Ender 3 size) - Gridfinity Box For Stuff 16 bin - 12U deep version (Ender 3 size) - Gridfinity Box For Stuff 2 bin (6U) (small test version) - Gridfinity Single Watch Case - Gridfinity Triple Watch Case
There are currently no authorized sellers of prints of this model or prints of this model.
Thanks and Acknowledgements:
The models here could not have been made without the work of Zach Freedman , who introduced the world to Gridfinity, and then set it free for everyone to use. These models are not based on direct remixing of Zach' original models, but they are fully compatible, and use the same, or a similar specification for the bin bases, bin lips and base grids, which Zach Freedman developed. Zach Freedman's work is available on Thangs, and you can find examples of his Gridfinity designs here and here , which are available under his MIT license. If you like this model, or want to learn more about Gridfinity, you can check out Zach Freedman's YouTube , or you can support Zach Freedman's work on Patreon ( patreon.com/zackfreedman ).
And Finally,
You can find the other things I'm working on at my blog here . You can also follow me here or on Printables to see what new stuff I post. If you would like to support my work, you can Buy Me A Coffee using this link:
https://www.buymeacoffee.com/mystoopidstuff
Thanks for looking!
Changelog:
Update 4/11/2024: I added 3U and 9U versions of the bins to this model. The 3MF is also updated with all the files.
0.2mm layer, 2 walls, 15% infill This profile includes all the current models, including the 3U, 6U and 9U tall bins, single and multicolor lids options.
This is a 5 plate profile (including 1 alternate multicolor plate for the lids) It uses the following settings:
- PETG for all parts, PLA also works well - 0.4mm X1 Carbon profile - 2 Walls and 15% gyroid infill (base, modifiers are included which increase it to 25%) - Arachne wall generator - No Supports - I used a textured PEI plate for all models. If using P-touch labels, you may want to use a smooth plate for the lids. See the pic for filament colors and slots used in this profile.
6U - 0.2mm layer, 2 walls, 15% infill - for the A1 mini 1. Make sure you remove all the brim remains carefully before trying to inseart the lids.
2. Cut the filament diagonally and insert it back and forth until it passes easily, and only then take it out and add all the caps.
I used: 0.2mm layer, 2 walls, 15% infill - Optimized for the A1 mini
3U & colored lids 0.2mm layer, 2 walls, 15% infill 1. Make sure you remove all the brim remains carefully before trying to inseart the lids.
2. Cut the filament diagonally and insert it back and forth until it passes easily, and only then take it out and add all the caps.
I used: 0.2mm layer, 2 walls, 15% infill - Optimized for the A1 mini
9U - 0.2mm layer, 2 walls, 15% infill - for the A1 mini 1. Make sure you remove all the brim remains carefully before trying to inseart the lids.
2. Cut the filament diagonally and insert it back and forth until it passes easily, and only then take it out and add all the caps.
I used: 0.2mm layer, 2 walls, 15% infill - Optimized for the A1 mini
0.2mm layer, 2 walls, 15% infill Added Metric labels to the lids.
Same print settings as base model

Названия используются только для указания источника результата. Polyzon не аффилирован с перечисленными площадками.
Комментарии