
Бесплатно 
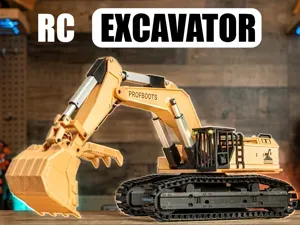
3D Printed RC Excavator
Thingiverse
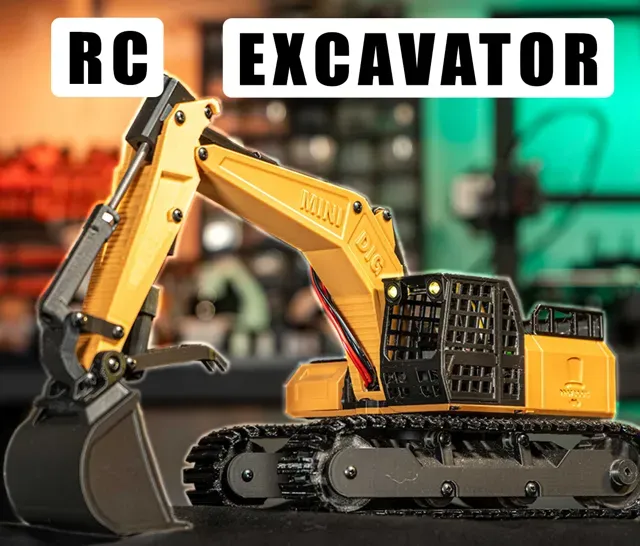
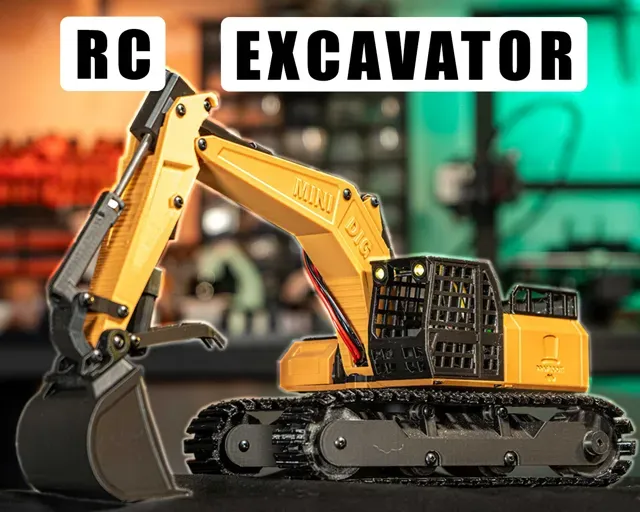
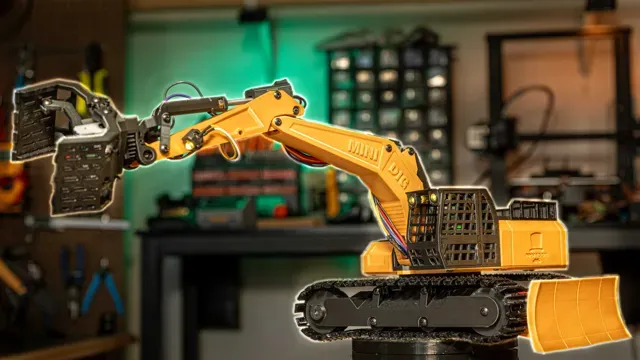
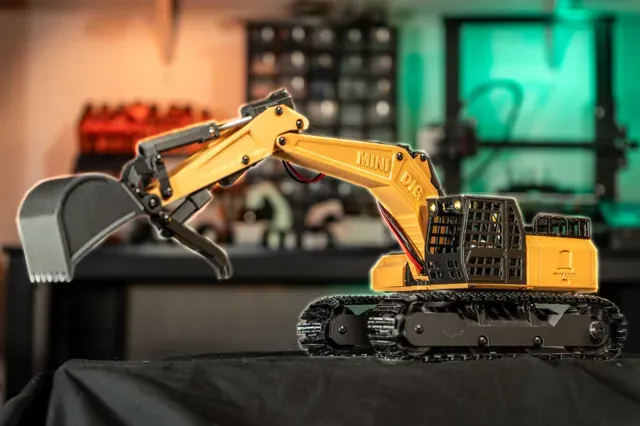
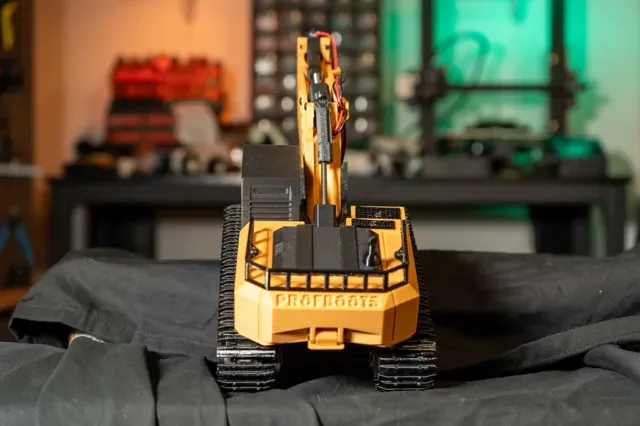
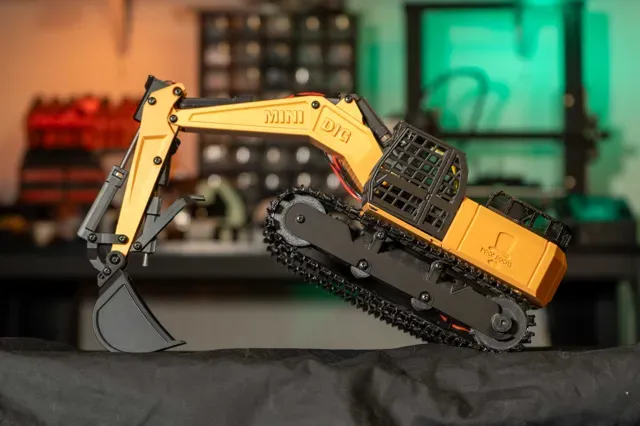
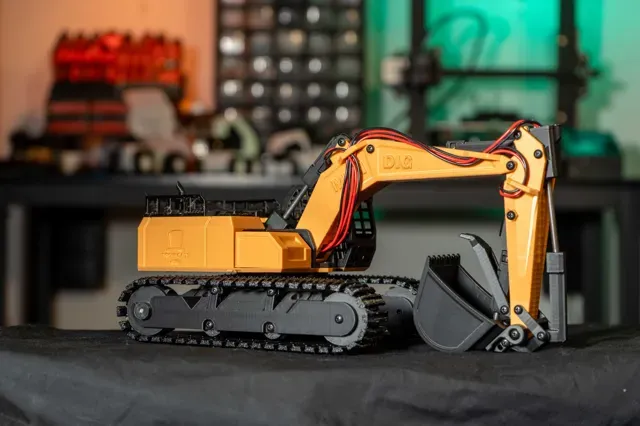
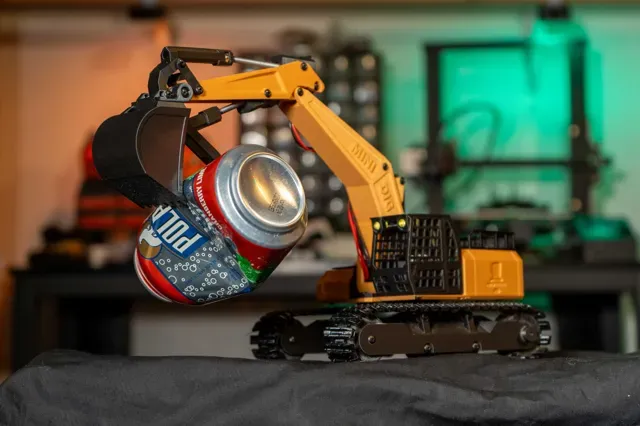
This is a fully functional RC excavator that takes advantage of the wonderous capabilties of 3D printers. It uses micro robotic development parts such as an ESP32 development board that can be programmed via the Arduino IDE, this model specifically can then be connected to a ps3 controller.
If you'd like to support the channel and fund the development of these mini DIY RC projects consider becoming a ProfessorBoots Workshop member which will give you access to a step by step guide on sourcing the PCB's/Electronics and uploading the code to the development board. As well as pretty much everything else you may need to know in order to build your very own 3D Printed Mini Excavator.
ProfessorBoots Workshop: https://professorboots.com/products/professorboots-workshop-pass
YouTube Video on Build:
0.2mm layer, 2 walls, 15% infill Print the 4th and 5th plates in TPU, I used SainSmart 95a TPU with 2 walls 10% infill and it works great!
Optimized - 0.2mm layer, 2 walls, 18% infill - Includes missing part (pinion gear). - Increased strength with tailored speeds, walls, infill and supports. - Implemented multicolour support. - Surface patterns customized on a per-part basis ensuring a nice fit and finish. - Added support for the A1 Mini. - Split apart objects allowing for part-specific optimizations. This also means you can skip a part should it fail during a print. - Updated part and plate names for more intuitive printing.
0.2mm layer, 2 walls, 5% infill Based on a print profile I found on MakerWorld ( https://makerworld.com/en/models/561593-print-profile-tpu-sunlu#profileId-481054 ), I've tuned the settings to achieve significantly improved track (and other TPU) prints using SUNLU TPU. Here's a summary of the key adjustments:
Key points:
- Reduced nozzle temperature to 200°C to minimize stringing. - Instead of slowing down for overhangs (which wasn't necessary given the naturally slower speed of TPU), I disabled this feature entirely. I found that a bridge speed between 30 and 50mm/s kept the bridges from dripping. Speeds lower than 30mm/s caused significant dripping in my tests. - Set bridge flow to 0.75 (but I'm not sure if it's important or not). It was 0.85 in the mentioned “Print profile TPU Sunlu”. Maybe someone can test and see which one is better. - Print the parts by object instead of by layer, to further improve the print quality.







Названия используются только для указания источника результата. Polyzon не аффилирован с перечисленными площадками.