
Бесплатно 
Minecraft Beacon Lamp (LED Lamp Kit 001 & WLED)
MakerWorld
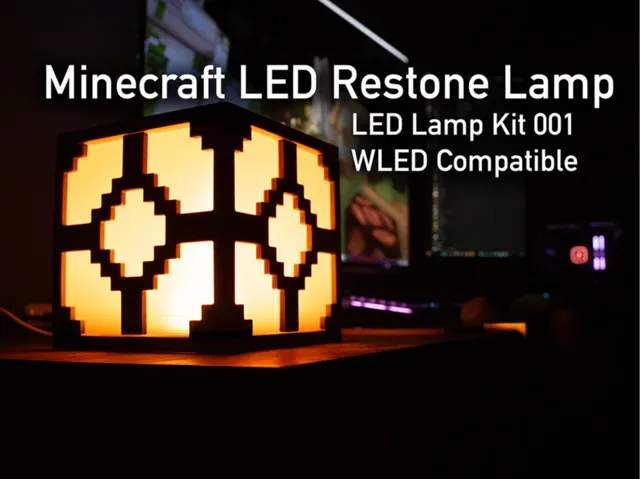
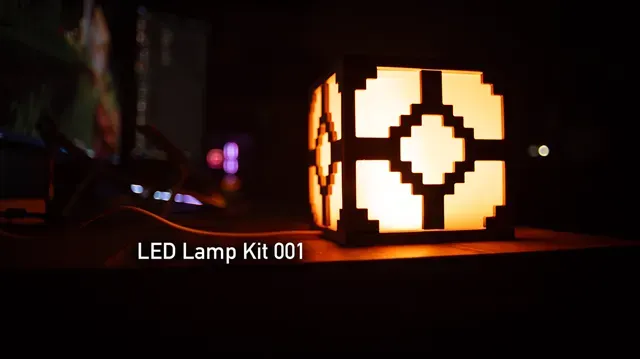
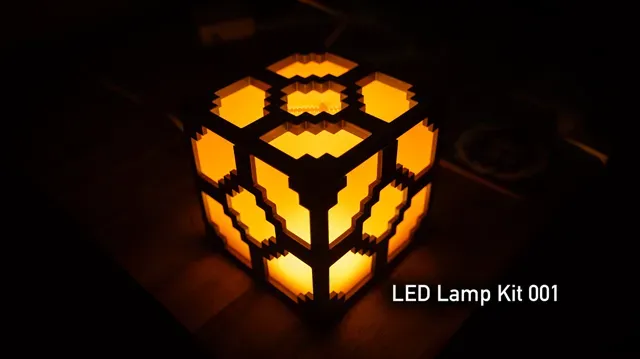
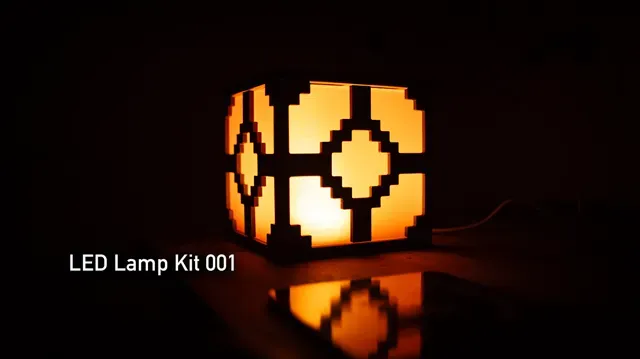
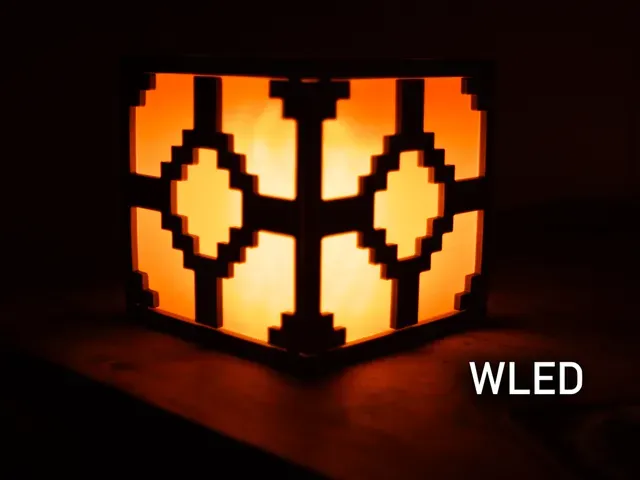
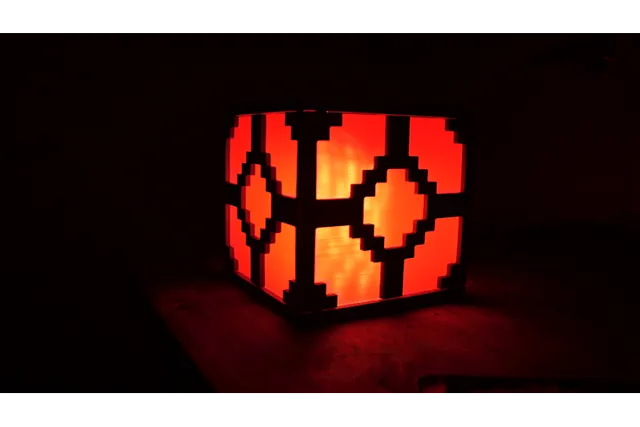
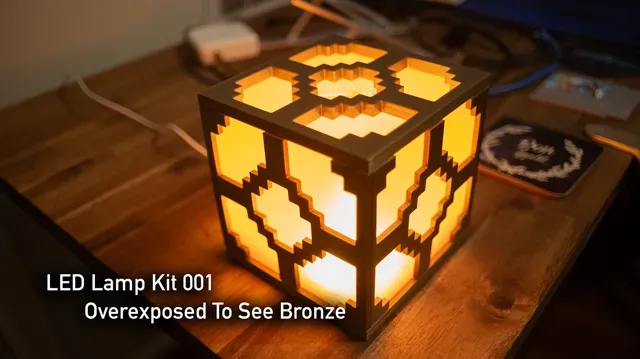

Illuminate your base, and stay safe!
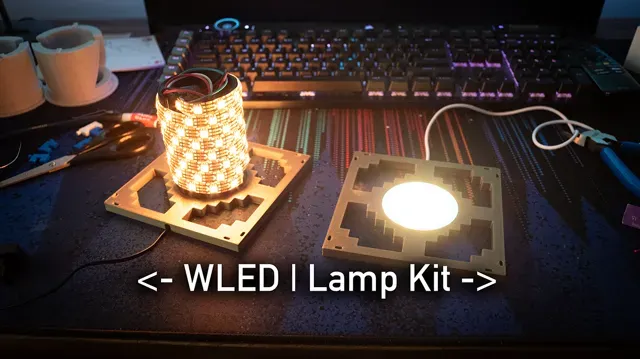
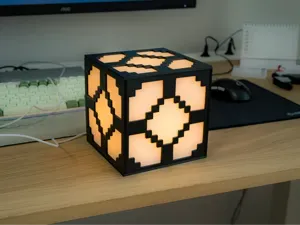
Say hello to the second instalment of my Minecraft lamp series; The LED Restone Lamp. This bright model is at an 8x scale with support for the LED Lamp Kit found in the Bambu store and supports for an LED strip with a controller.
This is a simple two-tone build and is printable on the A1 Mini. On larger printers, it is achievable to print this model in fewer total prints. This model consists of a transparent shell surrounded by 6 side plates pushing together with their joins. All press joins have a tolerance of 0.1mm which I was able to achieve with my A1. No screws or glue are required during construction. If you want to have the lamp attached upside down or horizontally I would consider glue.
Update 18/07/2024: Added commercial licensing through Ko-Fi; https://ko-fi.com/jackalolz
Materials & Filament:
For the model seen above I've used;
- PLA Bronze for the surround frame - PTEG Transparent for the lamp shell. (PLA Transparent can be used, keep aware of heat when running WLED illumination) The frames and WLED insert were printed using the 0.4 nozzle, however, the PTEG shell was printed at 0.6 nozzle. PTEG transparent can be printed with a smaller nozzle, seek Bambu Labs tips on printing PTEG transparent filament. I have not tested printing the shell in generic PLA, however after running a transparent test, I can't see it working with anything that isn't transparent.
Construction:
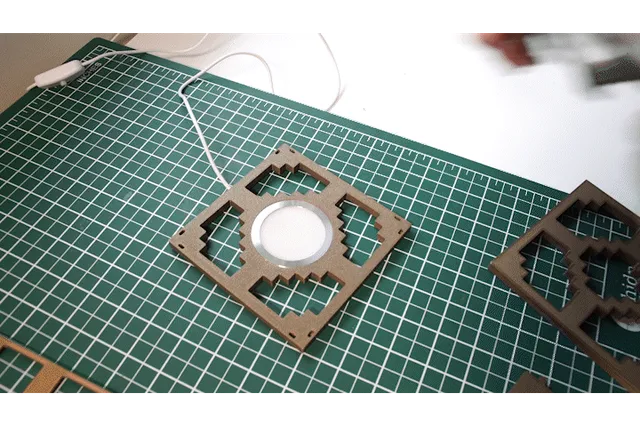
- Print all frame plates. Print the “ front/back” plate and “ left/right” plate twice. In total, you should have 6 frame prints. - Insert your light source into the base plate - Place your front/left/back/right plates into the base following this order listed. The back of the model has the cable guide in the base. - Insert transparent shell - Enclose the shell and join the sides together with the final roof frame WLED Examples
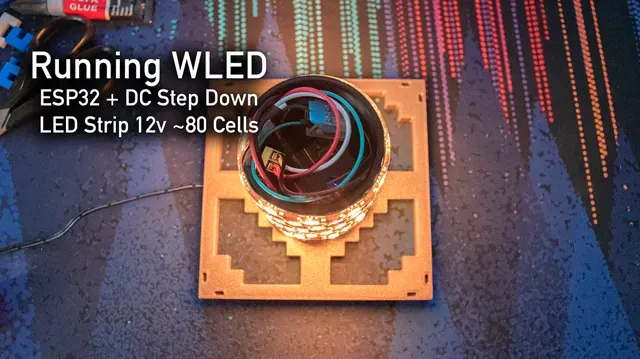
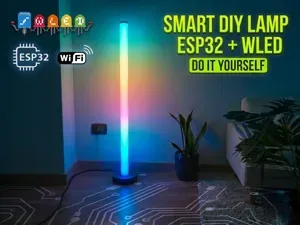
This is the insert that is printable for the WLED route. It is hollowed out with enough space to fit a microcontroller and any necessary wiring. For my design, I've used a 12v LED strip that I have glued spirally from top to bottom. For the brains, I've used an EPS32 controller running WLED. There are a bunch of tutorials on Youtube on how to use WLED from installation to wiring. Lastly is a step-down DC to DC Buck module to send the ESP32 3.3v. If you need further assistance feel free to comment and I will post my setup.
PLEASE REMEMBER: HEAT WARNING
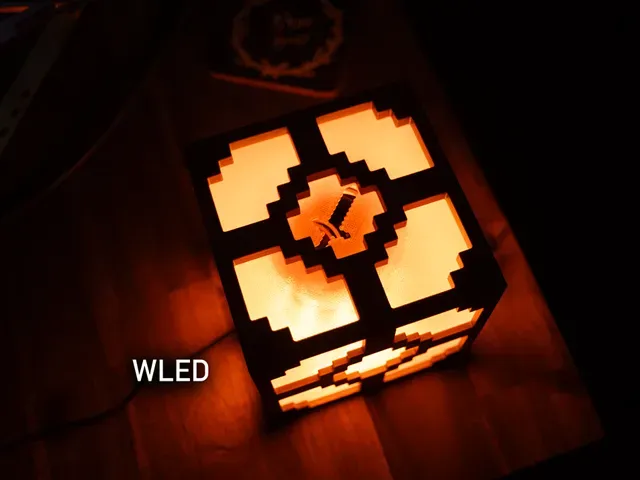
LED Strip can become hot when on for large durations and the default beacon shell keeps all heat trapped inside the enclosure. Please be cautious in filament selection and consider tougher materials such as PTEG and above. I recommend using the second print plate on the shell print file with the added Minecraft sword air vent to expel heat.
Congratulations & Enjoy!
It's that easy! Please rate, comment and enjoy your redstone lamp. Happy mining!
Looking for a commercial license? Buy me a coffee in exchange; https://ko-fi.com/jackalolz
PLA Plates - Redstone Frame Plate 1 Thru 4 PLA Bronze 0.2mm layer, 2 walls, gyroid 15% infill
Print plates 3 & 4 twice.
PETG 0.6 - Redstone Shell (With and Without Air Vent) Plate 1 - Sealed Shell PETG Orange - 0.6mm nozzle
0.3mm layer, 3 walls, 100% infill
Plate 2 - Air Vent Shell PETG Orange - 0.6mm nozzle
0.3mm layer, 3 walls, 100% infill
WLED Insert Plate 1 - WLED Insert PTEG Brown 0.4 Nozzle, 0.2mm layer, 2 walls, 15% Gyroid infill
LED lamp kit spacer The LED lamp kit did not stay snug in the base of the frame, so I created this spacer. It attaches to the lamp and then fits tightly in the frame.
PS. If the spacer is too loose or too tight, then increase or reduce its size by 2%.
PLA,plates optimised for bigger printbed, rest like original
lamp shade with 0.8mm wall thickness, variable layer height The original lamp shade was quite thick, resulting in the lamp not making a lot of light. This might have been related to me using a white filament instead of a transparent one.
This print profile has a wall thickness of 0.8mm, the original one has a thickness of 1.6mm.
Note : This profile shows that it is for PLA, but it works with PETG and ABS as well. In the app, you can select a different filament type, even if the profile is for PLA.
LED Tea Light Redstone Lamp Shrunk and modified to fit some LED Tea Lights .

Названия используются только для указания источника результата. Polyzon не аффилирован с перечисленными площадками.