
Бесплатно 
PretzelTrap v1.0 (mouse trap)
Printables
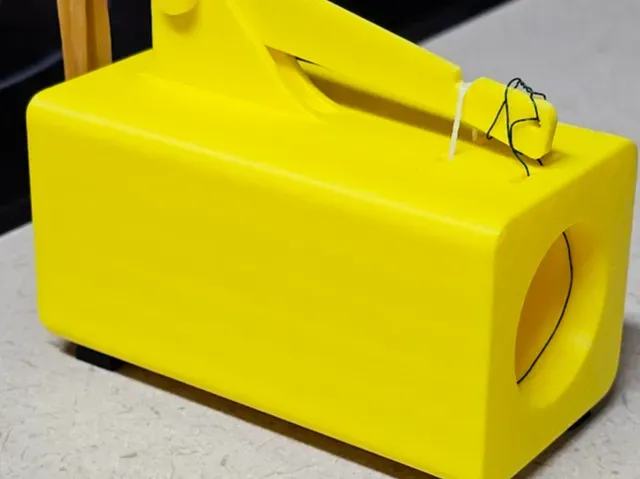
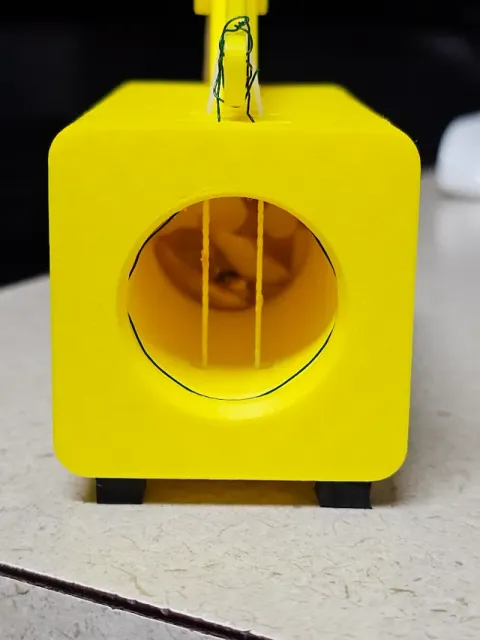
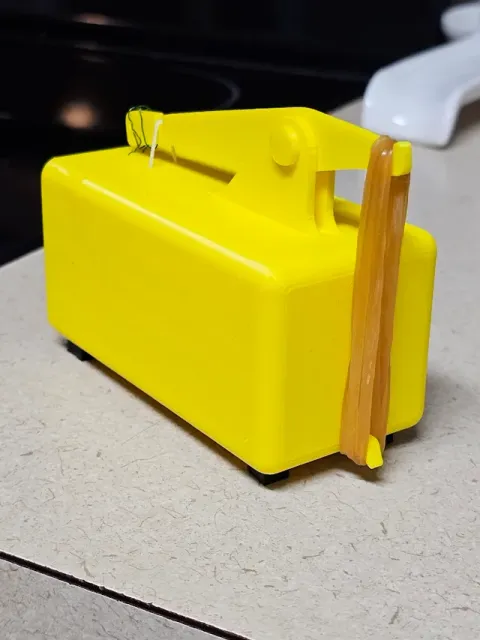
❗ BEFORE PRINTING THIS TRAP ❗
❗ BEWARE THAT THE WIRE YOU WILL NEED IS VERY THIN AND CAN INJURE YOU IF TRAP IS HANDLED IMPROPERLY. ❗
Inspired by a trap featured on a YouTube Video.
HOW IT WORKS:
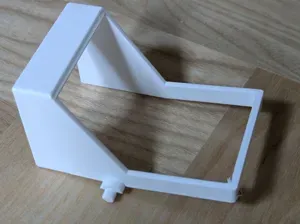
The rubber bands on the rear of the arm constantly puts an upwards force on the arm's front end.
The string holds the arm down, this arms the trap.
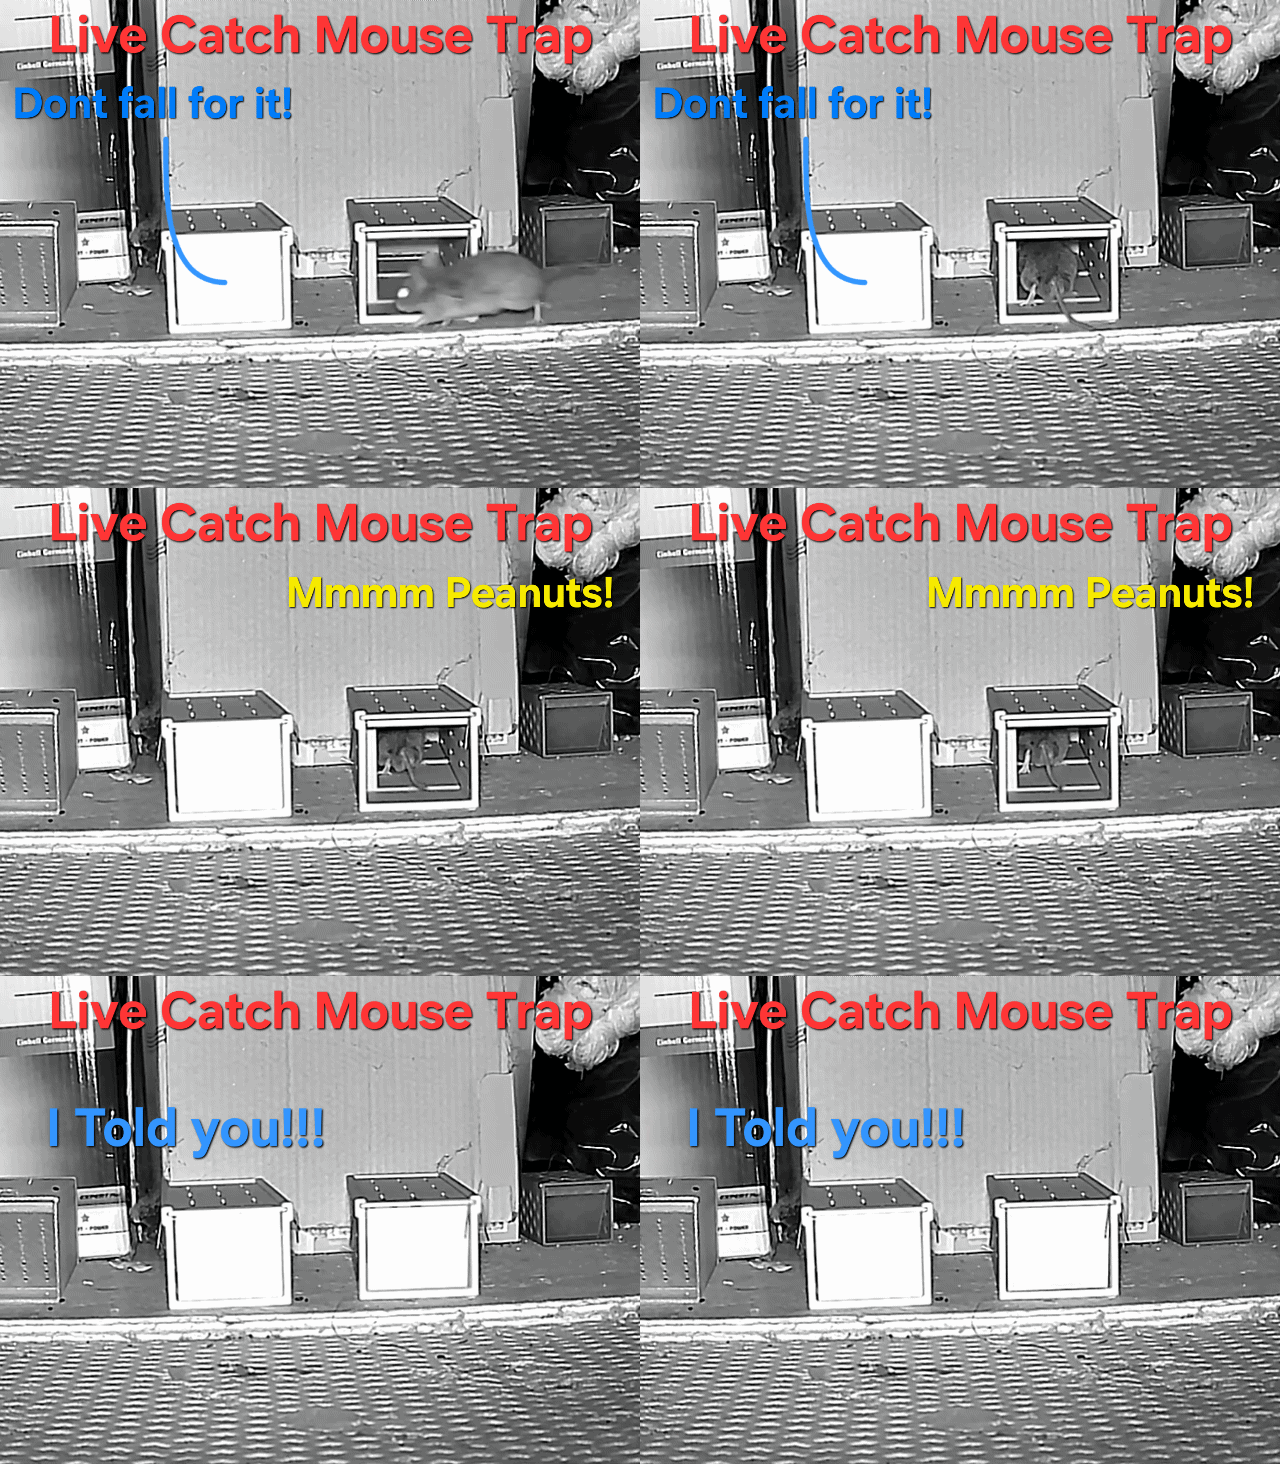
Bait sits behind the string so the mouse can not get to it (without chewing the string of course)
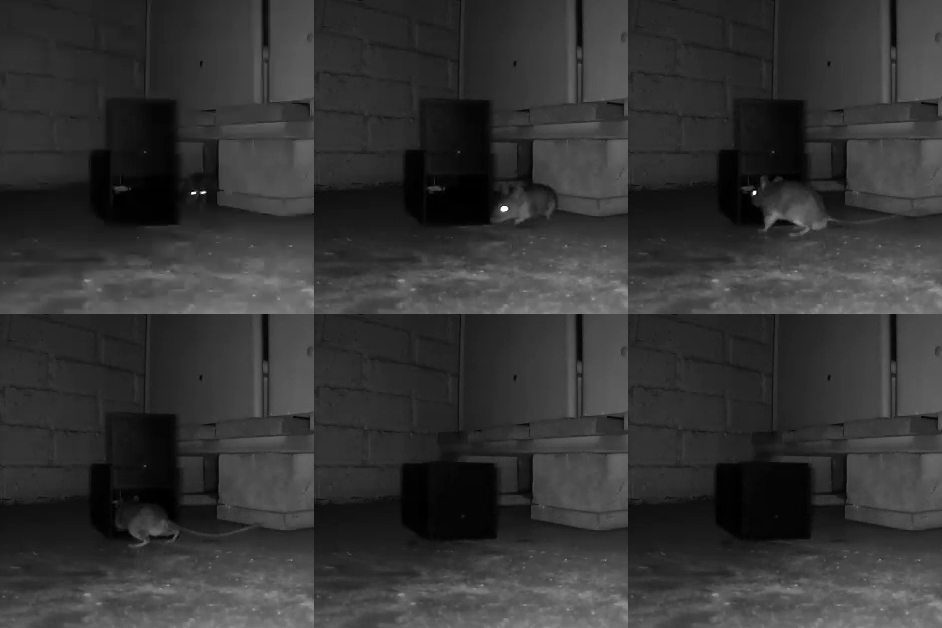
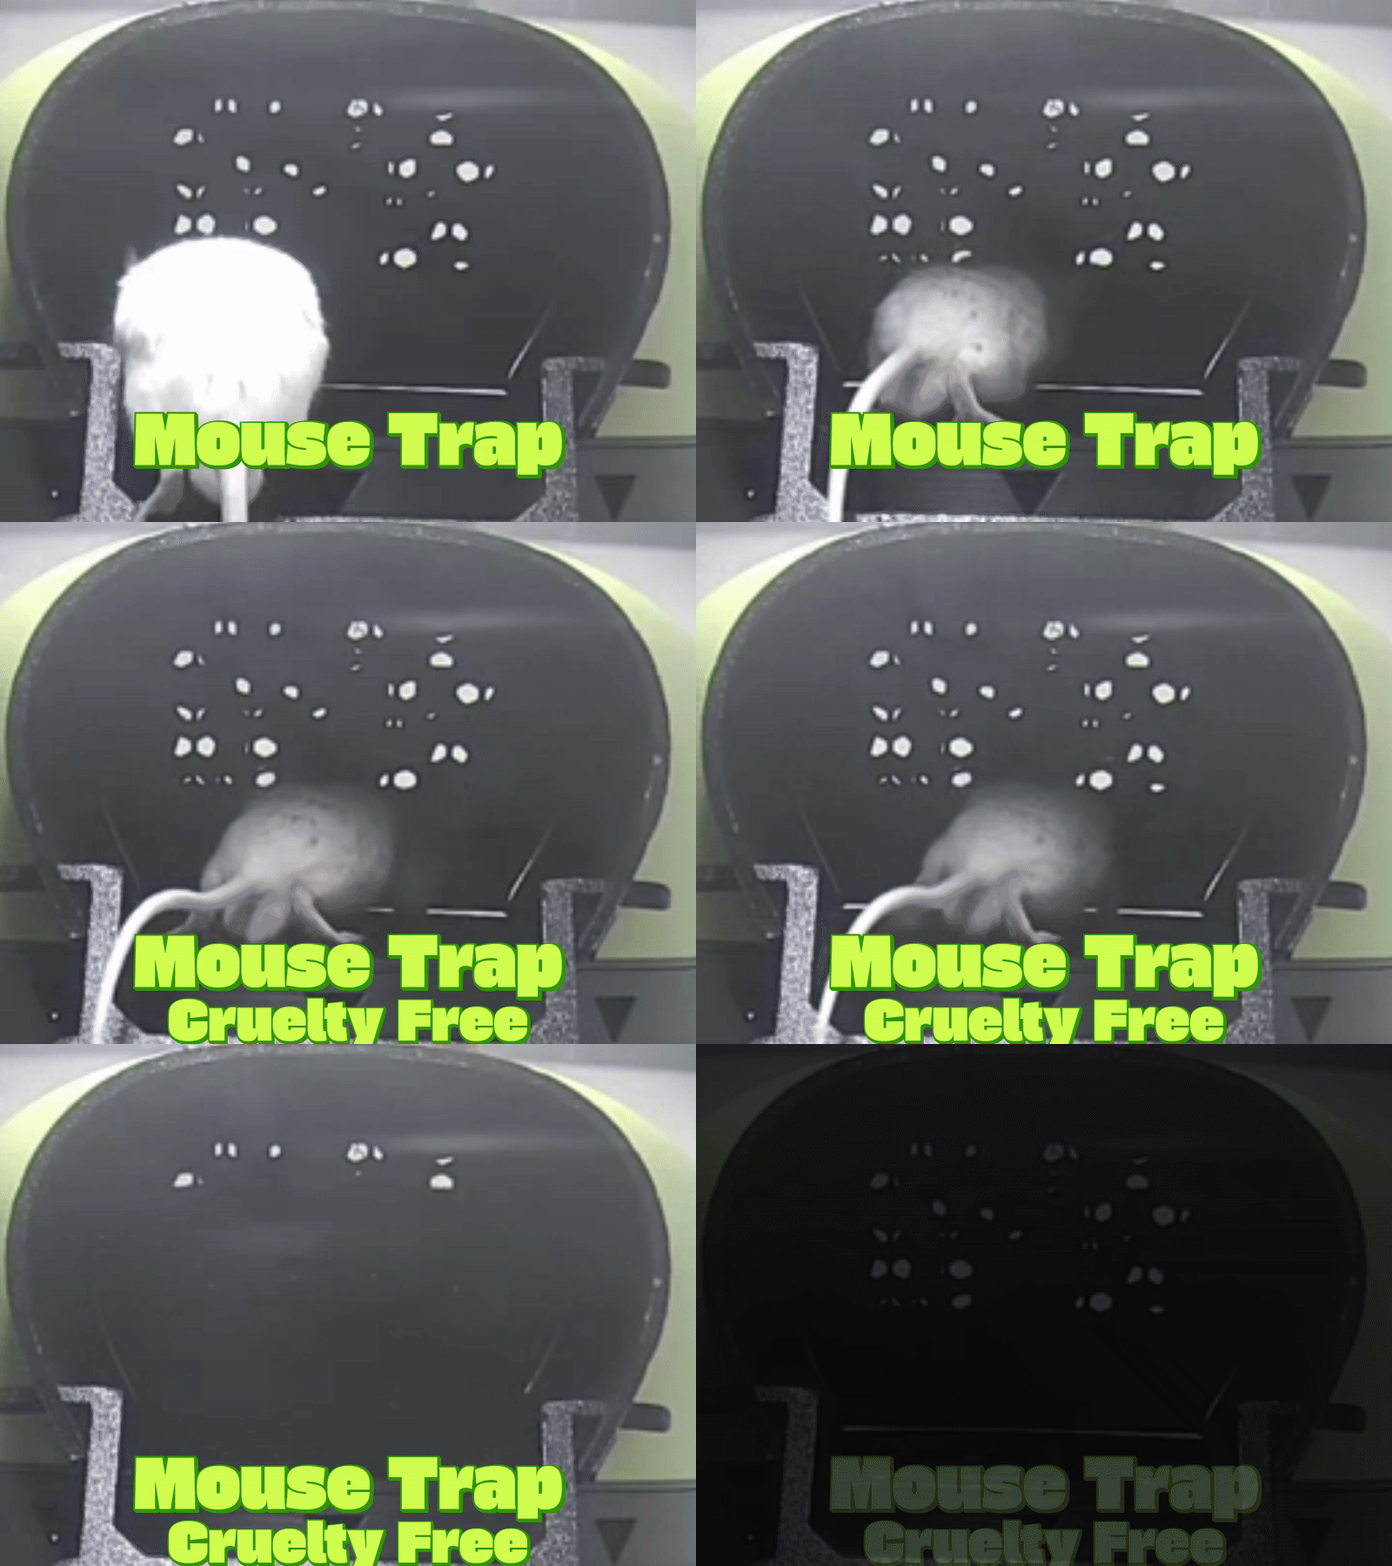
Once the string is broken, the upward force of the arm pulls the wire tight and holds the mouse.
REQUIRED MATERIALS:
Rubber band
String
Thin wire
SETTING THE TRAP :
BE CAREFUL AND NEVER PUT YOUR FINGER INSIDE THE TRAP ONCE THE WIRE IS INSTALLED.
It is explained in the YouTube video.
Easier to set with two people.
1. Place rubber band tight between the hook on the back of the trap's body, and the hook on the back of the arm.
2. Wire goes through the 2 slots in the front, passes through the end of the arm
3. Hold the arm down until the wire sits in the channel around the inside of the trap's body, then tie the wire tight on top.
4. Pass the string through the holes that are cut through the entire trap passing above the arm.
5. Compress arm until wire is in channel again, tie the string under the trap.
6. Push bait behind the strings with a knife NOT YOUR FINGER . I prefer peanut butter and a peanut. Up to you.
7. Set trap down and wait.
This trap worked extremely well for me. Glue traps, bucket rigs, and so on all failed. I set this trap out and within two hours the mouse was caught. (I would upload a picture but I am unsure of Bambu Lab's guidelines)
Notes:
- Peanut butter works well as you can use a knife to spread some on the string which will influence the mouse to bite the string some more. - In my print I forgot to add legs on the trap's body so I used foam which worked fine. (I suggest printing the body with legs which I included in the post, or doing something similar because the string will make the trap not sit flat.) - I printed the body with the front face down. - If the pin's cap does not fit, you could probably use a paper clip which is why I added the hole in the end of the pin.
Once again, I do not want anybody getting injured.
Print/use this trap at your own risk. This happened to work well for me, and I handled it carefully.
❗ BEWARE THAT THE WIRE YOU WILL NEED IS VERY THIN AND CAN INJURE YOU IF TRAP IS HANDLED IMPROPERLY. ❗
0.2mm layer, 3 walls, 15% infill A1 0.4mm nozzle, 0.20mm layer height, tree supports, 3 wall loops, 15% grid infill.
(I printed in yellow eSun PLA+, came out nice.)
I used some yellow R30-100 wrapping wire (that I had left over from an Arduino project), and some thread for the string.




Названия используются только для указания источника результата. Polyzon не аффилирован с перечисленными площадками.