
Бесплатно 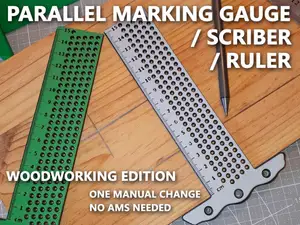
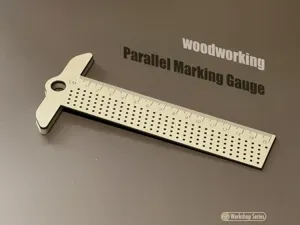
Parallel Marking Gauge / Scriber / Ruler
MakerWorld
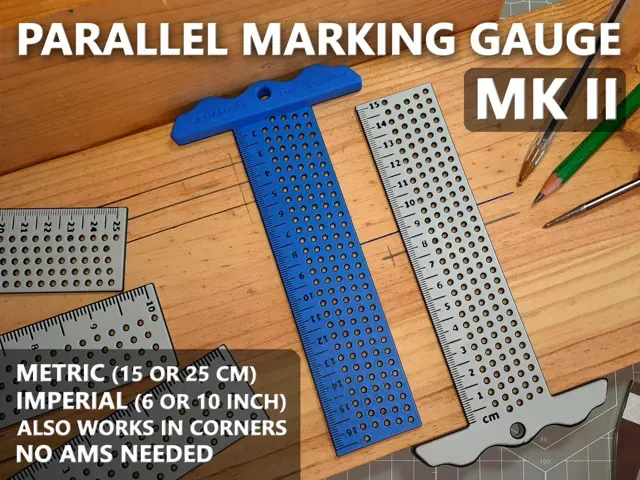
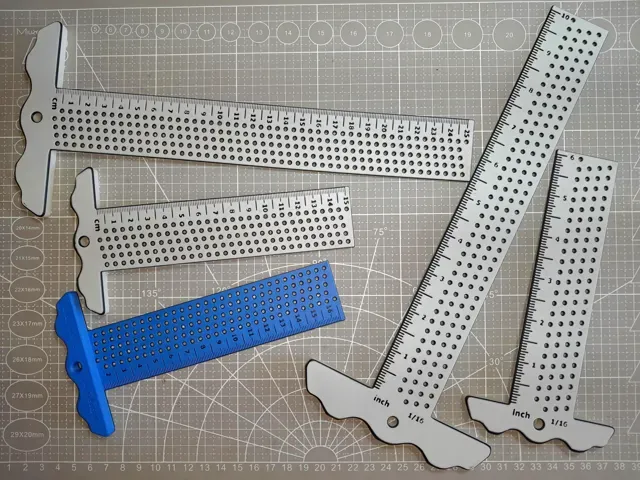
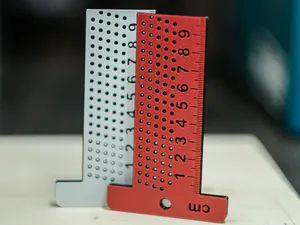
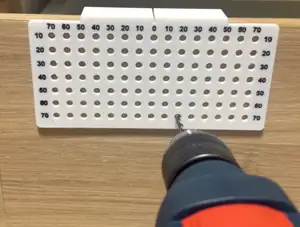
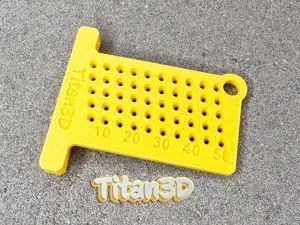
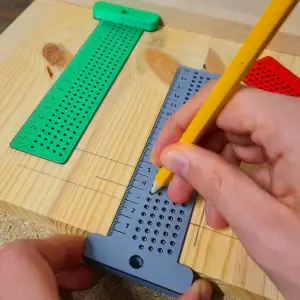
This is the “Mark II” version of the Parallel Marking Gauge (or also scriber / ruler / t-square). It does exactly what it says - in increments of 1 mm (or 1/16th inch) - but this version comes with a flattened stop-block and markings on the back. This allows you to turn it around, place it against corners and draw parallel markings using the same holes.
It is a somewhat demanding print and for best results it is highly recommended to use the provided print profiles on a clean build plate. There are 2 colour changes to highlight the markings, either done manually (pauses are set in profiles) or with an AMS.
Versions:
Metric Mk II 15 cm - 1mm interval,15 mm stop-block
Metric Mk II 25 cm - 1mm interval, 20 mm stop-block
Imperial Mk II 6 inch - 1/16th interval, ¾ inch stop-block
Imperial Mk II 10 inch - 1/16th interval, 1 inch stop-block
You can find the original marking gauge here . It is simpler, needs only one colour swap to print but can only be used from one side.
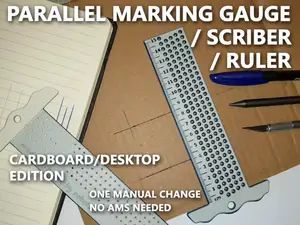
The gauge is designed for woodworking and has a stop-block with a height of 7.5 mm but there is a remix of version 1 available with a block height of 1.5mm that is more suitable for working with cardboard or paper and general desktop applications.
Print Settings:
0.4 mm Nozzle
0.2 mm Layer Height (also 1st layer)
0.4 mm Line Width
Wall Generator: Classic
Seam Position: Random
Only one Wall on First Layer
No Narrow Infill Detection
for the 25cm and 10 inch Version (diagonal): Infill direction 0°
Colour Changes:
The text (markings, numbers, etc.) are cut out 0.4 mm deep, so you only got 2 layers to make them stand out. I find it the easiest to read if you start with a bright colour (opaque, lots of pigments), add a pause on layer 3 (0.6 mm) and change to a dark colour. Then add another pause on layer 11 (2.2 mm) and change back to a bright colour to print the markings on the back.
Both pauses are already set in the manual print profiles and there are AMS print profiles available that do these changes automatically.
A smooth build plate can help a bit to improve the text.
set a pause on layer 3 (0.6 mm) and a pause on layer 11 (2.2 mm) and manually change the colour (already included in the manual print profile)
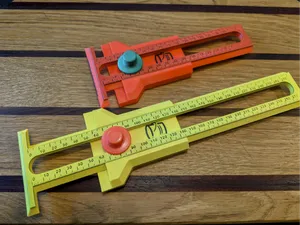
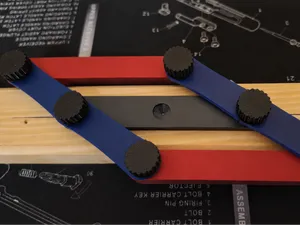
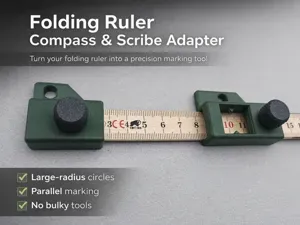
If you like this print, you might find these models to be a nice and unique addition to your workshop:
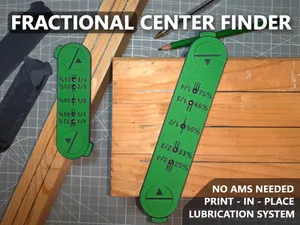
Fractional Center Finder - mark the center or 1/3 or 1/4 fractions along your workpiece Quick Compass - quickly draw the radius you want from 20-300mm
I had a lot of fun designing this and would like to thank everybody involved in the first version. Thanks so much for all your support, suggestions and requests. They mean a lot to me and it feels nice to be part of such an awesome community.
Have fun and if there are any flaws or suggestions, feel free to message me and if you got the time, please share some pictures of the gauge in action! It would be amazing to see it being used in all of these projects around the planet ♥
Cheers and happy printing,
fmod :)
Mk II 15 cm - MANUAL change, pause at layer 3 and 11 Pause set on Layer 3 and Layer 11 for manual colour change.
0.4 mm Nozzle
0.2 mm Layer Height (also 1st layer)
0.4 mm Line Width
Random Seams, 25% Gyroid, one wall on first layer, slightly slower speed, no narrow infill detection
Mk II 15 cm - for AMS (2 colours) AMS profile, 2 colours, includes both colour changes (layer 3 and 11)
0.4 mm Nozzle
0.2 mm Layer Height (also 1st layer)
0.4 mm Line Width
Random Seams, 25% Gyroid, one wall on first layer, slightly slower speed, no narrow infill detection
Mk II 25 cm - MANUAL change, pause at layer 3 and 11 Pause set on Layer 3 and Layer 11 for manual colour change.
0.4 mm Nozzle
0.2 mm Layer Height (also 1st layer)
0.4 mm Line Width
Infill direction: 0°
Random Seams, 25% Gyroid, one wall on first layer, slightly slower speed, no narrow infill detection
Mk II 25 cm - for AMS (2 colours) AMS profile, 2 colours, includes both colour changes (layer 3 and 11)
0.4 mm Nozzle
0.2 mm Layer Height (also 1st layer)
0.4 mm Line Width
Infill Direction: 0°
Random Seams, 25% Gyroid, one wall on first layer, slightly slower speed, no narrow infill detection
Mk II 6 inch - MANUAL change, pause at layer 3 and 11 Pause set on Layer 3 and Layer 11 for manual colour change.
0.4 mm Nozzle
0.2 mm Layer Height (also 1st layer)
0.4 mm Line Width
Random Seams, 25% Gyroid, one wall on first layer, slightly slower speed, no narrow infill detection
Mk II 6 inch - for AMS (2 colours) AMS profile, 2 colours, includes both colour changes (layer 3 and 11)
0.4 mm Nozzle
0.2 mm Layer Height (also 1st layer)
0.4 mm Line Width
Random Seams, 25% Gyroid, one wall on first layer, slightly slower speed, no narrow infill detection
Mk II 10 inch - MANUAL change, pause at layer 3 and 11 Pause set on Layer 3 and Layer 11 for manual colour change.
0.4 mm Nozzle
0.2 mm Layer Height (also 1st layer)
0.4 mm Line Width
Infill Direction: 0°
Random Seams, 25% Gyroid, one wall on first layer, slightly slower speed, no narrow infill detection
Mk II 10 inch - for AMS (2 colours) AMS profile, 2 colours, includes both colour changes (layer 3 and 11)
0.4 mm Nozzle

Названия используются только для указания источника результата. Polyzon не аффилирован с перечисленными площадками.