
Бесплатно 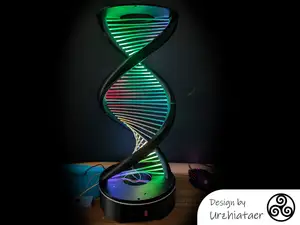
DNA Fiber Lamp - WLED
MakerWorld
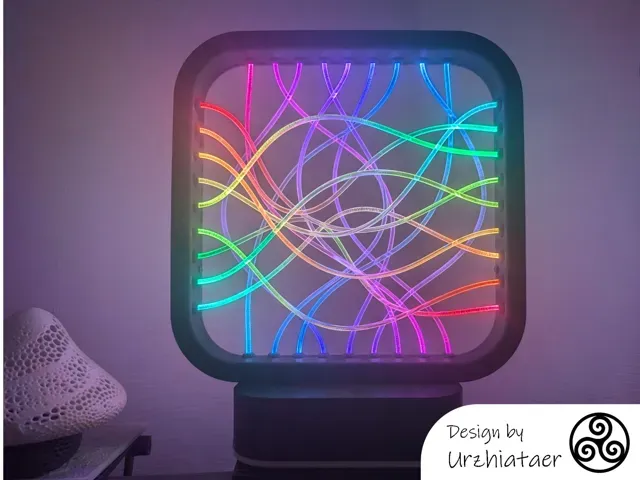
Hi Maker,
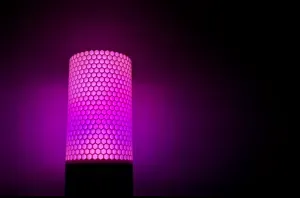
Here an easy DIY for building a Fiber Lamp using WLED. Based on an original idea of andrei.erdei, but completely redesigned (bigger with 36 leds, improved, simpler with WLED)
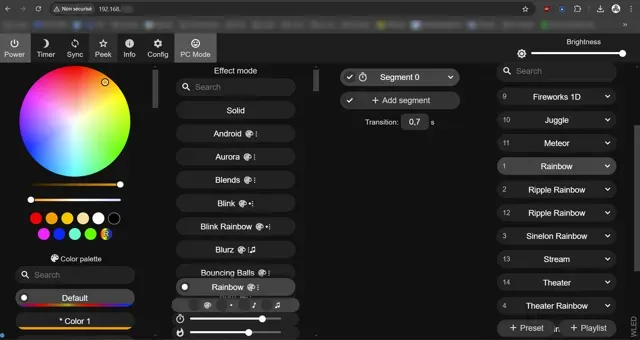
This fiber lamp is controlled exclusively in WIFI via the WLED interface (power on/off, choice of effects, etc.)
BOM
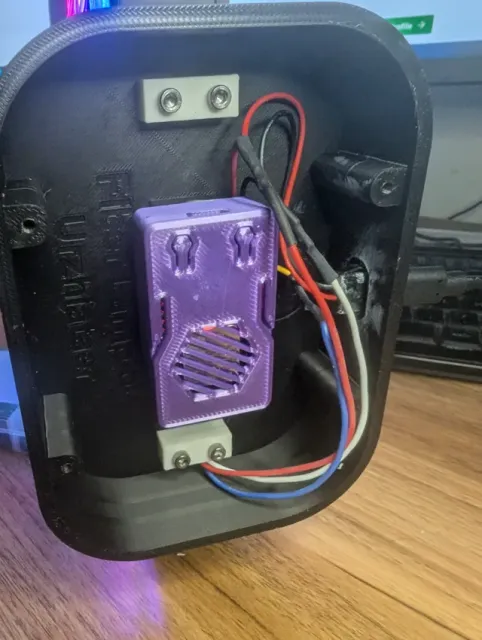
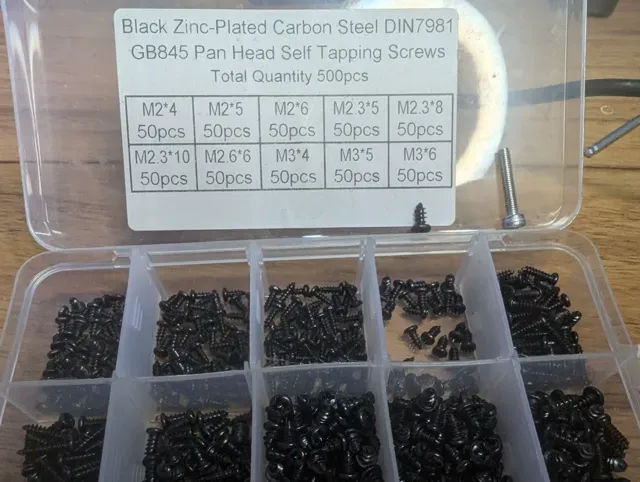
- 5 meter of fiber ( diam 3mm ) (https://fr.aliexpress.com/item/1005002987759286.html) - 1x ESP32 WROOM - 1x USB C (https://fr.aliexpress.com/item/1005007148475800.html) - 1 meter of ws2812b (36 leds) 60 leds / meter, IP30 - 5v 2/3A usb power - optional ESP32 case (print this : https://makerworld.com/en/models/186291 ) - some wire (24 - 20 AWG) - 4 x M3-16 (to attach the frame to the base) or glue (not recommanded) - 4 x M3-16 (to attach the lid under the base) - 4 x M3 - 6 (to close the frame with the lid frame) or glue
Instruction
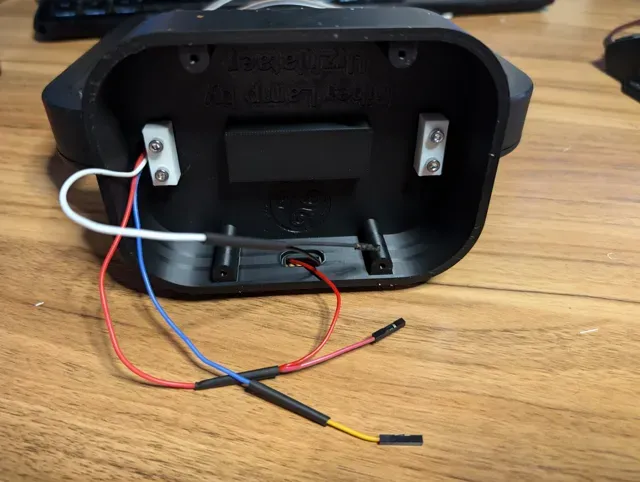
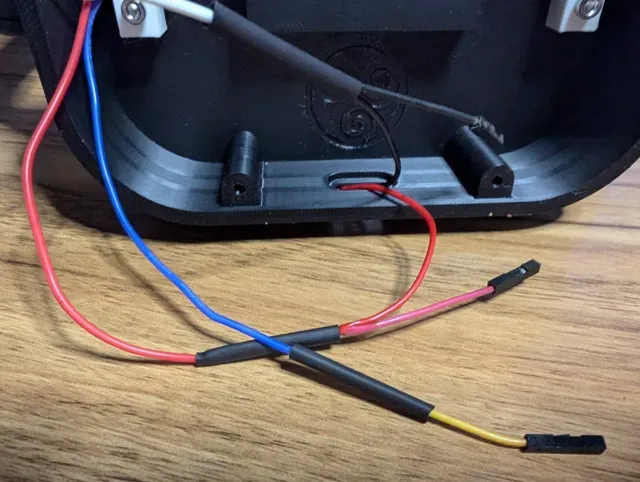
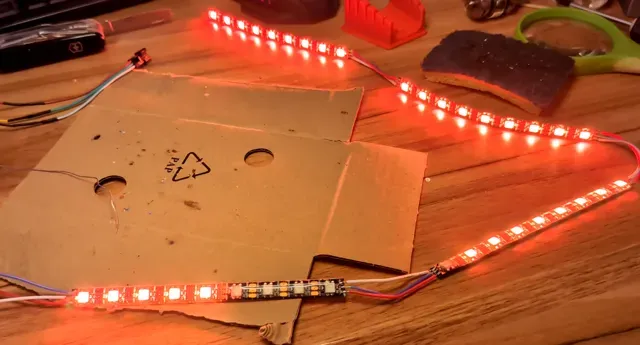
- print the elements - Prepare the ESP32 by installing WLED (directly from the WLED site https://kno.wled.ge/ ; https://install.wled.me/ ) - cut 4 strips of 9 LEDs, solder them with about 5cm of wire (24-20 AWG) and a length of 15 cm at the input of the LED strip. Pay attention to the direction of the LEDs (look at the small arrow). - Test the leds before assembly - Cut 18 pieces of fiber (25/23 cm) Tip, make a cut with a knife, then break the fiber at the notch for a clean cut. - Place the 4 ribbons in the frame, make sure that the LEDs are facing the holes. Start placing the pieces of fiber, resting on the LEDs, this will hold the strip in place) - Once everything is in place, test again - Close the frame. (4 M3- 6 like picture) or glue - Pass the input cables through the hole in the base, attach the frame to the base. Place the USB plug, solder the +5V to the +5V of the LEDs and another for the +5v of the ESP. Same with the GND. - Connect the +5v, the GND, and the data wire of the LEDs to the ESP32 - Test again - You can place the ESP32 in the case, and glue the case in the base (cleaner) or directly glue the ESP32 with a glue gun in the base) Close the cover, it's done.
Boost Me To offer you a turnkey DIY, I have carried out several tests, please support my efforts
Fiber Lamp - WLED




Названия используются только для указания источника результата. Polyzon не аффилирован с перечисленными площадками.
Комментарии