
Бесплатно 
IKEA PARASOLL Sensor Mod for External Power
Printables
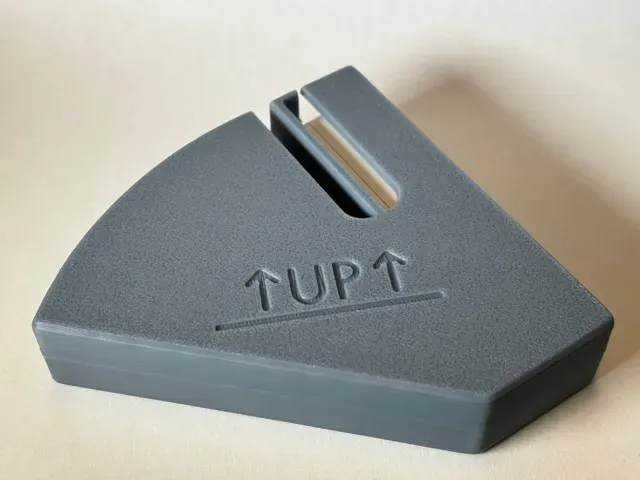

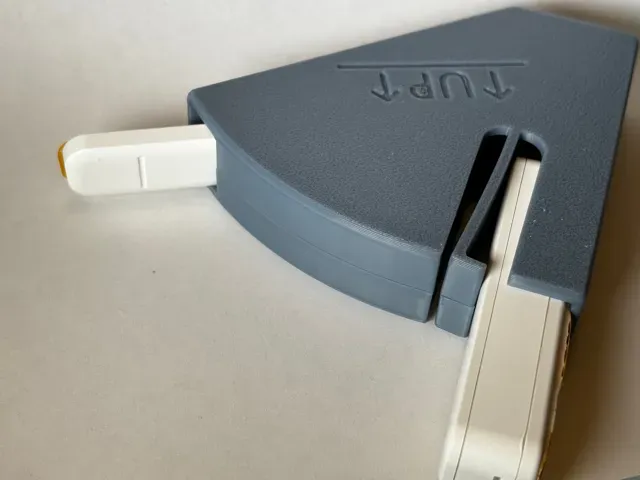
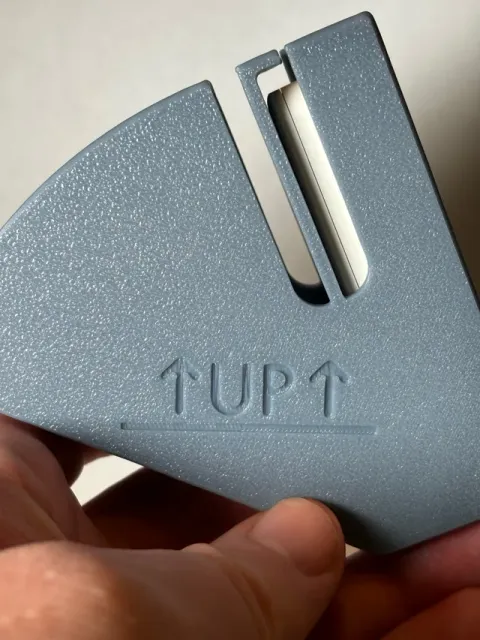
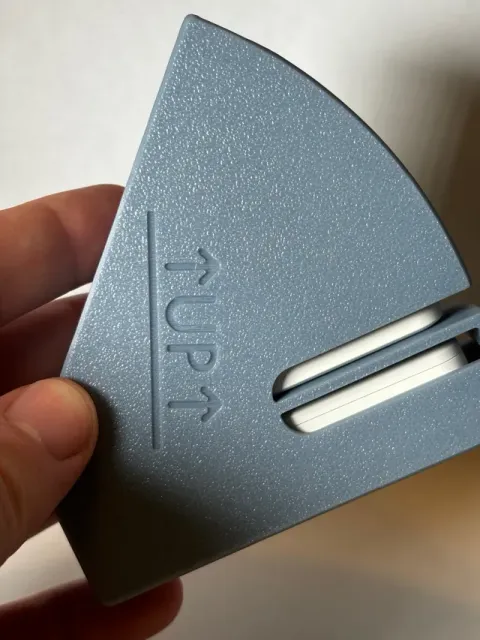
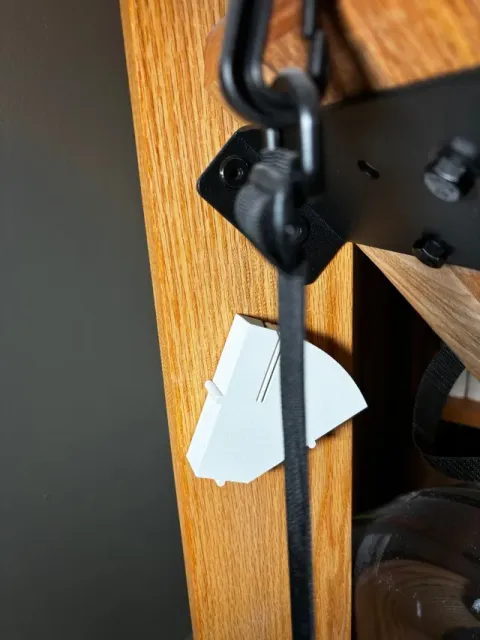
With this housing you can turn an IKEA PARASOLL smart door and window sensor into a simple binary tilt sensor. It's good for determining whether something is standing upright or lying down and you don't have a fixed counter point to mount the magnet.
I wanted to include my WaterRower into my smart home. When in use, the window blinds should close, as there's no reason to bother my neighbors with a sweaty me. Also It could then turn on some decent music fit for exercising music (anyone said “Eye of the tiger”?). As the IKEA PARASOLL is dirt cheap and I already had a DIRIGERA hub running, it was the logical first choice for such a mundane first world problem.
Note: The photo where it's on my WaterRower displays an older model. I slightly redesigned it, because I didn't want to post the somewhat flimsy version one here.
The housing is designed to hold the larger piece (the one containing the electronics) in a fixed position. The magnet is held in a triangular section to the side, in which it can tip over when the housing is tilted. It's obvious, but I want to say it anyway: Do not remove the protective film before inserting! You want to be able to get both of your parts out for maintenance (battery change, reset …). For the magnet part you can use a - you guessed it - magnet to do so.
To mount it, simply align the line under the “UP” parallel to the floor and use some double sided tape (3M, powerstrips, Scotch …). In this state the sensor's contact is open . The triangle side should point away from the direction your object gets tilted. Somewhere between the upright and the lying down state the magnet will tip over and the sensor's contact is closed . You can of course vary the mounting angle a little bit to better fit your need. It's best to do a dry run first, i. e. without the tape.
Print parameters
- Layer height: shouldn't be too coarse, mainly because of the snaps. I tested with 0.2mm. - Support: no - Filament: PLA, PETG - Brim: no - Walls, infill etc.: as low as possible. It is not a structural part and the weights kept in there are very light.
0.2mm layer, 2 walls, 10% infill Nothing special here. 0.2mm layer, 2 walls and a low 10% infill.





Названия используются только для указания источника результата. Polyzon не аффилирован с перечисленными площадками.