
Бесплатно 
Useless box
Printables
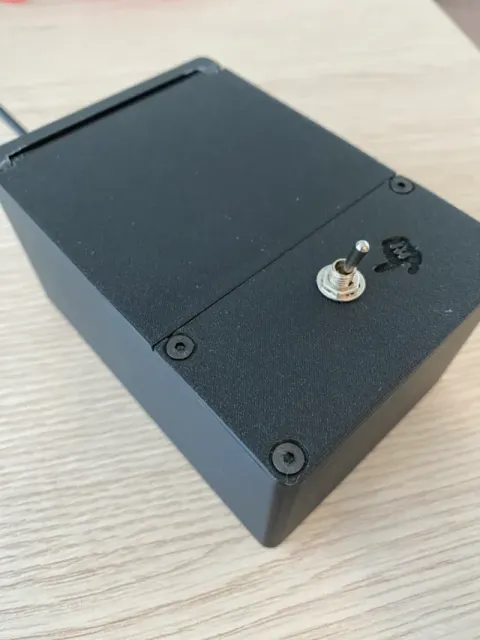
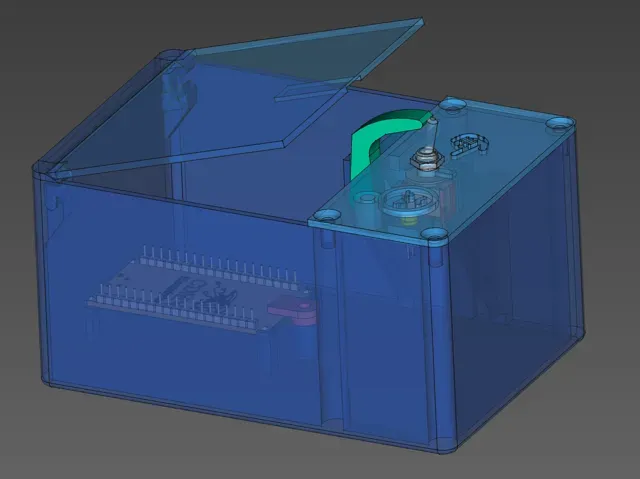
Who wouldn't want to create a totally certified useless box? I certainly wanted one since I saw one in Fargo :)
Also, I created this as a sort of “Hello world” exercise with ESP32's.
See it in action:
You'll need:
- an ESP32 - the code hosted at https://github.com/wiz78/UselessBox - a 5mm LED - a 220 Ohm resistor - a mini SPDT lever switch - a micro servo motor (I used a Miuzei MS18) - some electrical wires - 4 small M3 screws for the top lid - 2 longer M3 screws for the ESP blocker and LED support - 6 M3 brass inserts for the screws - a 2A USB power supply + micro USB cable Some assembly hints:
- connect the LED between a GND and a GPIO pin (e.g. 16), using the resistor in between. - connect the motor to another GND and a different GPIO (e.g. 18) - connect the switch between a GND and GPIO pin (e.g. 12) - those are the pins already defined in the code, which you can change of course - the code can be tweaked to enable an http server to replace the firmware and also to enable other test endpoints. One is especially useful to calibrate the positions of the servo motor once assembled: ie. curl -o- -X POST http://uselessbox.local/servo?pos=80 - you need to find the values to enter in the code for the resting position (arm under the lid), peeking position (arm partially elevated, opening the lid) and pushing position (enough to move the switch to its off position). Flashing the ESP32:
- download the code from Github - rename wifi_config-dist.h to wifi_config.h - edit wifi_config.h and insert your wifi settings - install Arduino IDE ( https://www.arduino.cc/en/software ) - set it up for the ESP32 (e.g. https://medium.com/@pauljoegeorge/setup-arduino-ide-to-flash-a-project-to-esp32-34db014a7e65 ) - compile the code and upload it to the ESP32 - disconnect the ESP32 from your computer before using the motor - follow the last “assembly hints” point to calibrate the servo. Recompile and reflash the ESP32 once you have the correct values to put in lines 13-16 of UselessBox.ino
0.2mm layer, 2 walls, 15% infill






Названия используются только для указания источника результата. Polyzon не аффилирован с перечисленными площадками.