
Бесплатно 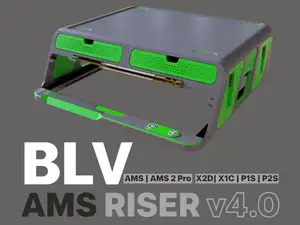
BLV - AMS / AMS 2 Riser P2S / X2D / X1C / P1S v4
MakerWorld
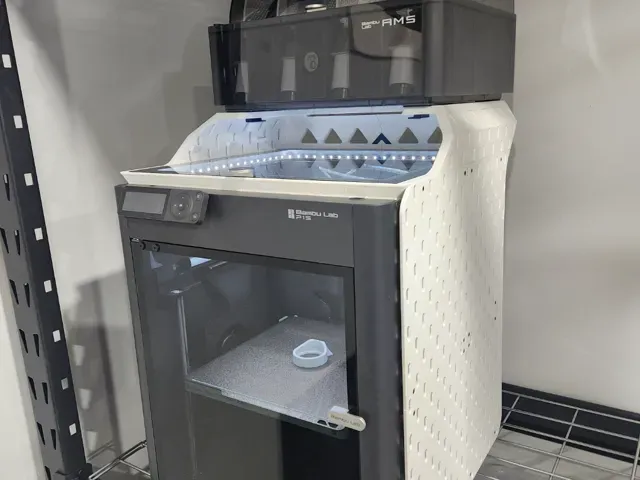
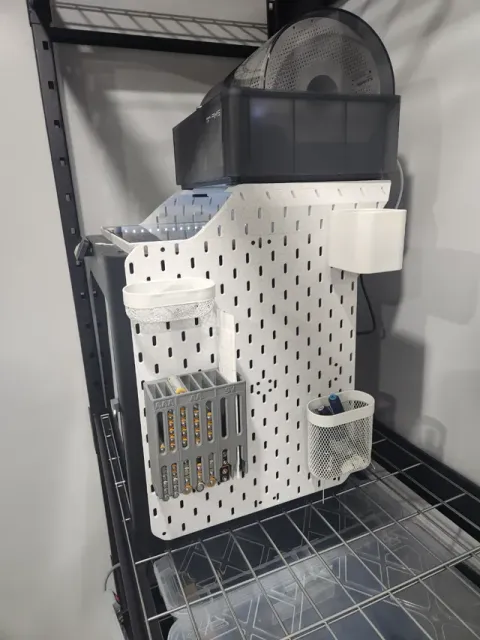
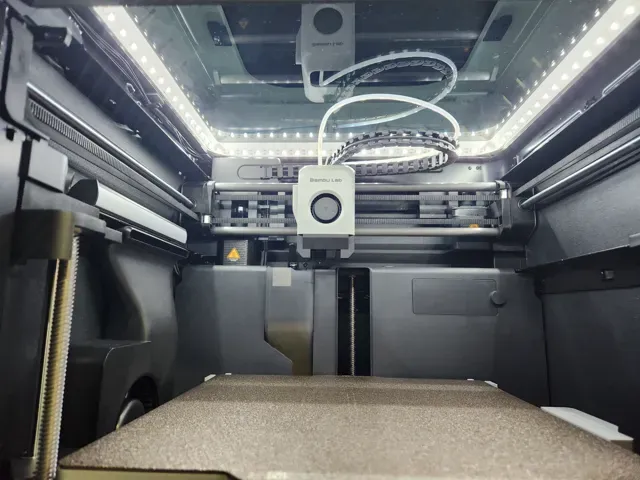
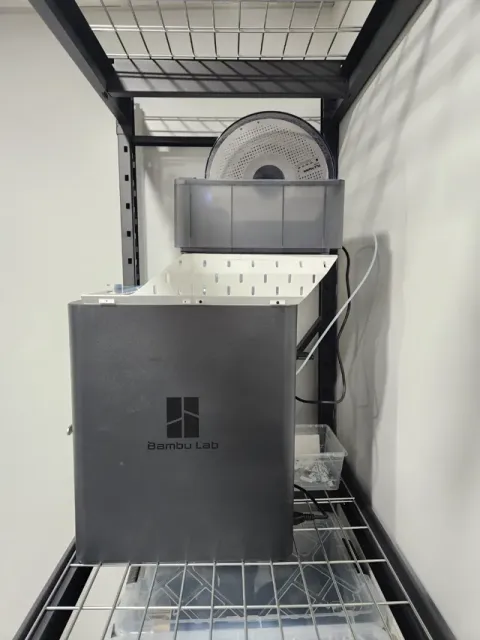
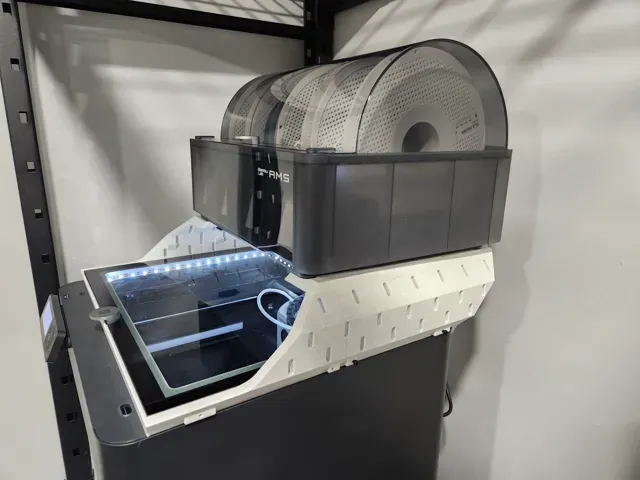
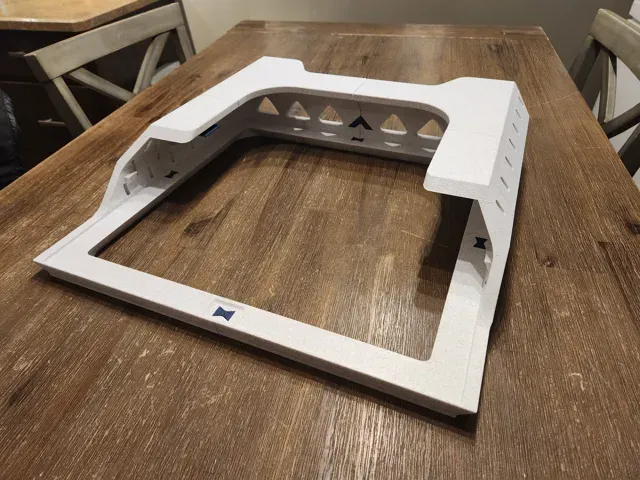
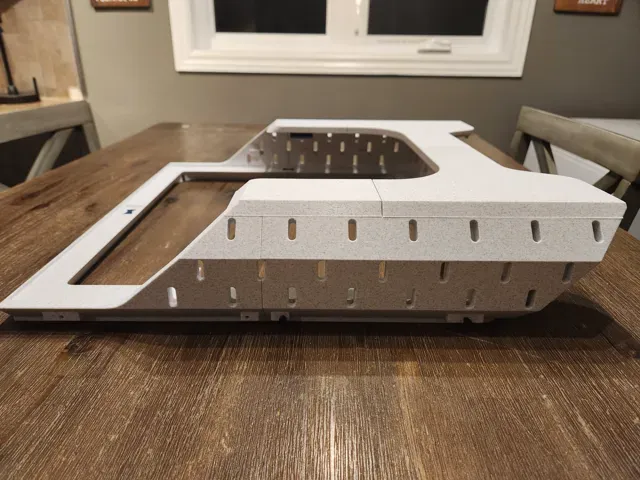
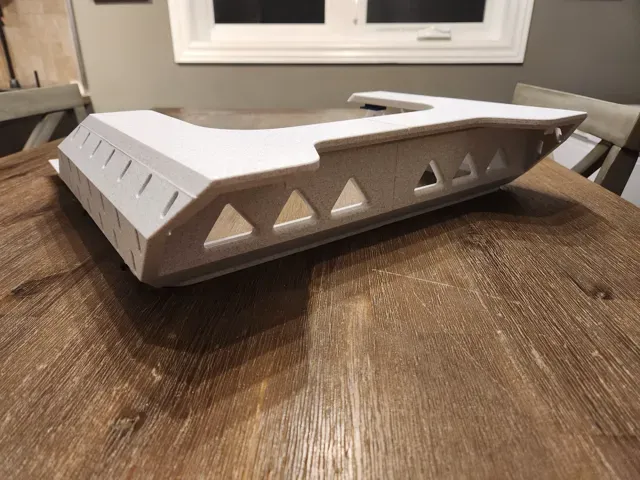
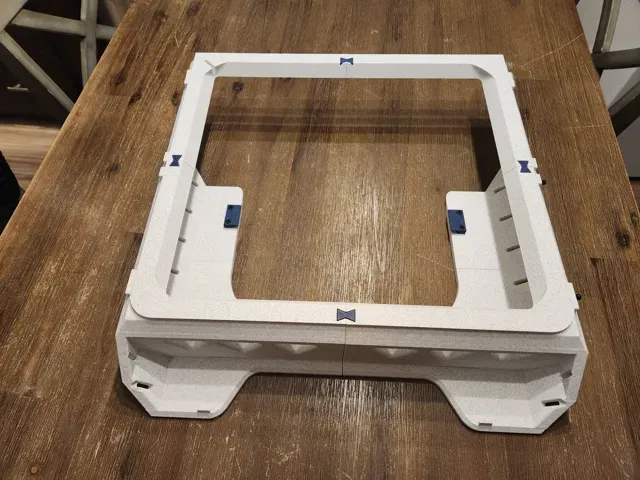
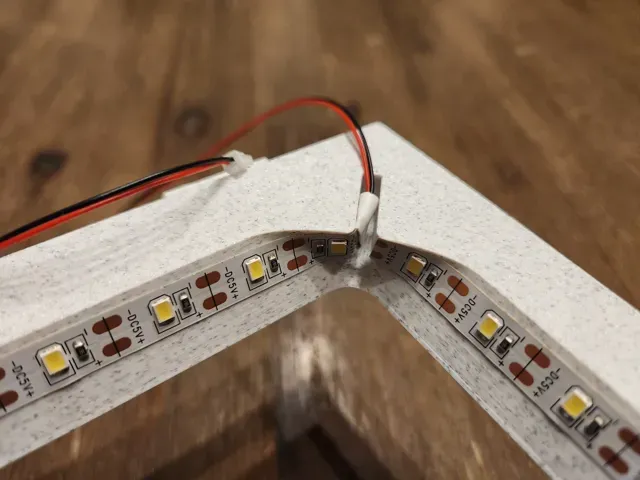
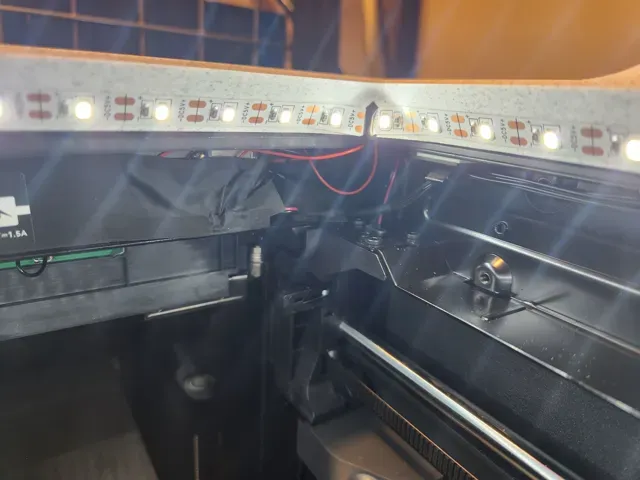
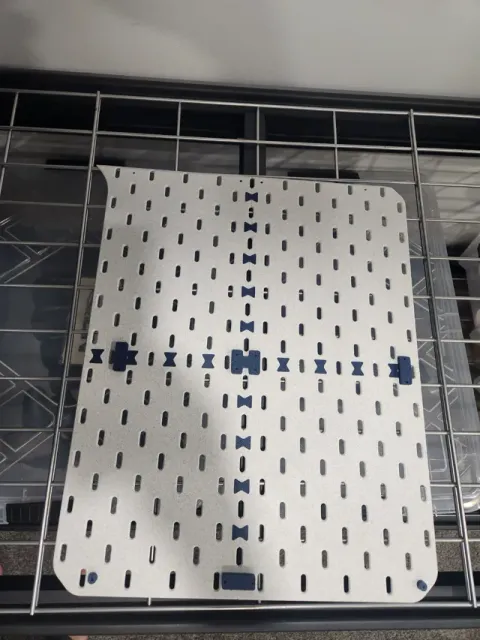
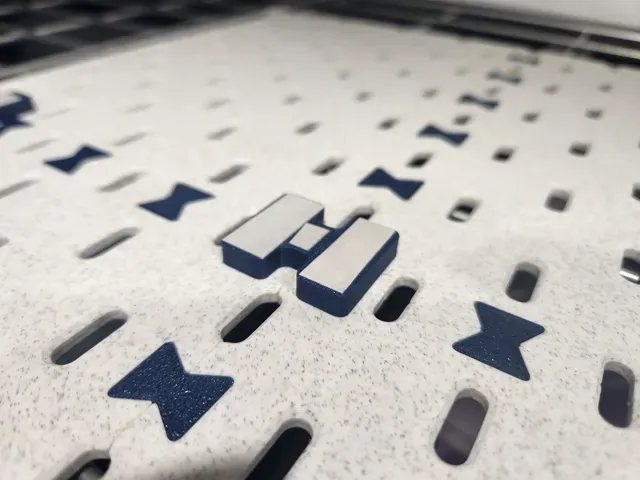
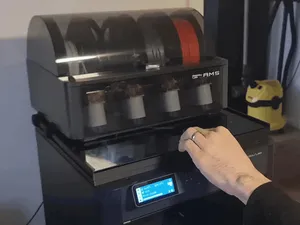
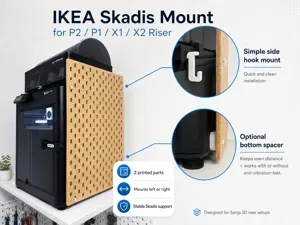
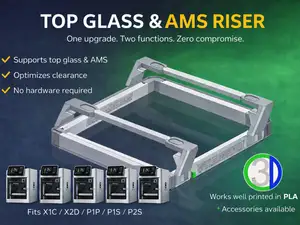
This model is an enhanced version of my popular AMS Riser with Enhanced Visibility. I wanted to take things to the next level to better suit the new workspace I am putting my printer in. Welcome, SKADIS!
This model is designed for the X1C and P1S. The P2S/X2D model can be found on my profile!
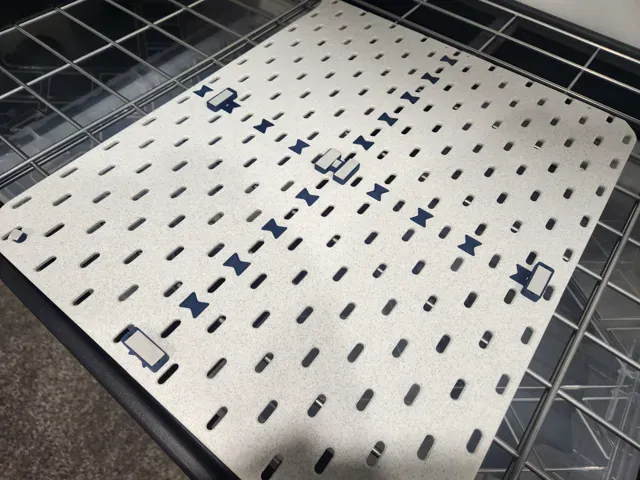
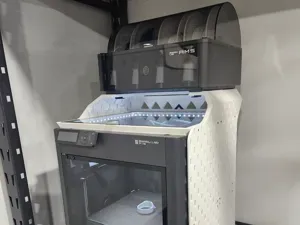
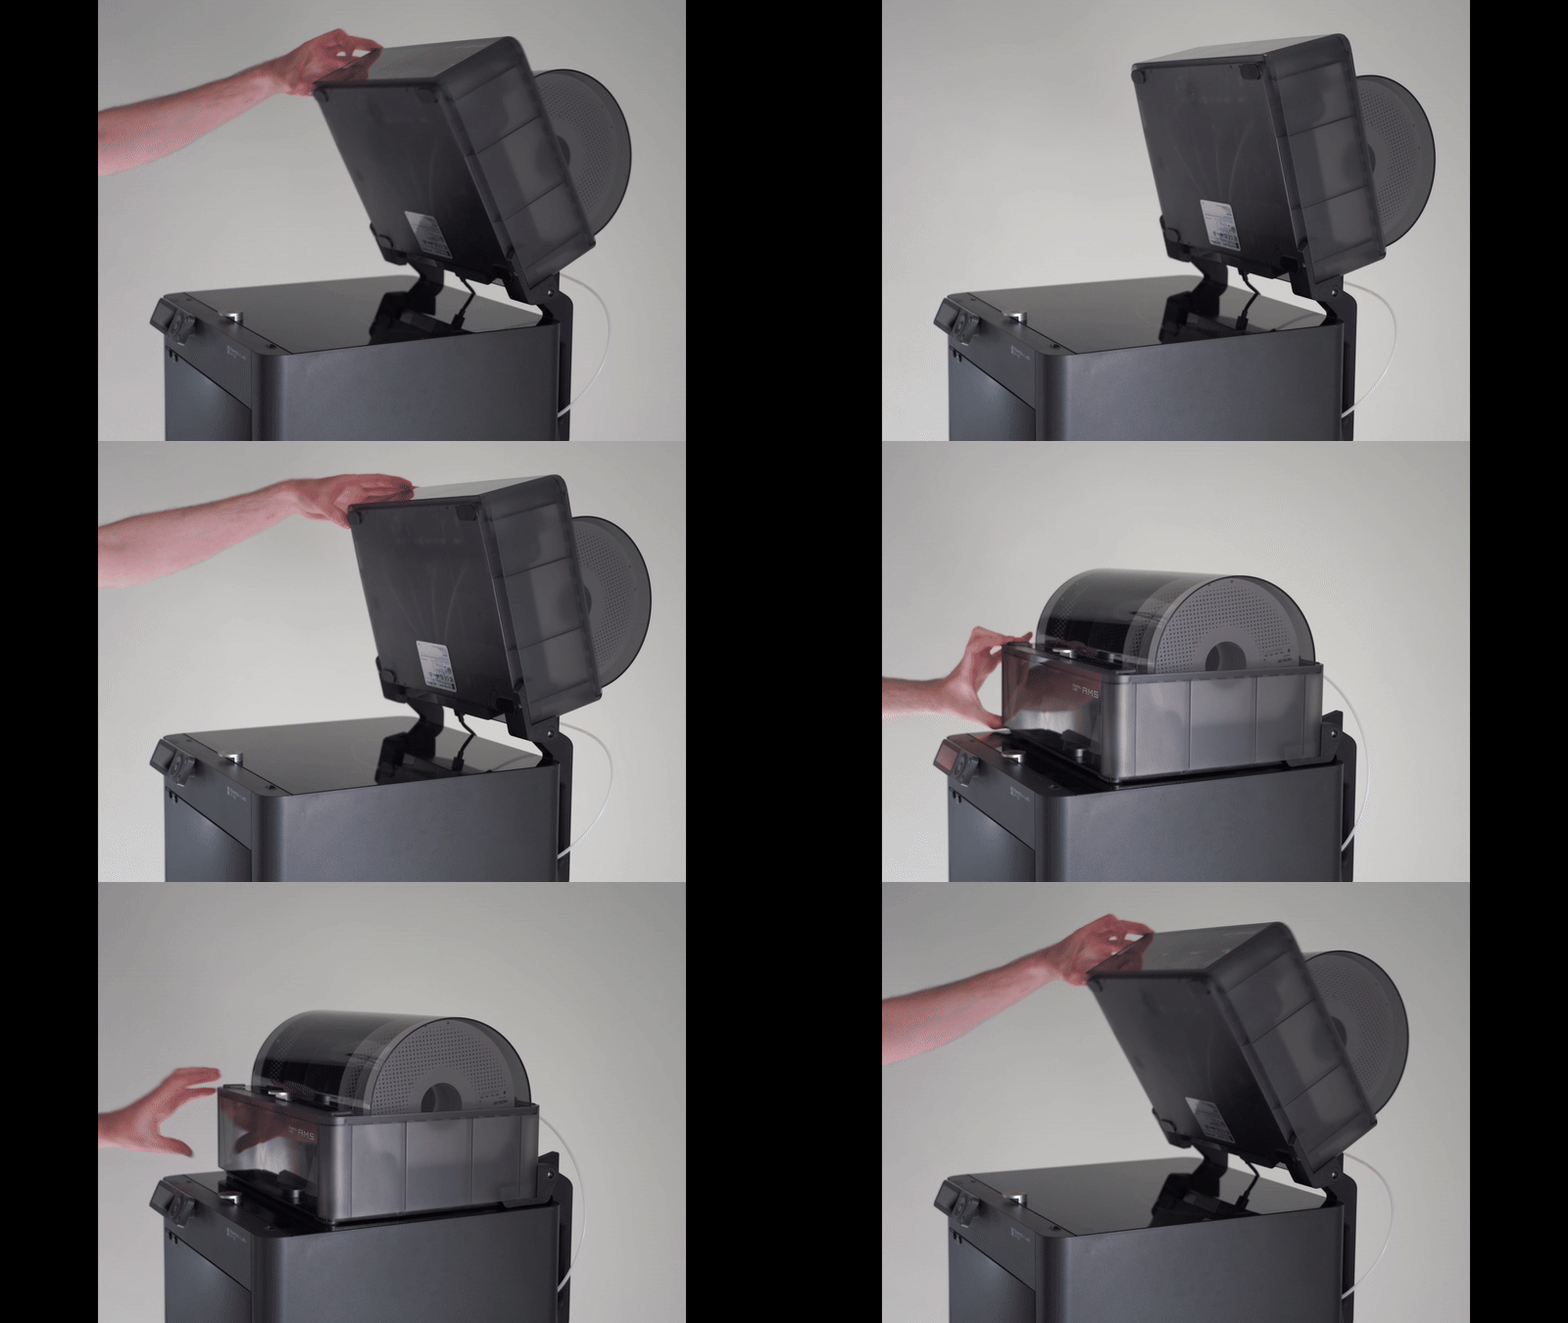
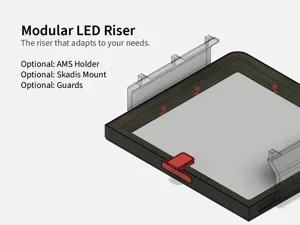
I wanted an AMS Riser that would give me amazing visibility into the printer through the top glass along with the ability to add an LED strip to light the print area up like the sun. So, I pushed the AMS back and added an angled surface to mount the LEDs to, with a cutout for the start of the strip and cable routing. I found myself wishing I had more tool storage along the side of the printer for all of the tools needed to finish my prints. The Ikea SKADIS pegboard system was a clear choice - with massive support from the 3D printing community, SKADIS provides options to mount anything you can imagine to the side of the printer. If it doesn't exist, design it using the standard hook dimensions to mount on the board!
Features & Updates
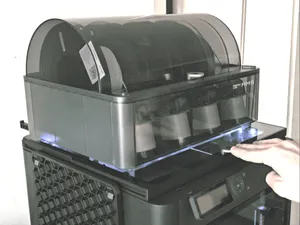
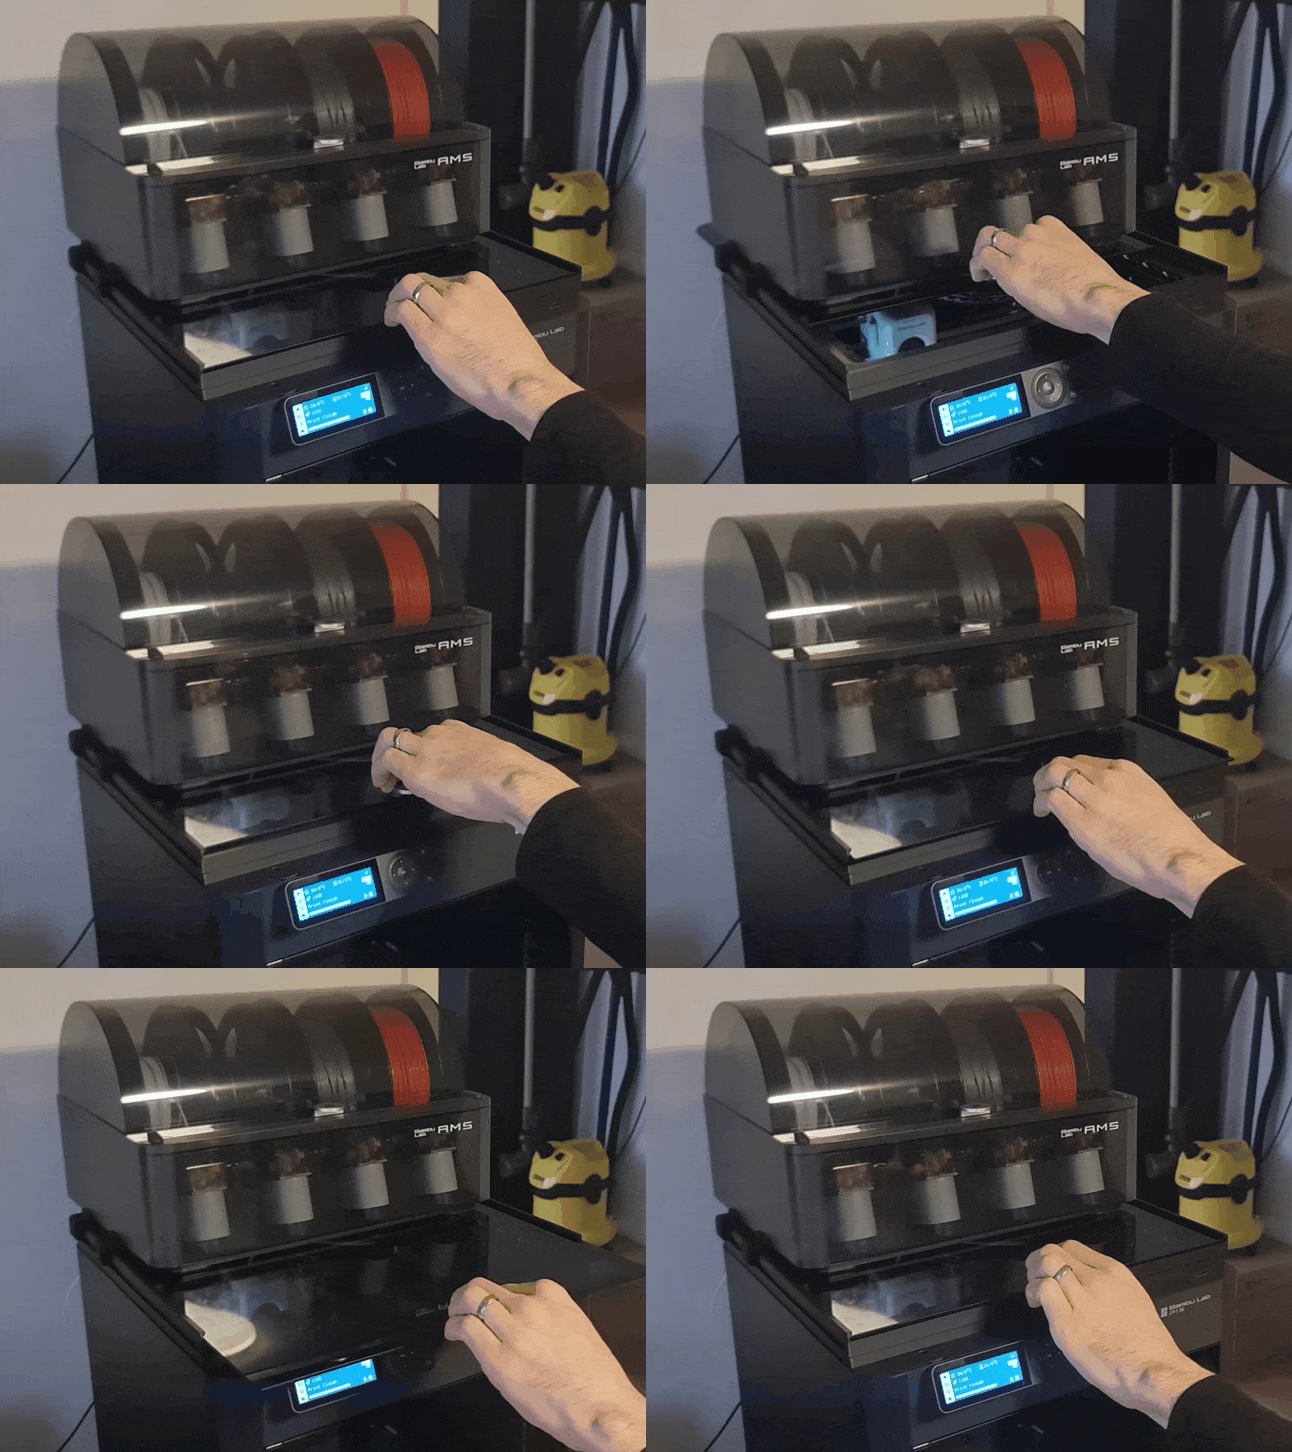
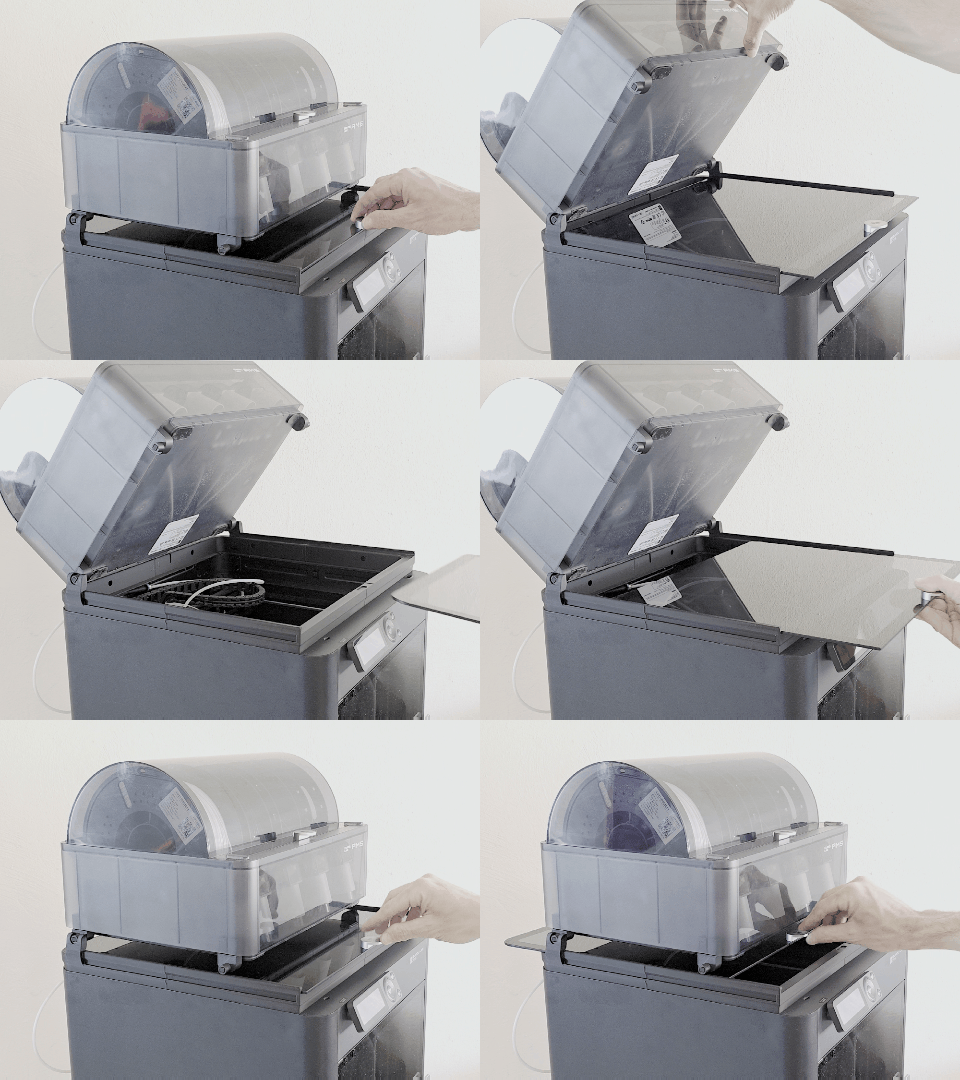
- Full SKADIS AMS riser with optional SKADIS side panels - LED strip mount surface and cable routing location. Buy an LED strip from AliExpress - it will be the best upgrade you've ever made to your printer. - Storage location to hold 2 additional build plates - Now bolt on for increased strength and printability - Two positions for the glass lid: - Fully closed, to keep the heat and noise in - Lid raised, for added ventilation - Increased width of “fully closed” location for easier lid installation - New front cutout for the screws on the underside of the handle on the glass lid - Easy to assemble - no glue required! - Kept the total filament usage under 800g. Side panels add ~450g each. What you will need:
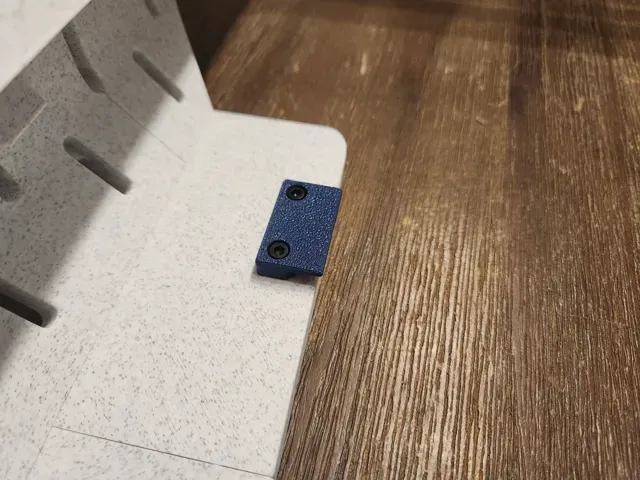
- Your filament(s) of choice. I strongly recommend using a support filament on the interface layer for ultimate surface quality and ease of removing hole supports - If printing PLA & PETG, using PLA for the riser is 100% good to go - If printing more advanced filaments, print riser from ABS or ASA - Using PETG for PLA support interface or vice versa is a great alternative to dedicated support filaments - Qty 4 M3x6 Socket Head Cap Screw - For build plate storage hooks - Qty 16 M3x6 Socket Head Cap Screw - For SKADIS side plates. Qty 16 required per side! - M2.5 hex key - Double sided tape - to secure the side plate supports to the side of the printer - M3 thread tap - This is not required but will significantly help with installation of all the screws Assembly Instructions:
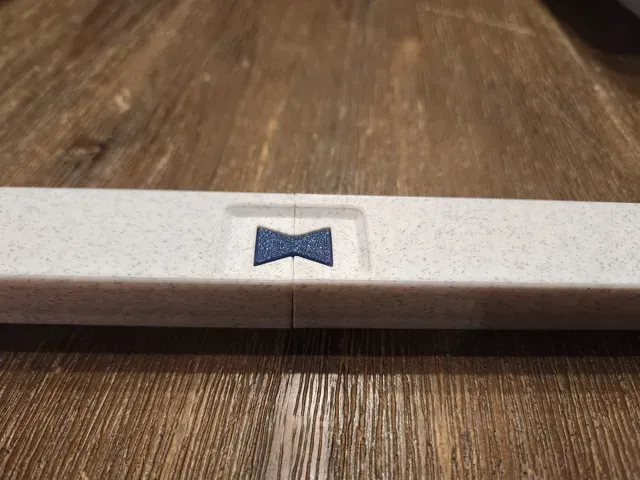
- Print all files using support material. Material should pull out of the holes relatively easily with pliers. Drill it out with approx 2mm bit if necessary. - Arrange the 4 primary lower parts into the correct shape as shown in the model photos. - Insert bowtie joiners from the top down, with the chamfered edge starting into the cutouts. - Insert V-shape joiner at the rear, chamfered side first - Install the 2x built plate holders onto the underside of the top platform. Use the M3x6mm socket cap screws. Ideally the holes in the riser should be tapped with an M3 tap. If you don't have one, you can tap it with the screw itself. Be careful. Go slowly and don't overtighten or the threads will rip out. - Join the 4 upper components into the shap shown in the model photo using the long cylindrical pins. Glue the parts together if desired. Not necessary - Install all of the shorter cylindrical pins into the top of the lower frame. - Press the upper frame down onto the lower frame. Glue if desired. - Assemble the skadis side panels as shown in the model phots, using the thin bowtie joiners. - Tap all joiners and H-Link holes M3. - Using the M3 screws, install all standoffs and H-Link as shown. - Apply double sided tape to the standoffs and H-Link. This will help the Skadis panel stay put against the side of the printer. - Tap the 4 holes on each side of the AMS riser M3. Use the screws if necessary. - Install the side Skadis panel with 4 M3 screws and by removing the backing on the double sided tape. Be careful not to overtighten and rip out the threads. Thank you for all the support!
0.2mm layer, 3 walls, 15% infill Print all 4 “Core” plates for upper riser.
Print all 4 “Left” or “Right” plates for an optional SKADIS side plate. “Left” is the left side when looking at the front of the printer.
Print 1x “Fasteners” plate foe EACH SKADIS side plate.
Strongly recommend to use support filament for the support interface layer!
Printing in PLA or PETG is completely fine if you mostly print PLA/PETG. For enhanced heat resistance, print in ABS or ASA.
0.2mm layer, 3 walls, 15% infill -Changed to Cubic infill
-Main parts printed in ASA with 100C bed temp. and easier to remove supports.
-Skadis sides printed in PLA
Tips: When removing supports for holes cut around the hole first freeing the outside part of the support and then spin it in a circle to remove it cleanly.
I suggest wiping the build plate and preheating the bed for 20 minutes at 100C BEFORE printing so that the chamber gets nice and hot to avoid warping.
Названия используются только для указания источника результата. Polyzon не аффилирован с перечисленными площадками.