
Бесплатно 
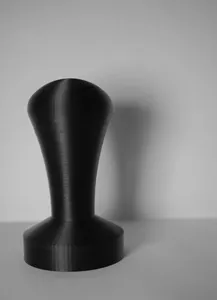
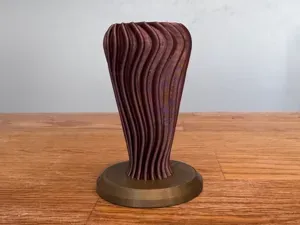
Perfect-Fit Espresso Tamper - Ergonomic & Modular
MakerWorld
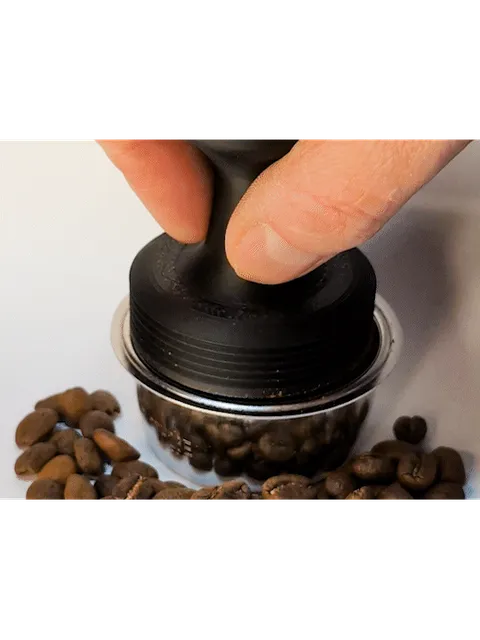
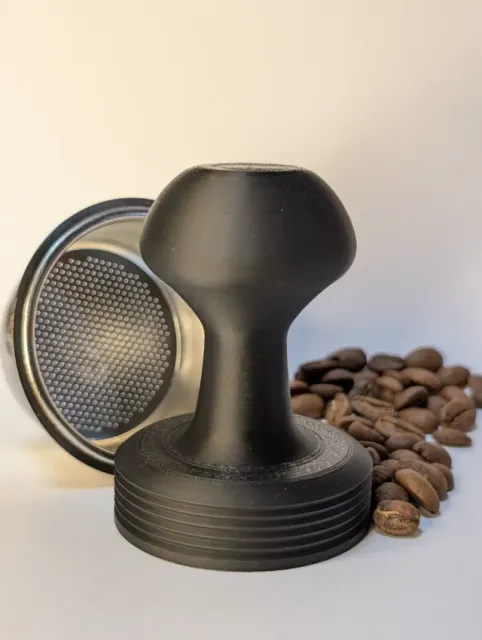
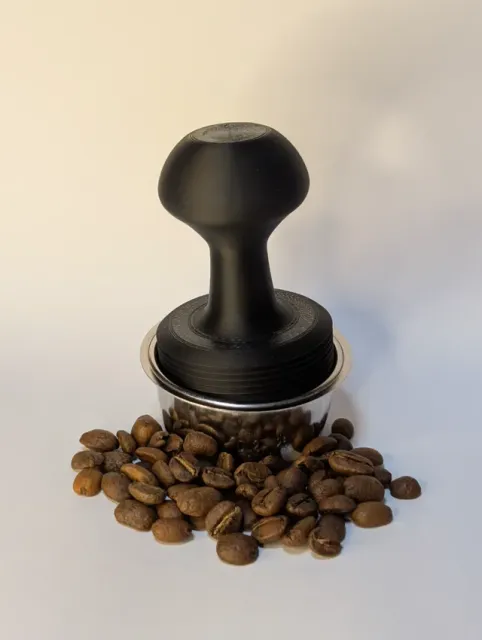
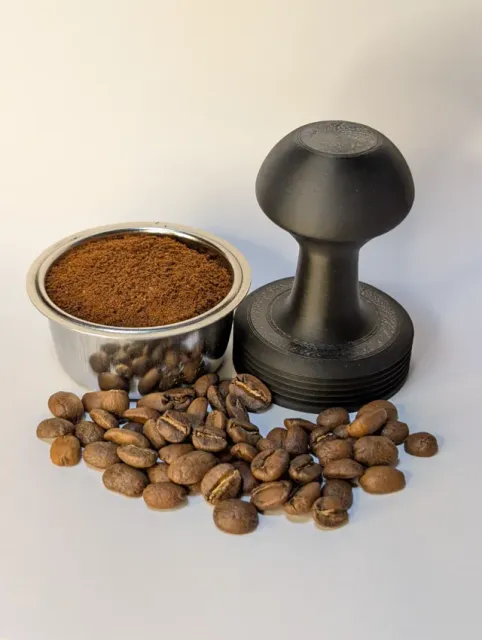
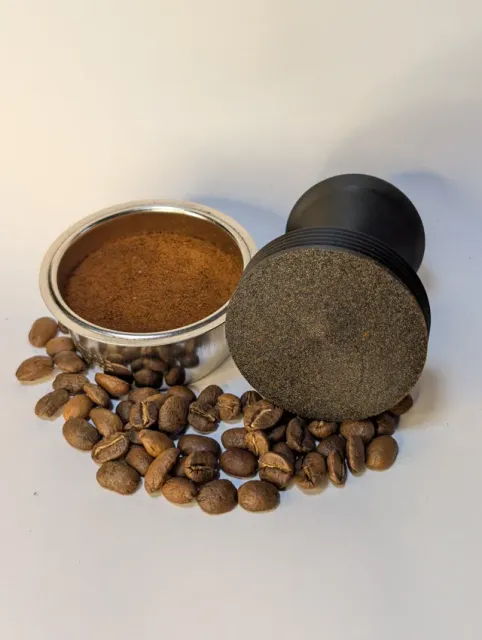
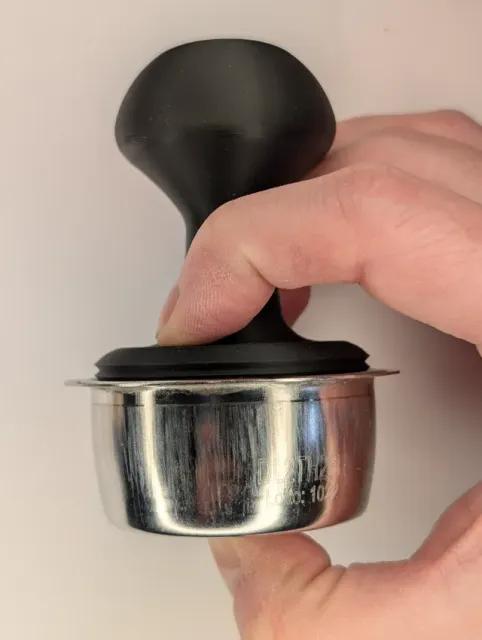
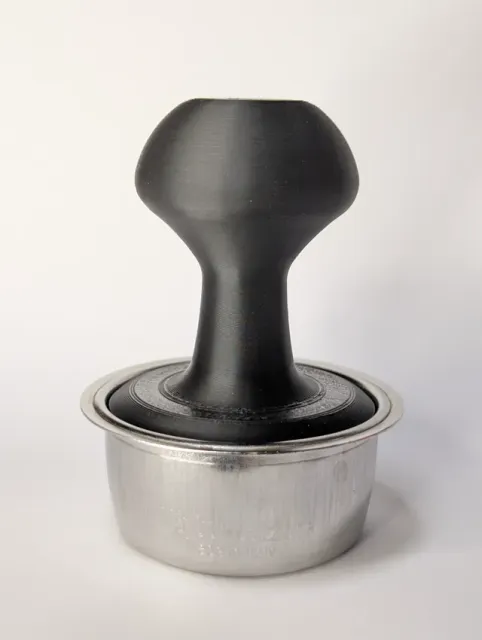
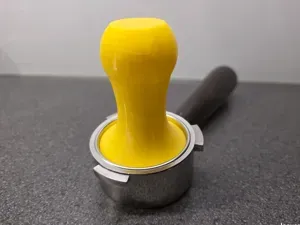
This espresso tamper was designed specifically to fit in an IMS Precision 16-18g 51mm wide filter basket. However, it can easily be adapted to fit any size. If you want 54mm, scale the X and Y dimensions by 105.9% in your slicer. If you want 58mm, scale the X and Y dimensions by 113.7% in your slicer. To scale this tamper to any diameter, simply divide the desired size by 51 to get the XY scale ratio, including if you need to go smaller.
I highly recommend printing a flat circle in your chosen material scaled to the measured ID of your portafilter basket before printing the full model. Test if the flat circle fits in your extraction basket and adjust as needed, then print the full coffee press tamper. This not only checks your math, but helps account for any shrinkage. Scaling the Z won't cause any problems, but it will slightly alter the leveling rib spacing, just so you're aware.
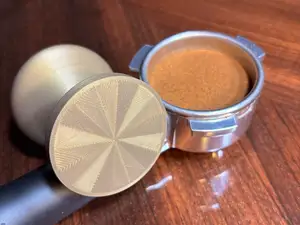
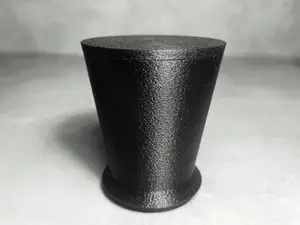
The 0.12mm layer height profile will give the nicest appearance and make the gradual overhang slightly easier to print. The 0.2mm layer height profile will print a fair bit faster, but tends to have a higher chance of rippling on the taper upwards. It's a fairly easy print and your top surfaces should look if anything better than in the pictures, as I was experimenting with ironing settings. The print should come out to around 30g as I wanted it to have a little weight. It's plenty strong, so don't worry about pushing down hard!
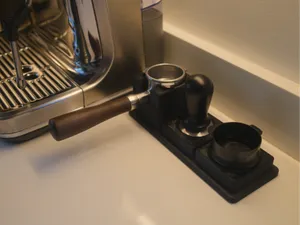
I designed this tamper because I didn't want to pay a lot for what amounts to a flat circle with a handle. I modified my Cuisinart espresso machine portafilter to use the proper extraction basket listed above. The flimsy plastic tamper that came with the machine would no longer work, so I figured I would design my own. I also wanted to practice level tamping, so I added leveling ribs to the outside of the tamper base as a visual aid. I also went through several design iterations to get a visually appealing shape, optimize the comfort, allow different holding methods give the ribs good visibility, and allow easy printing. Hope you like it.
Fine Quality 0.12mm layer, 5 walls, 20% infill Fine Quality 0.12mm layer height will provide the best appearance and smoothest overhangs. Feel free to increase wall count or infill percentage to add weight to the end product. It is plenty strong with these settings to press down hard!
Standard Quality 0.2mm layer, 5 walls, 20% infill Standard Quality 0.2mm layer height will provide a faster print time while slightly increasing the chance of rippled overhangs. Feel free to increase wall count or infill percentage to add weight to the end product. It is plenty strong with these settings to press down hard!


Названия используются только для указания источника результата. Polyzon не аффилирован с перечисленными площадками.