
Бесплатно 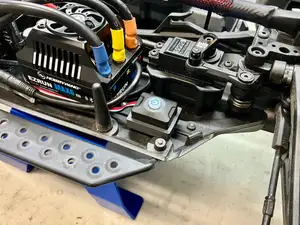
Arrma 6s Hobbywing ESC Switch Mount ( Kraton / Mojave / Fireteam )
Printables
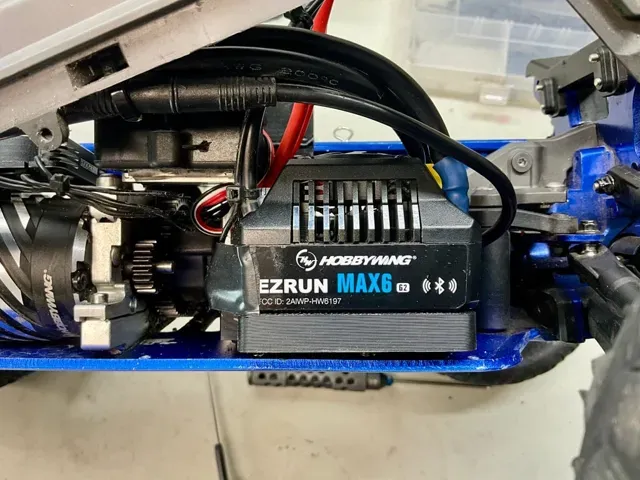
Summary
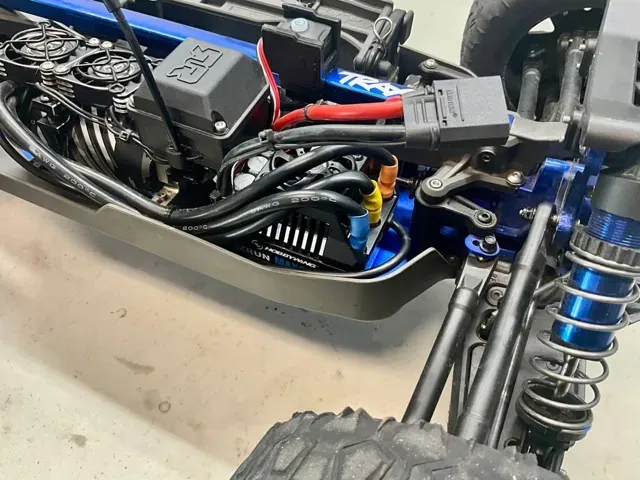
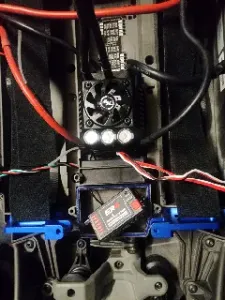
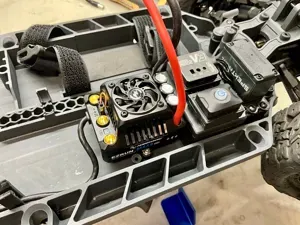
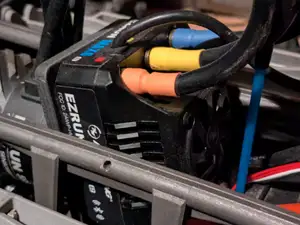
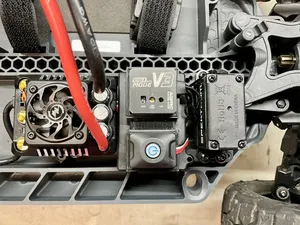
I recently added a reversed GPM motor mount to my Sledge so I could run a Max6 combo. However, I couldn't find a good way to mount the ESC in the front of the car, so I found a good Hobbywing mounting plate design and got to work in Tinkercad to make this front ESC mounting plate.
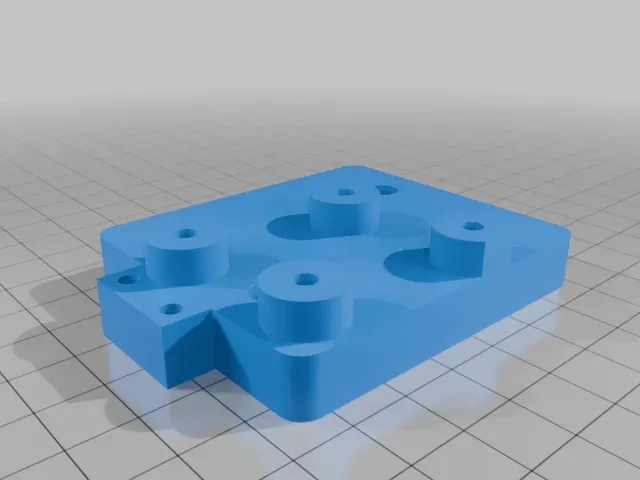
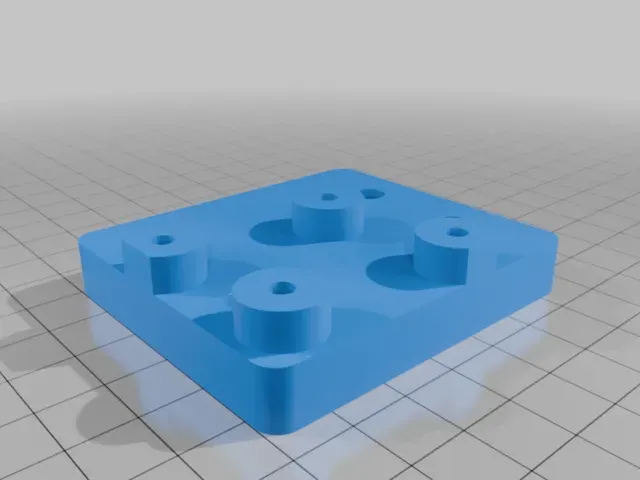
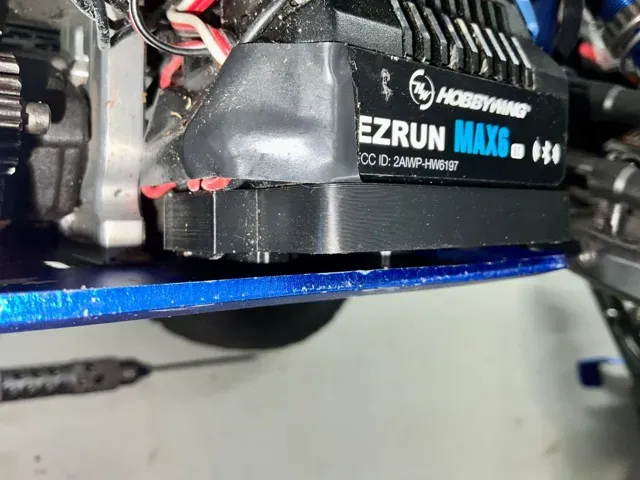
The plate uses a strip of double sided tape to help hold the ESC firmly in place along with the standard four screws. Installation requires no further modification to the Sledge or ESC, just some M3 and M4 screws. Should work with both the Max6 and Max8. The mount is designed to be as strong as possible, and it's held up well in my own Sledge which has endured some hard tumbles.
There are two versions: one with a slot for a zip tie to help hold wires, and one that's just the mounting plate.
FYI - this WILL NOT work on a stock Sledge as the ESC is normally mounted in the rear. However, you can find other brackets that work with the stock mounting location.
Print Settings
Printer Brand:
ELEGOO
Printer:
ELEGOO NEPTUNE 4 Pro
Rafts:
No
Supports:
Yes
Resolution:
0.2
Infill:
40+
Filament: Elegoo PLA Pro Black
Notes:
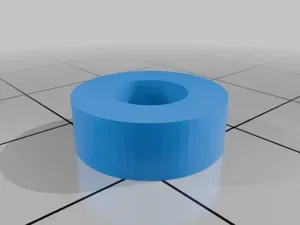
Print with the spacers facing upwards and use easy to remove support settings.. You could use TPU if you wanted but I opted for PLA Pro.
Installation
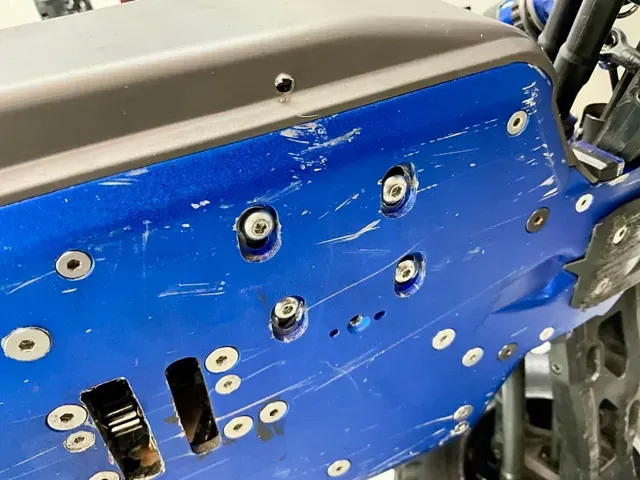
To install, you'll need some M3 screws to mount to the ESC, and some M4x12 screws to mount to the chassis. First, (optional) stick a strip of double sided tape (I used Alien Tape) into the slot on the mount and peel off the film. Then, use the appropriate M3 screws to align and screw in the ESC (don't over tighten as Hobbywing's mounting holes aren't very deep). Then, grab 4 M4x12 screws and screw the mount into the chassis where the motor used to mount. The screw paths for the M4 screws are much stronger than the M3 ones in the ESC, so don't be too scared to tighten them down. (within reason, of course :)




Названия используются только для указания источника результата. Polyzon не аффилирован с перечисленными площадками.
Комментарии