
Бесплатно 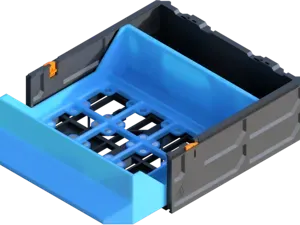
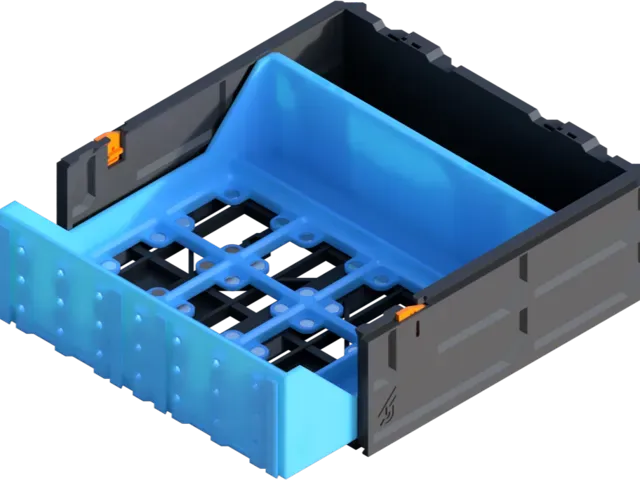
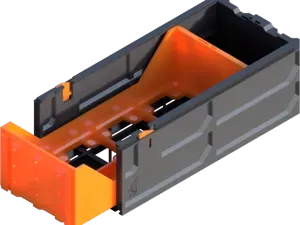
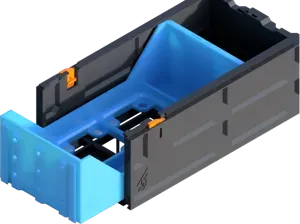
GEN2 2x1 Gridfinity Magnet Double Drawer - MINI
MakerWorld
JERRARI3D.com
The GEN2 Decor Series is the next evolution in the most versatile 3D printed drawer system, The GEN2 Modular Storage System . You can now easily swap faceplate and handles to fit the mood of the room you want. Being able to easily customize colors, patterns, or adding custom text.
MINI length drawers are sized to get the most out printers with a 180mm print bed such as the Prusa Mini and Bambu Lab A1 Mini .
STEP 1: Location
Decide how you would like to use your GEN2 storage. Keep in mind that the drawers are modular and can be easily swapped between under table and table top locations. All drawers are available for mounting under the table using rails, but you can also place them on top of any surface with table top kits.
Find these kits at JERRARI3D/gen2-modular-system
UNDER TABLE (GEN2 RAILS)
Attach GEN2 drawers under any surface by installing the GEN2 RAILS. Once installed drawers can slide and lock into place, they can then be swapped out and rearrange in seconds.
TABLE TOP KITS
Table Top Kits include covers and foot rails that when combined with drawer cases create a rigid structure that can be placed anywhere
STEP 2: Style
These drawers are completely compatible and interchangeable with any GEN2 drawer systems in MINI length .
You can find all the Decor Series Faceplates and Handles here at JERRARI3D.com
HARDWARE Includes affiliated links to help support my projects • Filament - Black PETG (My go to for the drawer bodies) • Screwdriver • Countersunk woodscrews: (Metric: 4x25mm to 4x16mm ) or (SAE: #6 or #8 up to 1" long) • Drill bit that is smaller diameter than the wood screws • Pen, Marker, or Scratch Awl (for installing under tables) • Magnets (Optional) : 10x5x2mm or 10x2mm • M3 nuts and screws: M3x6 - M3x10- I prefer this kit • Magnets for Gridfinity (6x2mm) - I prefer these in 300 count • Magnetic Insertion Tool V2 (Optional)
INSTRUCTIONS
• Push M3 nuts into slots on handles/knobs
• After sliding the faceplate into position on the GEN2 Decor Drawer use a M3 screw starting it from inside the front of the drawer, passing it through the faceplate and thread it into the M3 nut on the handle, securing it in place.
• For Gridfinity simply press fit the 6x2mm magnets in place (super glue can be used if needed, pay attention to polarity. I prefer printing and using the Magnet Insertion Tool V2 for this process.
• As noted above you'll also need a GEN2 system of your choice, don't worry, they are fully modular and can be changed around at any time.
See video for basic faceplate assembly:
___________________________
Gridfinity designed by Zack Freedman Magnetic Gridfinity developed using Actually Parametric Gridfinity – Base Grid + Bins by pcnc
0.24mm layer, 3 walls, 15% infill Gyroid





Названия используются только для указания источника результата. Polyzon не аффилирован с перечисленными площадками.