
Бесплатно 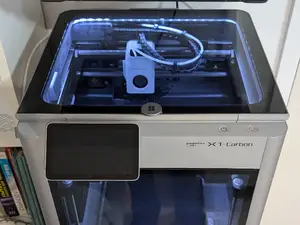
Bambu Lab X1C/P1S LED Light Frame & Glass Riser V1
MakerWorld
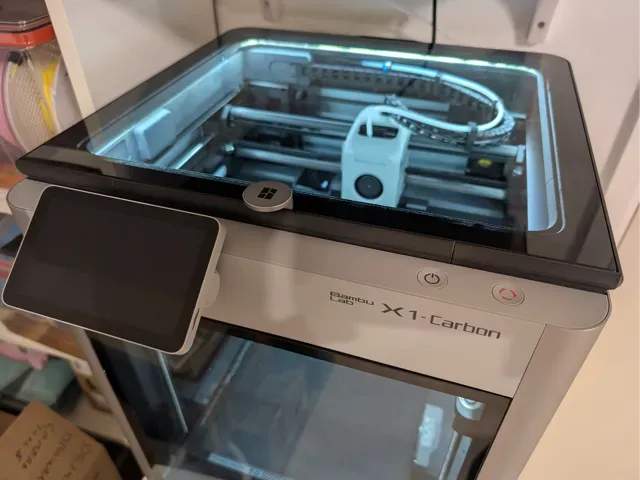
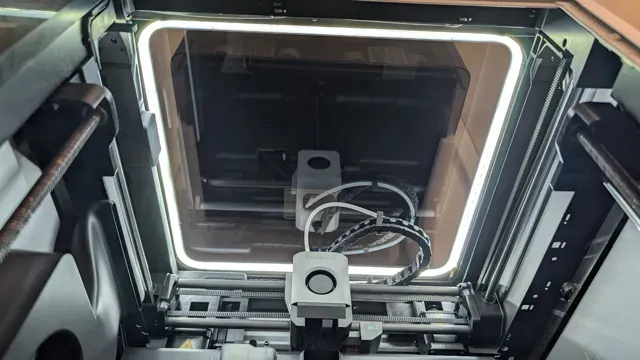
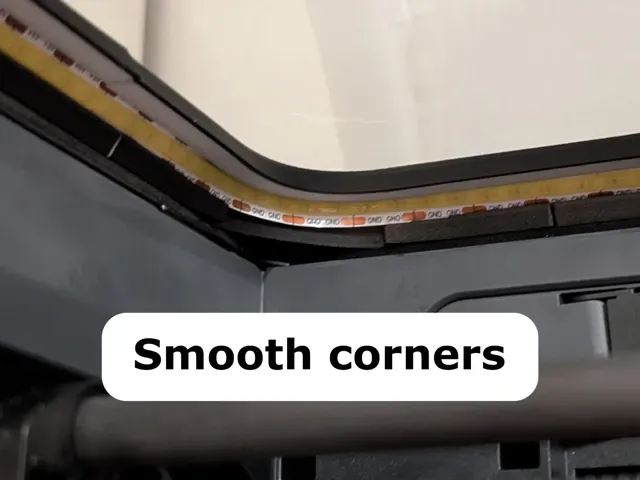
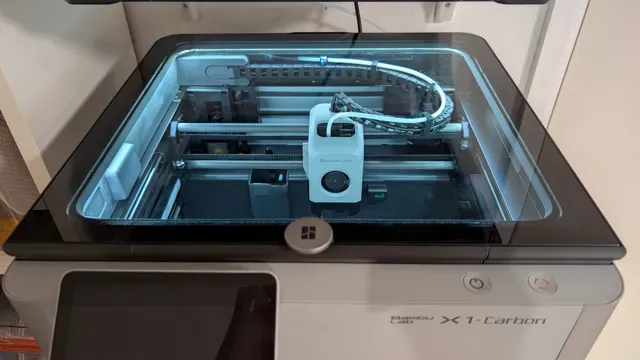
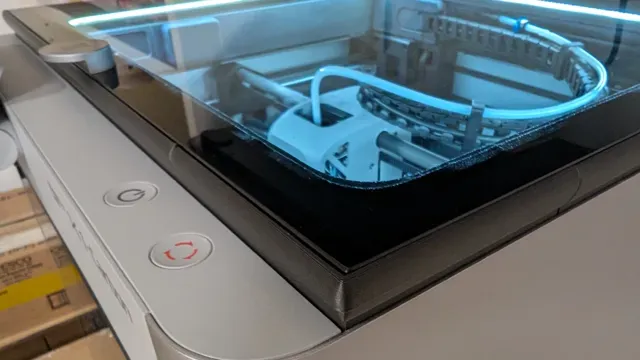
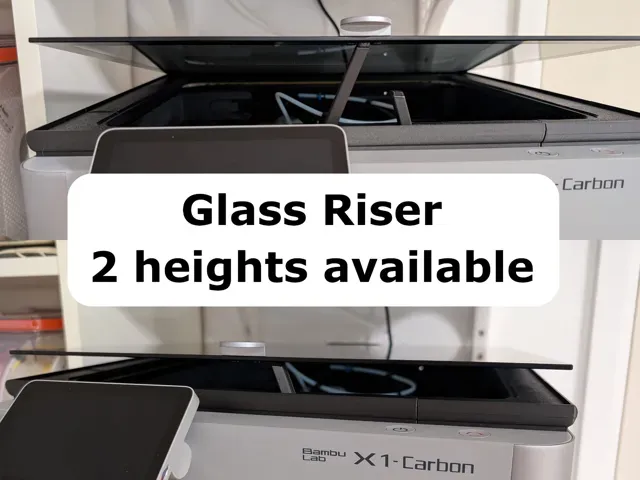
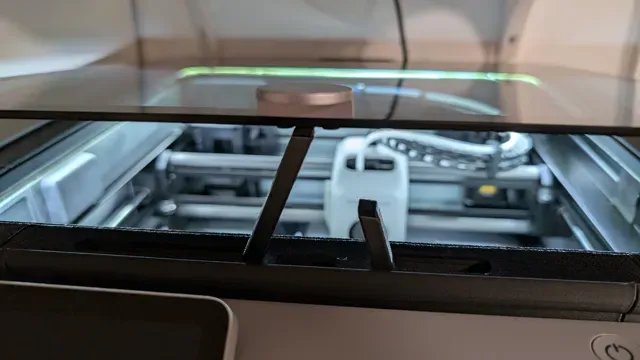
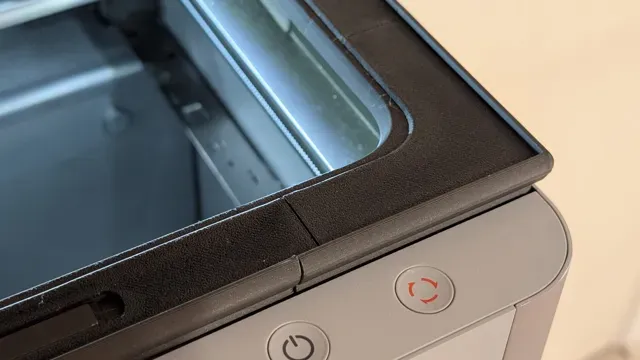
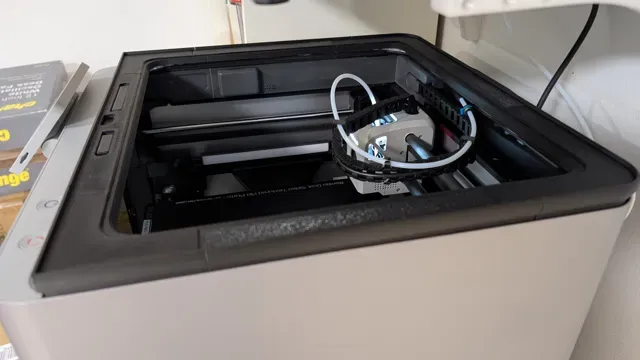
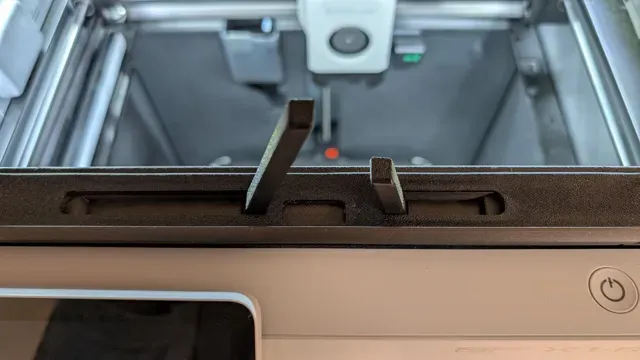
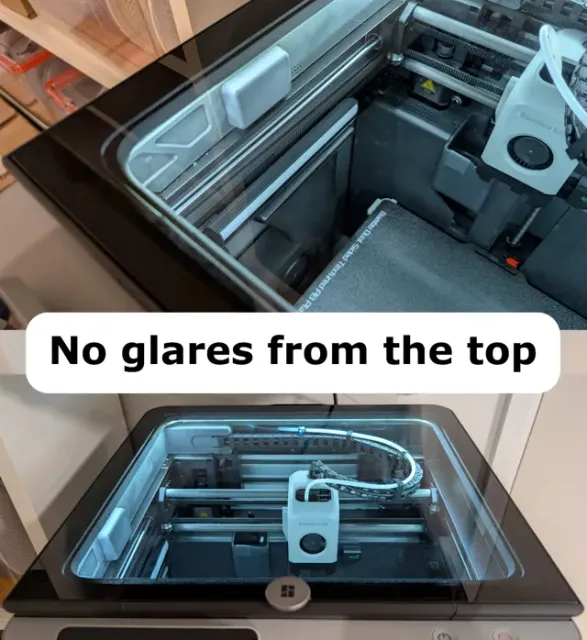
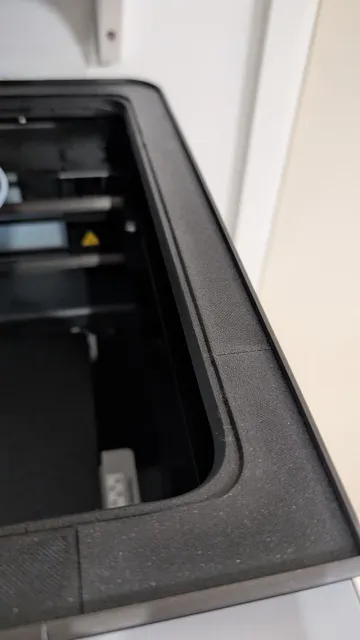
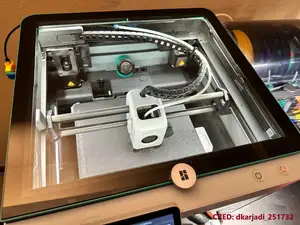
A huge thanks to everyone who appreciated and supported my work! Your support inspired me to create and release an improved version of the LED Light Frame for my X1C printer, which I first released last year.
You can find the version for the P2S and X2D here: https://makerworld.com/en/models/2438291
Key features:
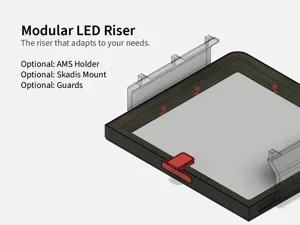
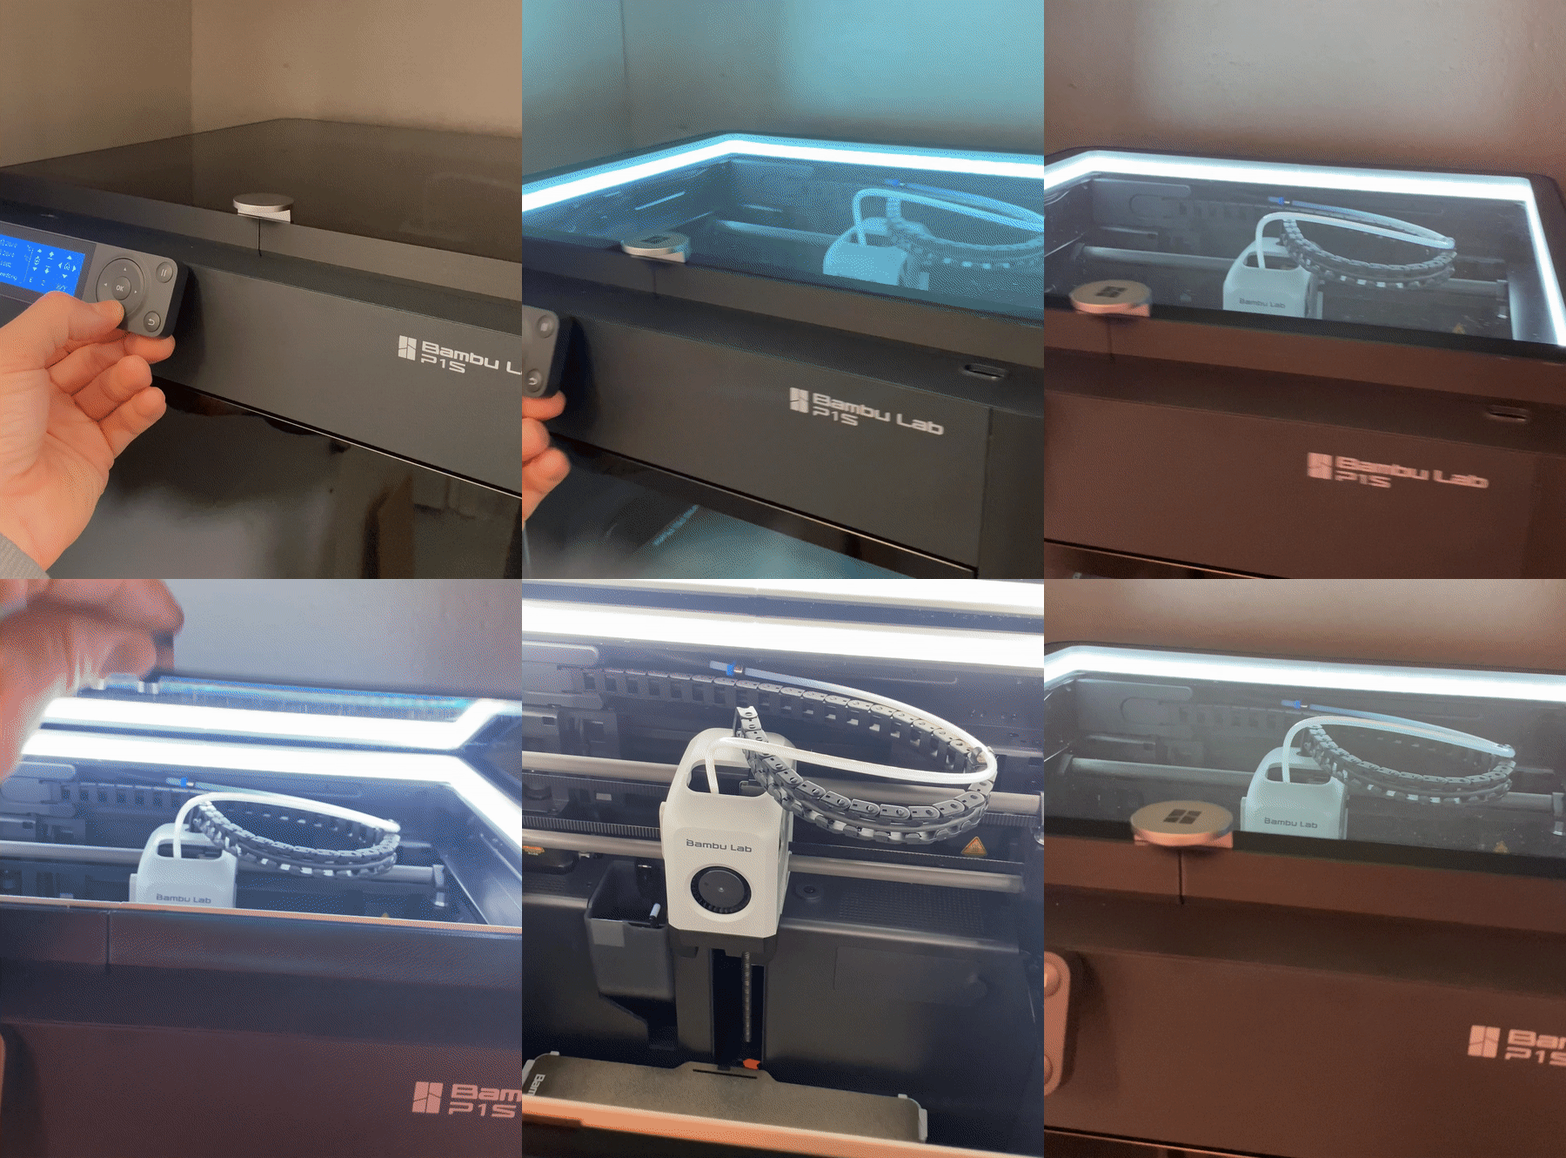
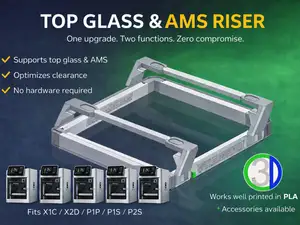
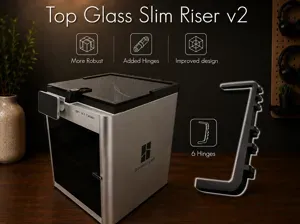
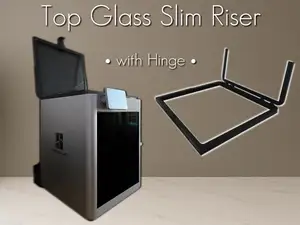
- Smooth corners: No need to cut or solder the strip light. - Glass riser: Raises the glass to help dissipate heat, with 2 height options available. - No glares from the top. Improvements made:
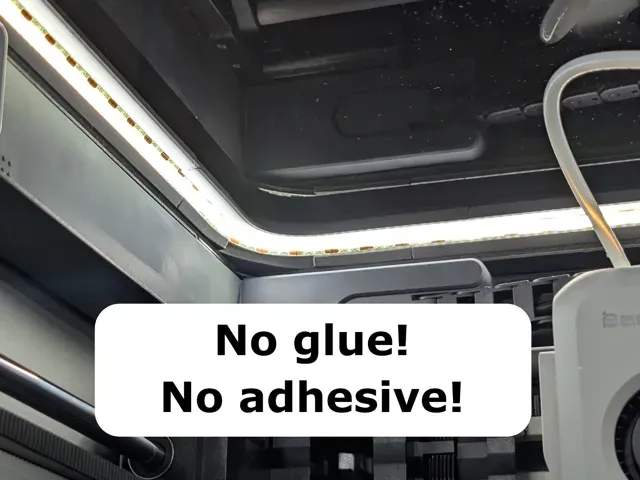
- No glue or adhesive needed to secure the strip light! - TPU and Frame locking system: Easily assemble and disassemble for future add-ons. - Once assembled, the frame is now a solid, properly locked piece. The model has 4 options (4 Print Profiles are available):
- Frame & Glass Riser & TPU gasket. - Frame & Glass Riser, without TPU. - Frame & TPU gasket, without Glass Riser. - Just the Frame, without Glass Riser and TPU. About the strip light:
This model is designed for strip lights with a max width of 10mm. However, I recommend using an 8mm strip light , as shown in my pictures and video.
Feedback is very welcome if you try a 10mm wide strip light or one from the Bambu Lab Store!
I've tested two types of strips, both 8mm wide:
They both fit well, but I recommend the one on the right, which you can also find here:
https://www.amazon.co.uk/dp/B0B7BBYCZ4
https://www.amazon.de/dp/B0B1J69YMH
Material Recommendation
I printed the model in PLA , and it works great. PETG is also a good option if you prefer a bit more flexibility and heat resistance.
ABS can be used too, but keep in mind it may shrink during printing, so some calibration might be needed for a perfect fit.
Printing instructions:
1) Print the base: Choose the plate you need; the cable hole can be on the back left or right side (from your perspective).
2) Print the top: Use dual or single colour. The model is the same, but I painted the dual-colour version to add a bit of reflected light from the frame.
3) Print the TPU . This plate is only included with the TPU gasket option.
4) Print the Levers & Clips plate. This plate contains the Levers only with the Glass Riser option.
Suggestion:
I recommend printing a couple of Clips PTFE Chain from Ariox3D to keep the tube from bumping into the strip light rail.
Assembly instruction:
Additional Components:
Side Spool Holder
If you also need a Spool Holder, check it out here:
https://makerworld.com/en/models/1107529
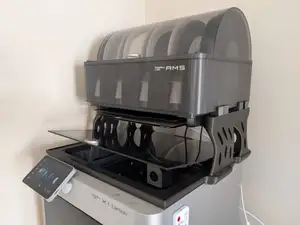
AMS Riser & 5-Plate Holder
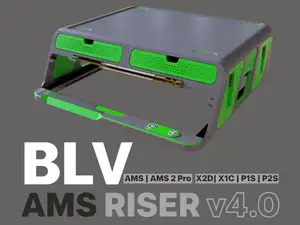
Put your AMS on top of the Light Frame:
https://makerworld.com/en/models/1622310
X1C/P1S - LED Light + Glass Riser + TPU LED Light Frame with Glass Riser and TPU gasket.
Two options are available for the Top parts:
- Top Single Colour plate - Top Dual Colour plate, AMS is needed
X1C/P1S - LED Light + Glass Riser LED Light Frame with Glass Riser, without TPU gasket.
Two options are available for the Top parts:
- Top Single Colour plate - Top Dual Colour plate, AMS is needed
X1C/P1S - LED Light + TPU LED Light Frame with TPU gasket, without the Glass Riser.
Two options are available for the Top parts:
- Top Single Colour plate - Top Dual Colour plate, AMS is needed
X1C/P1S - LED Light Frame Just the LED Light Frame, without Glass Riser and without TPU gasket.
Two options are available for the Top parts:
- Top Single Colour plate - Top Dual Colour plate, AMS is needed
Названия используются только для указания источника результата. Polyzon не аффилирован с перечисленными площадками.