
Бесплатно 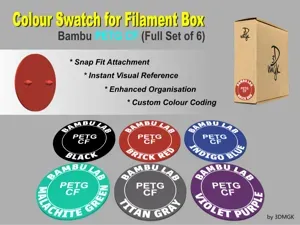
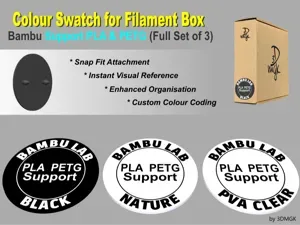
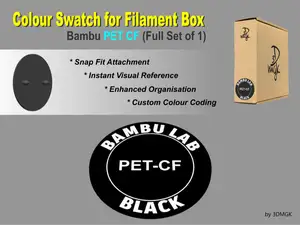
Filament Box Swatch - Bambu PETG CF
MakerWorld
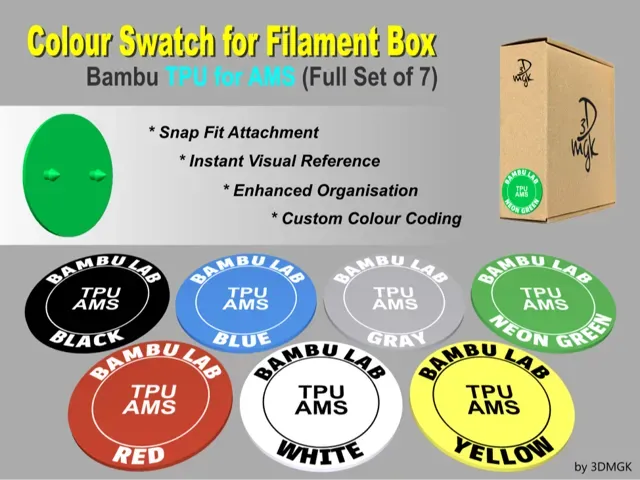
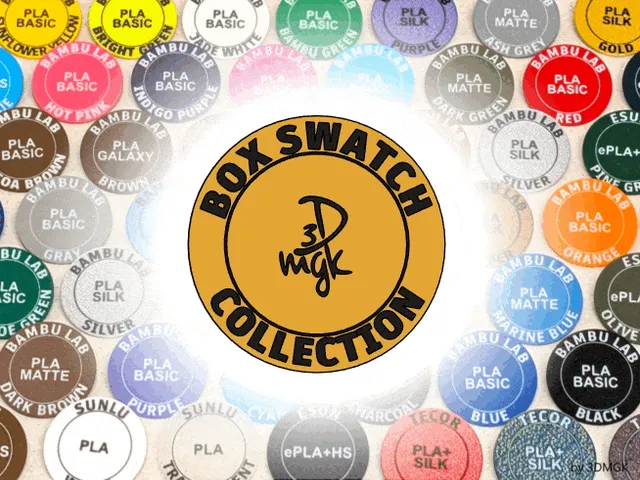
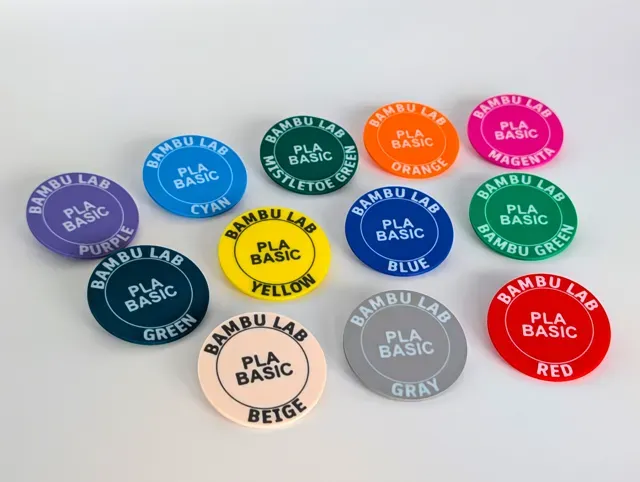
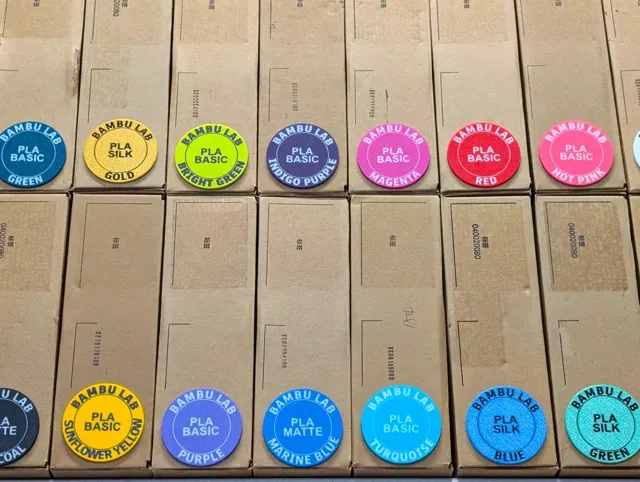
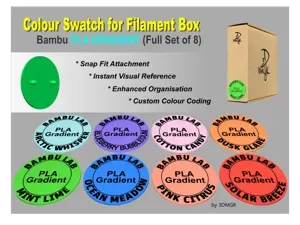
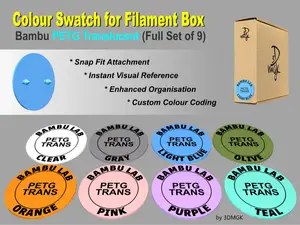
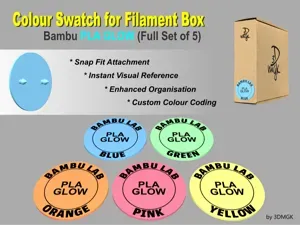
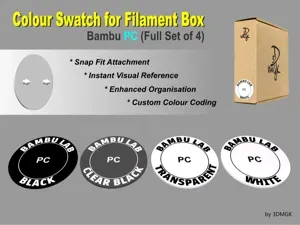
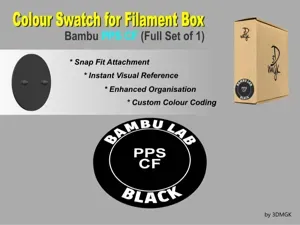
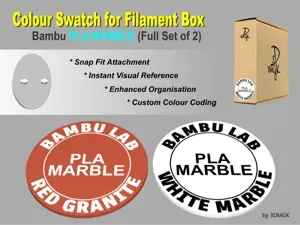
Simplify Your Filament Box Storage with Snap-On Colour Swatches!
Tired of squinting at tiny labels on your filament boxes or guessing which filament is in which box? Meet the perfect solution for those who prefer to keep their filaments stored in their original cardboard boxes.
Here’s why you’ll love them:
- Easy to Print: No supports required. - Snap Fit Attachment : Designed with two small anchor pins, these swatches snap snugly onto most cardboard filament boxes. Easily removable and reusable! - Custom Colour Coding : Print each swatch in the exact colour of the filament on the spool or simply print in black and white for a more generic labelling aesthetic. Either way, say goodbye to rummaging and hello to quick identification. - Enhanced Organization : Know at a glance not only the colour but also the brand and type of filament inside each box. - Tidy and Professional : Perfect for keeping your workspace orderly and efficient. - Both 3mf and stl Versions Included : The STL version of the Box Swatch is a single-body design. The 3MF version consists of multiple parts, with each letter as a separate, movable piece for greater text definition. (see my Box Swatch Collections folder for the complete range of Bambu Swatches)
COLOURING & PRINTING INSTRUCTIONS
The following instructions are written with the novice user in mind so much of it may seem obvious to intermediate and advanced users. The information provided below is taken from settings and experience using the Bambu Studio slicer and Bambu X1 Carbon printer. Your experience may vary depending on the slicer and printer you are using.
NOTE - anchor pins printed in TPU will not penetrate cardboard due to it's rubbery properties, therefore the lower half of the swatch and the anchor pins should be printed using PLA. Alternatively the entire swatch can be printed in PLA with closely matching colours.
SETTING COLOURS FOR THE 3MF VERSION OF SWATCHES.
The 3MF version of the swatch contains multiple swatches per file. Each individual swatch on the build plate is a multi-part model with each letter as a separate, movable piece. For Bambu Studio users, colours and recommended settings are already applied. Simply clone an individual swatch, move it to a blank plate, and print FACE DOWN .
If you need to, the fastest way to adjust the colours of your multi-part swatch is as follows…
- Click on the Objects button in the Process pane. This will give you a list of all the individual swatch and text bodies.
- Click a swatch on the build plate. The corresponding swatch will be instantly highlighted in the objects list.
- Right-click the Swatch heading (the line with the green tick) to select all swatch components.
- Choose Change Filament from the dropdown menu.
- Select a colour for the text. At this stage, the chosen colour will be applied to all of that swatch’s components.
- Now right-click “ BADGE MAIN ” in the objects list and select Change Filament again but this time choose the desired colour for the main body of the swatch. The swatch body will change colour while the text remains the colour you selected in Step 5. IMPORTANT: Do not move a swatch on the plate unless all its components are selected. You can do this by clicking on the physical swatch on the build plate or selecting its heading (the line with the green tick) in the objects list.
For example, if only “ BADGE MAIN” is selected, the swatch will move, but the text will stay behind, causing misalignment. (Remember, Undo is your friend)!
SETTING COLOURS FOR THE STL VERSION OF SWATCHES
Each STL file contains a single swatch which loads as a single body model in a single colour . The swatch may initially appear to have no text. Follow the steps below to reveal text and apply colours.
[Bambu Studio example]
- Right click the body of the swatch and choose Change Filament from the dropdown to select the colour you want the body of the swatch to be.
- Use your slicers Paint Tool to bring up the model painting app. See pictured below.
- Choose a contrasting colour for your text.
- Click on the Fill Tool .
- Mouse over the top of the swatch to pick out the text and ring. Click each item of text to apply the colour. Again, your experience may vary depending on the slicer and printer you are using
You are ready to print your Swatch.
RECOMMENDED PRINTER SETTINGS
Layer Height 0.08mm
Initial Layer Height 0.20mm
Wall Generator Arachne
Wall Loops 1
Bottom Shell Layers 3
Bottom Surface Pattern Hilbert Curve (best for clean and uniform text definition)
Sparse Infill Pattern Rectilinear
Sparse Infill Density 100%
Print Face Down:
Swatches must be printed FACE DOWN , with the anchor heads pointing up. No supports are required. Providing you have a clean build plate a brim should not be required. Turning off the Aux Fan can help if you experience the swatch lifting.
Build Plate:
To minimise visible layer lines on the surface of your swatch we recommend using a textured PEI plate, preferably one with a more dense/matte texture to prevent an overly reflective finish.
First Layer:
0.08mm layer, 1 walls, 100% infill RECOMMENDED PRINTER SETTINGS
Layer Height 0.08mm
Initial Layer Height 0.20mm
Wall Generator Arachne
Wall Loops 1
Bottom Shell Layers 3
Bottom Surface Pattern Hilbert Curve (best for clean and uniform text definition)
Sparse Infill Pattern Rectilinear
Sparse Infill Density 100%
Названия используются только для указания источника результата. Polyzon не аффилирован с перечисленными площадками.