
Бесплатно 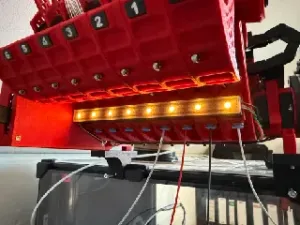
UPDATE: ERCF V2 ERCT Filament Coupler Block Entry LEDs Neopixel
Printables



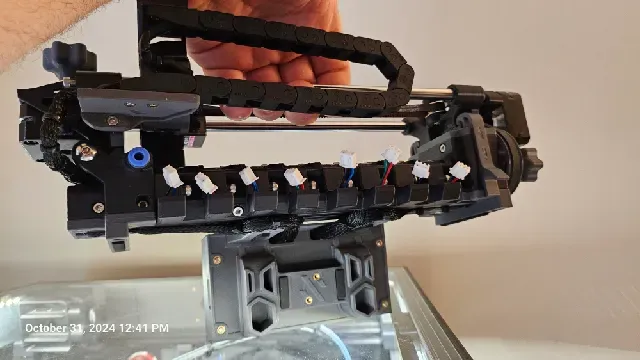


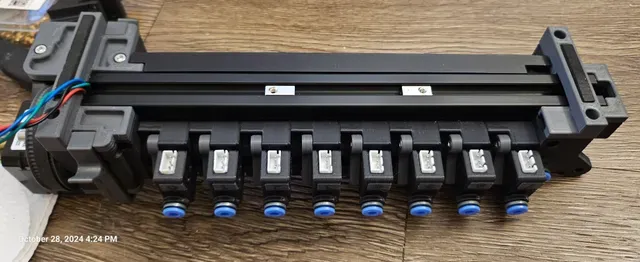

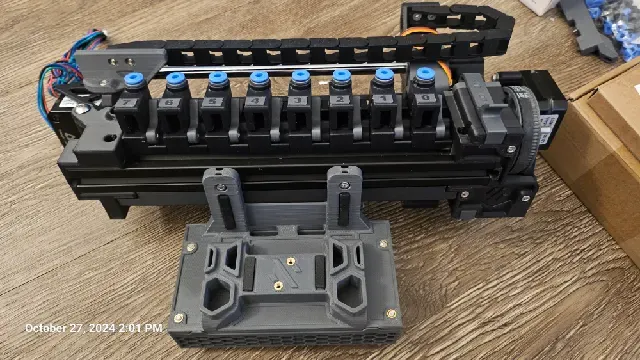


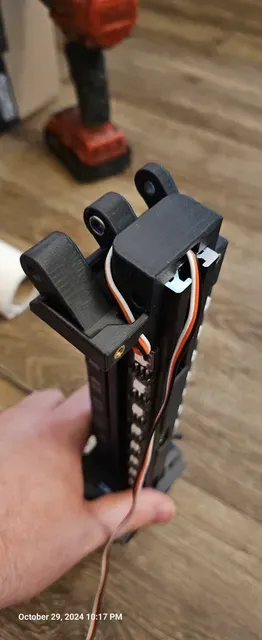


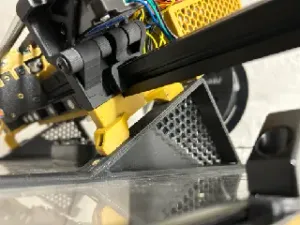
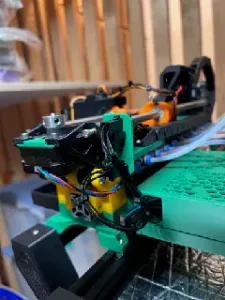
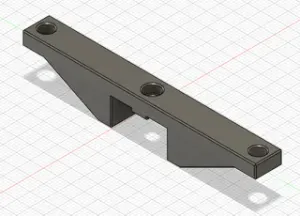
For those that use the canopy in my other files or some other variant with similar middle (will work 250, 300, or 350), this mount will allow you to attach your ERCF v2 on top. There is a new End Bypass with channels to run wiring under and for the led strip. A new End Bypass Foot and Gearbox cover that are shortened. Will need some m3 heat inserts, 2 m3x12mm SHCS or 16mm SHCS for washer mount, 2 m3x8mm SHCS and m3 t slot or hammerhead for BTT MMB mount, 2 m3x8mm SHCS and 2 m3 heat inserts for End Bypass, and finally some 3mm foam tape.
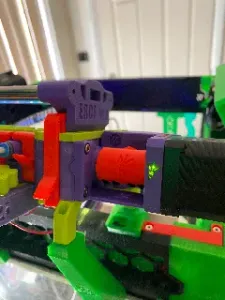
RGB Led mount to use with the RGB strip led for 8, 9 or 10 gates, cut and stick to spaces and solder together with slots for wire, i used 18 gauge solid wire without the sleeve, then slide into extrusion. there is a End Bypass with a slot to pass wiring though. Led cover will mount by removing the 2 m3x8mm SHCS and replacing with m3x16mm SHCS bolts. There are 2 different style Number lenses, Voron lens, and a blank lens. The style 2 can use the original tag plate digits. I recommend resin print for these.
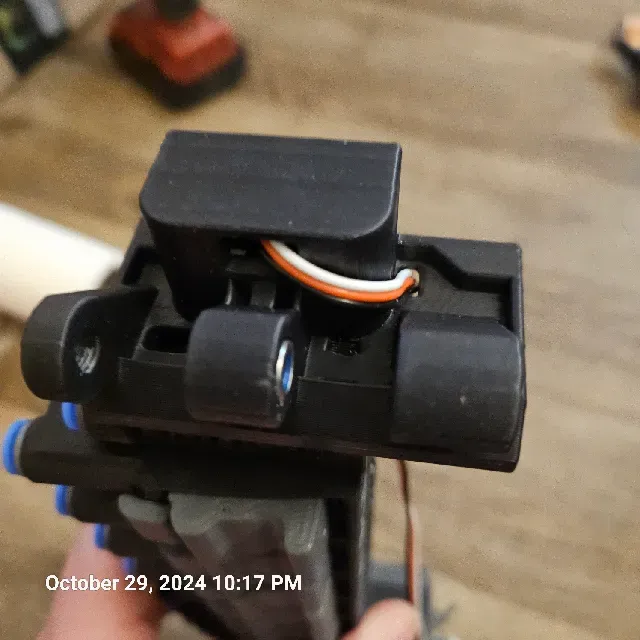
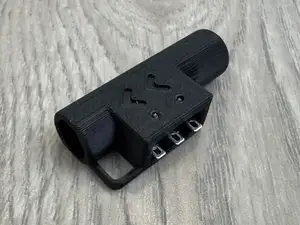
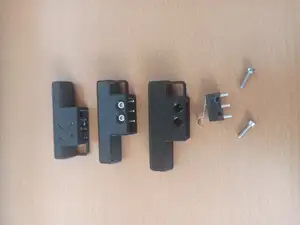
Gate sensors will use the BOM micro switches with JST-XH 3 pin female header for 8, 9 or 10 gates. There is a jig to help solder, will need to angle the outside pins to connect, screw in switch first with m2x10mm self tapping screws then insert JST-XH with latch up, should click into grooves on side, this will make the Gate Sensor. Will need Base, Filament Path built like original & add 5.5mm Ball Bearing, Gate Sensor, 2x m10x10mm self tapping screws, latch mounts with m3x12mm SHCS by screwing it into base and simply slide latch over and the clip it onto filament path. Gate sensor cover mount will need 2 m3 heat inserts and then slide into extrusion. Cover will use 2 m3x16mm SHCS screws and will need to be snugged tightened not to crack cover. Easier to mount cover and run wires and then mount all the gates, also after all gates are mounted, loosen the cover enough to make sure the wires for the JST-XH connectors isn't bundled up underneath, use a flat head screw to gently tuck the wire back so that the Filament Path can move up and down.
If you just want to use the shortened Gearbox Cover and End Bypass Foot without mounting the ERCF v2 to canopy, use the foot labeled for original End Bypass.
If using a Triangle Labs ERCF V2 - 8 Channel + ERCT + ERF + THS parts kit or similar you should have everything you need except the JST-XH 3 pin female header and 3mm foam tape(which you might have left over from Voron build). Only difference I could see with other kits is if they don't use the cuttable RGB led strip which you will need for the leds.
Let me know if there are any issues and will try to fix.
If you want to help me out with buying some more filament to replace all that was used to create this.
Cash.App/$PrintSomething
Venmo.com/PrintSomething
PayPal.Me/ModMechanics
Thanks so much




Названия используются только для указания источника результата. Polyzon не аффилирован с перечисленными площадками.