
Бесплатно 
BTT SKR V1.4, SKR V2.0, SKR 3 Case/Mount for Prusa and Bear Frame (V2.2)
Printables
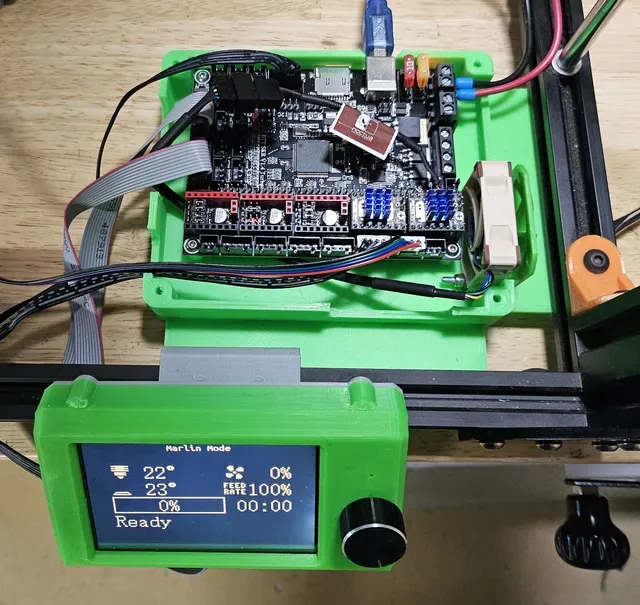


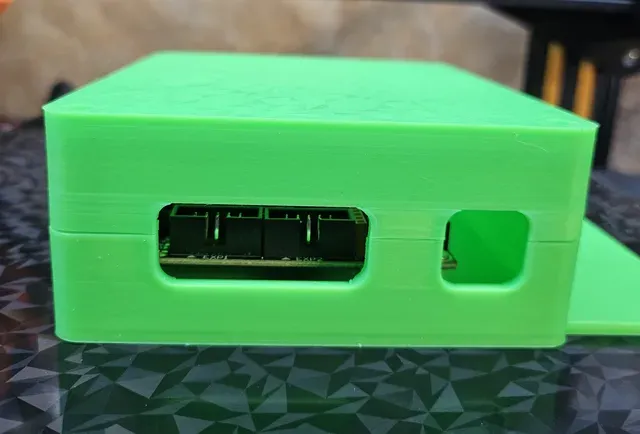


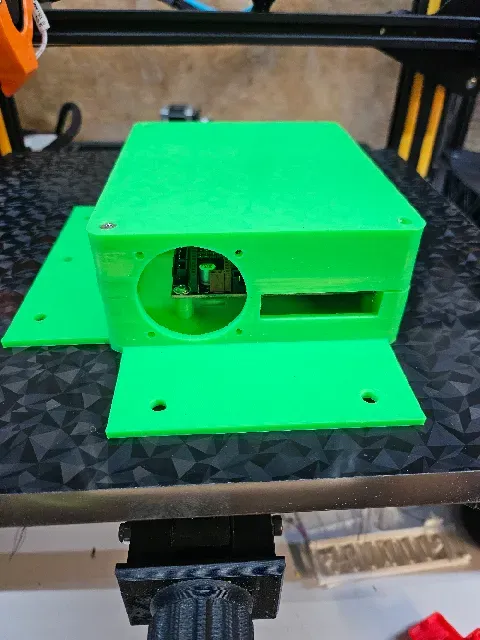
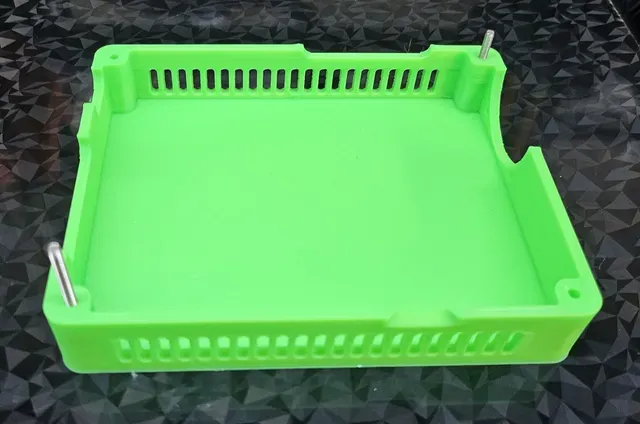
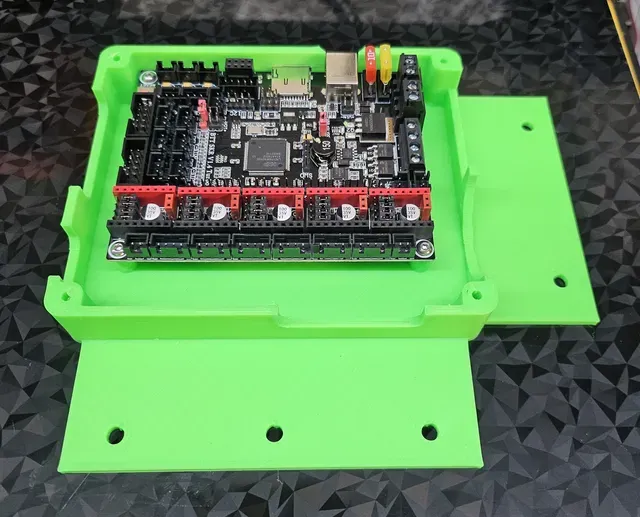


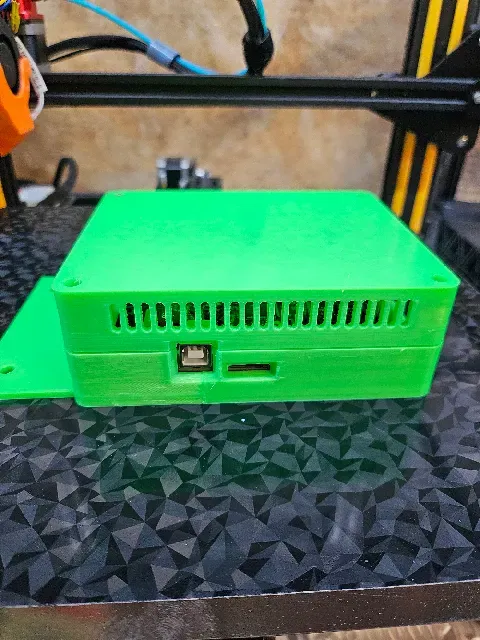
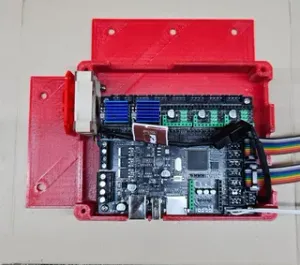
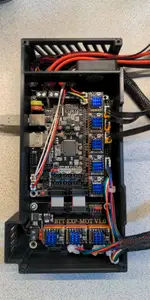
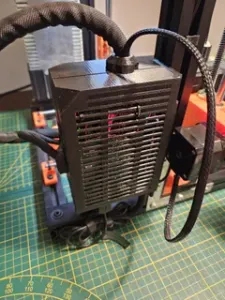
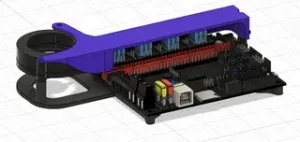
I required adding a BTT SKR 1.4 Turbo motherboard to a Tronxy X5SA 3D Printer. As the motherboard would be at the bottom of the printer, I did not want a fan on top of the enclosure in case debris fell in. Additional for the design I knew I wanted to mount if from below and have cabled routed along the inside of the 2020 extrusion.
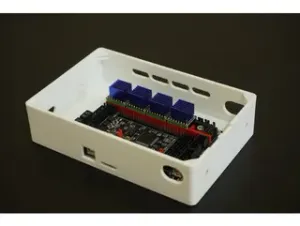
I started with the following model from kulivontot(@kulivontot_305258) and remixed it: https://www.printables.com/model/573127-skr-14-case-w-50mm-fan-mount
The following changes were made: -added tabs to be mounted to 2020 extrusion (20mm spacing) -increased the height to add room for side mounted 40mm fan -added 40mm fan mount -changed and added hole for cable management -split the model differently so M3 nuts and 30mm screws could connect the 2 parts
The fan secures with 2 screws, and nuts. Nylock nuts are recommended, and length of screw will depend on if a fan guard is being used. I believe I used 25mm screws through the bottom part. It is easier to install the fan first, before mounting the SKR 1.4 Turbo as spacing may be tight with pliers. Through my testing using 2 screws worked well, and left very little gap when the top piece was attached
The original model said it was for the SKR 1.4, but the SKR 1.4 Turbo, as well as the SKR 1.3 have the same spacing. I can only confirm the SKR 1.4 Turbo, but the spacing was left unchanged.
8-12mm M3 screws can be used to fasten the SKR 1.4 Turbo M3 nuts/nylock nuts can be pressed into bottom M3 x 30mm to attach top and bottom parts
There are 2 groups of parts for WiFi, and No Wifi cutout. I didn't require the WiFi module, so I made models that didn't have the cutout.
Within those groups of parts, they will be listed by where the tabs are located. They are labelled if you were looking from the top of the printer (on a CoreXY), With the USB port facing the front the Bottom is towards the front of the printer, and Top is towards the back (sorry just the way I was designing at the time).
You will need to print out the corresponding Top part depending on if you print Wifi or No Wifi Bottom.
Concepts were taking from BTT SKR Mini E3 case: https://www.printables.com/model/1039320-horizontal-btt-skr-mini-e3-corner-case-for-2020-ex and here from @Maks https://www.printables.com/model/64977-vertical-case-skr-mini-e3




Названия используются только для указания источника результата. Polyzon не аффилирован с перечисленными площадками.