
Бесплатно 
First Layer Calibration Prusa i3 MK3/s/+
Printables
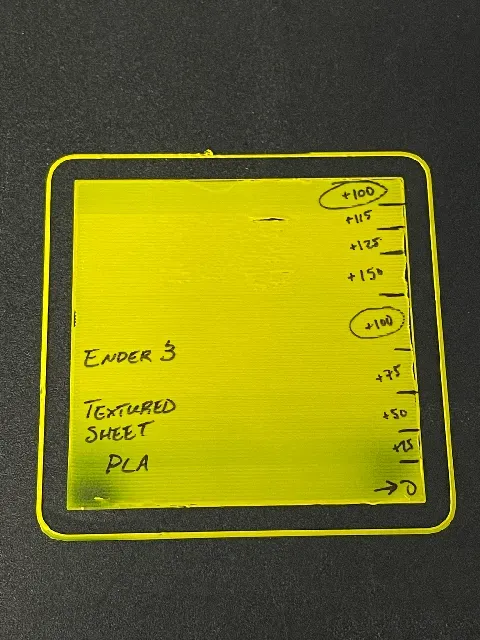
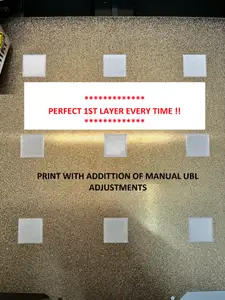
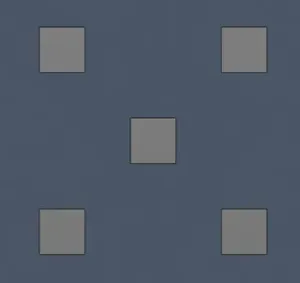
Thank you to GKMAKEIT for the original. I found this so helpful at getting the perfect first layer setup that I found myself using for all different types of materials - I have now remixed it for use on my Ender 3.
In Summary, you adjust your babystep Z during the print until you get a good looking first layer.
This version is tested with an Ender 3 and Ender 3 pro, without an auto bed leveler.
Step by step guide:
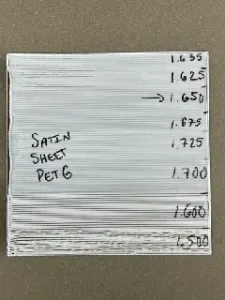
- Level your bed with some decent accuracy - Clean your build surface thoroughly - Run your Gcode file and be ready to babystep Z ( Menu → Tune → BabystepZ ) - Raise the babystep Z significantly, so that you aren't gouging the nozzle into the build surface - As the printer is running the purge line and the skirt, adjust the Z so that your print is sticking decently onto the surface. If any extruded material comes lose, remove it before the perimeters of the print start. - Once the inner lines start, Give it about 10 passes on each Z-offset setting, then adjust down or up accordingly. I typically use 0.050mm or 0.025mm adjustments - I Suggest writing the babystep Z adjustments you make for each section on the side with a sharpie so you can refer to your previous adjustments during the print - Once the print is over, navigate to the configuration menu and SAVE YOUR SETTINGS - Otherwise the babystep Z that you did will NOT be saved.



Названия используются только для указания источника результата. Polyzon не аффилирован с перечисленными площадками.
Комментарии 0
Загружаем комментарии…