
Бесплатно 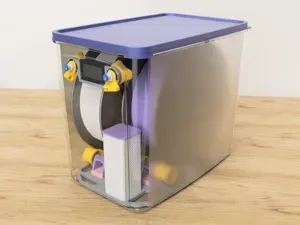
Dual-Spool DryBox v2
MakerWorld


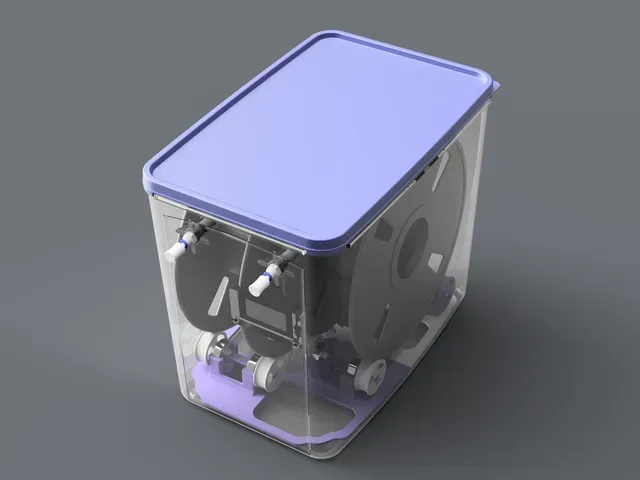




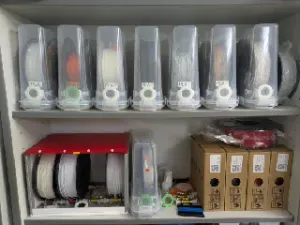
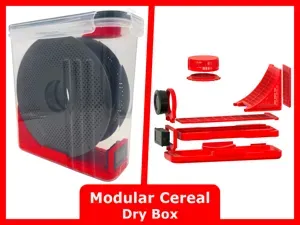
An updated design is now available After evaluating many filament storage boxes on Amazon.in, I found this box to be ideal for housing two filament spools with additional space for desiccants, a hygrometer, and ease of assembly while also being stackable.
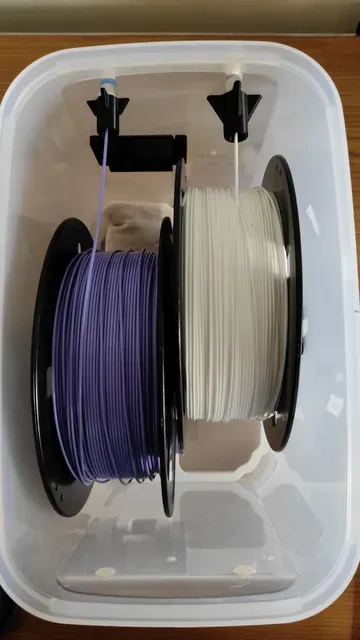
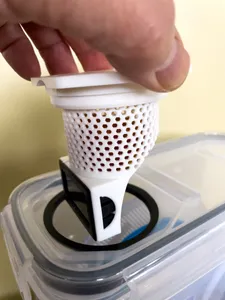
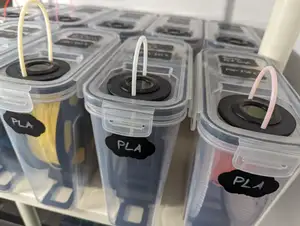
The cradle design allows for direct printing from within the box ensuring your filament remains dry and ready for use. The cap on the pneumatic coupler holds onto the filament to avoid opening the box. Filament can be pushed back or left with the PTFE Tube on, along with the cap (see images).
The design supports spools in width ranging from Inner 52mm to outer 71mm. The Dry Box in the pictures is loaded with filament from numakers .
Shoutout to GunplaMark for his remix that inspired this idea.
Parts can be printed in dual tone, as shown, or in a single color. For monotone, simply print the cradle and auxiliary components twice. Only one print of the HygroMount(Plate 3) is required.
For a dual tone setup, print a second set of the cradle and auxiliary components in a different color to create your own custom combinations.
Assembly Guide:
1. Prepping the Box Download and print the attached "Drill Template.pdf" file at 100% scaling. Verify the scale by measuring the annotated dimension (75mm) with a ruler. Cut along the indicated line and attach the template to the side of the box (either inside or outside) to mark the drill centers. Refer to the accompanying image for guidance. Drill all holes using a 3mm (or 1/8") drill bit. Enlarge the top two holes to 10mm (or 3/8") to fit the pneumatic (Bowden) couplers. Starting with a smaller pilot hole can help maintain precise drill centers. Deburr the holes to make assembly easy. Please excuse the patched holes visible in the pictures as they are from multiple design iterations.
2. Assembling the Cradle Join the two halves of the cradle by sliding them together from top to bottom along the dovetail joints. Plug in the inserts. Install the bearings by pressing them into the bearing seats on the cradle, making sure they sit flush into the seats. Assembling the shaft and rollers will require some force as it's a tight fit. Gently tap with a mallet if necessary. Assemble the shaft by attaching a single roller, sliding the shaft through the bearings, and securing it with another roller on the opposite side. Drop the assembled cradle into box as it is self-aligning>
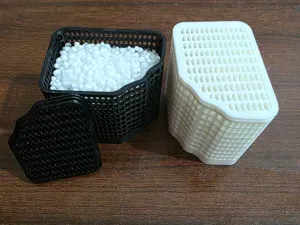
3. Desiccant Container I have used a simple polyester mesh pouch as a desiccant container. Off-the-shelf silica gel packets or any other container that fits the cutout can also be used as a desiccant container if needed. Even a small party cup filled with desiccant does the job, but I would recommend something a little more spill proof. Following designs will fit the space: 1. Desiccant container for Spool by Jorge Rui 2. Small desiccant bead canisters by bovineblitz 3. Desiccant Container GALAXY for Cardboard Spools by Leon Fisher-Skipper I have used about 75gm per bag, 2 bags, thus 150gm in total. This amount of desiccant re-adsorbs the moisture quickly if I ever do open the box to swap spools.
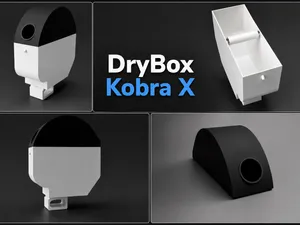
4. Pneumatic Couplers & HygroMount Fasten the pneumatic coupler using the printed nut. Attach the Hygrometer Mount using M3 or ST2.9 screws. To simplify assembly, pass the screws through the holes beforehand to create threading, then proceed with securing the components on the box. Simply slide in the Hygrometer from the top into the mount.
5. Load and seal the box Load the filament and pass it through the pneumatic coupler into the cap to secure it, preventing it from being pulled back into the box. A PTFE tube to guide the filament to the printer can be connected now or later. Seal the box tightly and let the desiccant do its job of adsorbing all the moisture. The hygrometer used here displays a minimum reading of 10%; any value below that is also displayed as 10%.
Off the shelf components:
- Storage box - Hygrometer - Desiccant - Radial Ball Bearing 608ZZ x8 (Link is for a set of 4, hence buy 2 sets) - Pneumatic(Bowden) Coupler PC4-M10 x2 - PTFE Tube - Pan Head M3x8mm or ST2.9x8mm for fastening the Hygrometer Mount x2





Названия используются только для указания источника результата. Polyzon не аффилирован с перечисленными площадками.