
Бесплатно 
PLAzzy, 12V LED Dog Lamp
Printables
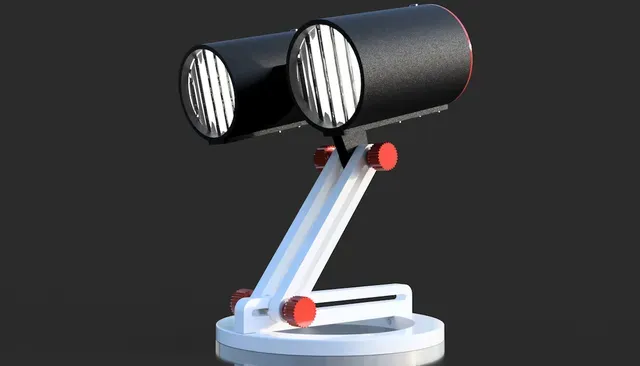

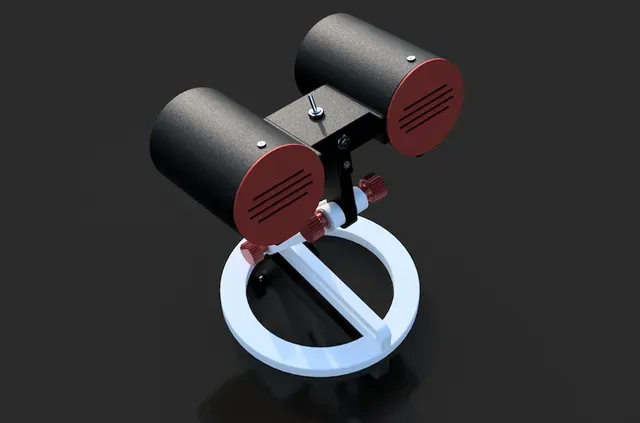
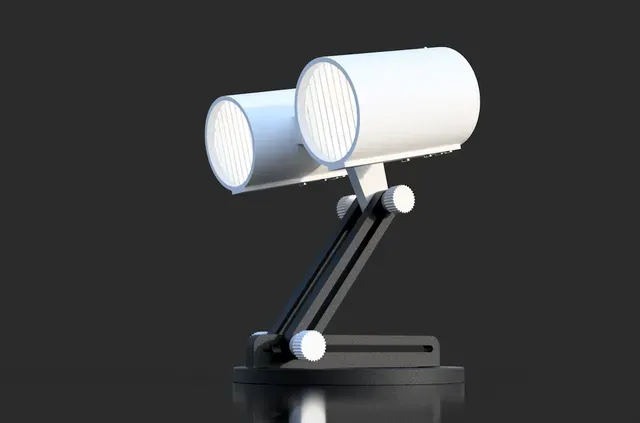

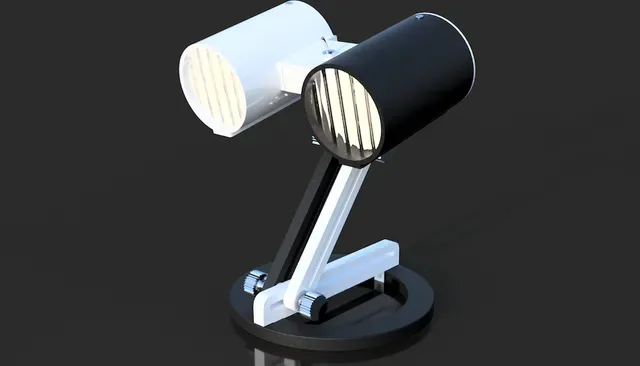
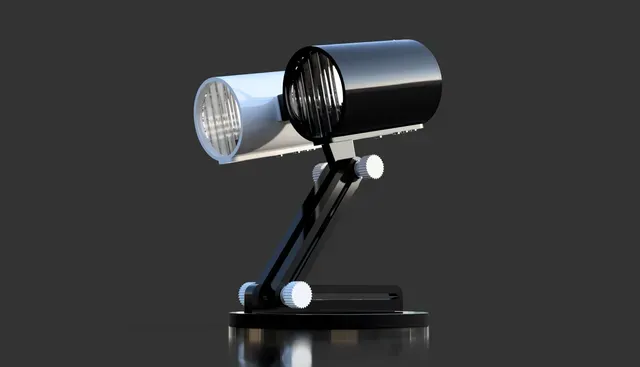
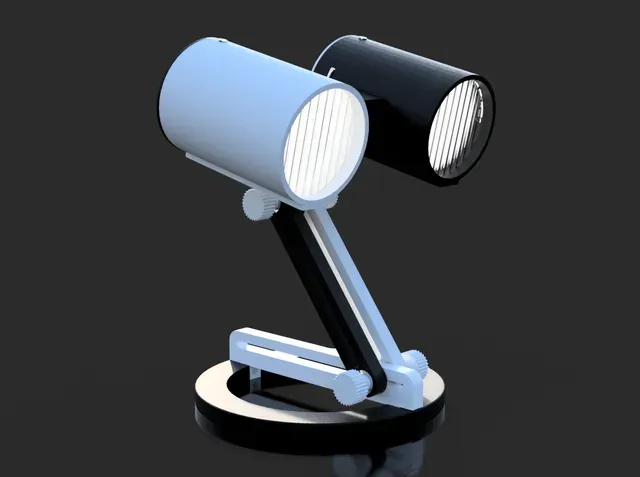
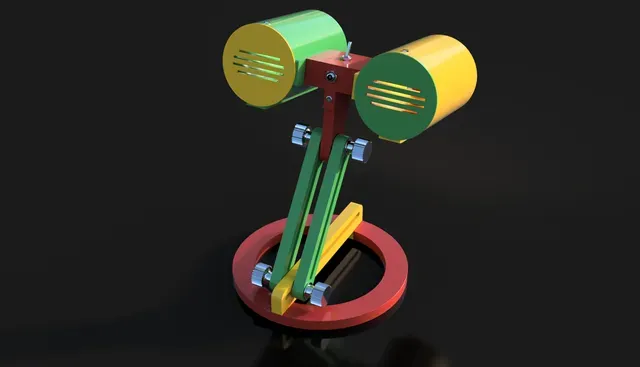

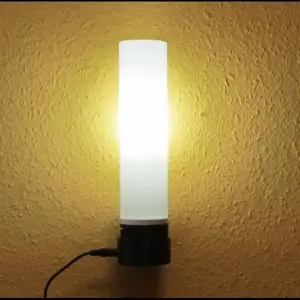
I already have some lamps printed and in use here at my place. Inspired by the contest on www.instructables.com on the subject of lamps, I have designed this lamp. As with some of my other projects you need a little bit of craftsmanship here too, a.o. soldering.
As the name "Duolux" suggests, this project involves two light sources. A further development of my project Bedside Lamp "Tube", but because of the two light sources with of course a double light output (with 2x 250 lumens). With 3000K the light is considered warm white. The power consumption is 2.5 watts for each LED unit.
In colorful version, it can also serve well as a children's room lamp.
A self-printed lamp, with individual coloring, is always something special!
Dimensions:
• H 245 mm • W (socket) 160 mm • W (both tubes) 195 mm • L (tubes) 102 mm
Files to print:
• Lamp DuoLux_tuberight.stl • Lamp DuoLux_tubeleft.stl • Lamp DuoLux_basering.stl • Lamp DuoLux_back.stl (2x) • Lamp DuoLux_centralmount.stl • Lamp DuoLux_centralmounttop.stl • Lamp DuoLux_knob.stl (4x) • Lamp DuoLux_ledsocket.stl • Lamp DuoLux_leg.stl (2x) • Lamp DuoLux_sliderail.stl • Lamp DuoLux_glassfixingring.stl (2x)
Remark: As all parts are designed to fit very precisely, it may happen that you have to rework one or the other part a bit with sandpaper and/or cutter due to different dimensional accuracy of the printers and the different behavior of the filaments.
Print Settings:
Printer brand: Prusa
Printer: i3Mk3s
Supports: No
Resolution: 0,18
Infill: 5% except: centralmount, centralmounttop 30% and knobs 50%
Filament brand: Prusa; ICE
Filament color: Galaxy Black; Romantic Red, Wintershine White
Filament material: PLA
Supplies
For this project you will need:
• 2x … Ø 65 mm polycarbonate twin-wall sheet, thickness 6mm or 4mm (or white polycarbonate glass 3mm thick, 70% translucency or transparent polycarbonate glass) • 2x … Ø 4x45mm from a threaded rod (or screw Ø m4 x 50 and saw of the screw head) • 10x … Ø M3x15mm + plus matching nuts (to connect tubes with central mount and LED base to tube) • 4x …nuts Ø 4mm (for the knobs) • 8x … washers Ø 15x4,5mm • 11x … self-tapping screws Ø 2,2x 9,5mm • switch wire, ca. 10cm (5cm black, 5cm blue, for a better recognition when wiring) • (4x … self-adhesive rubber pads Ø 8x1mm) • 2x small luster clumps • Drill, Ø 2mm • Fretsaw • Soldering Iron • Solder • (Super)glue • Sandpaper • Phillips screwdriver • piercer
For the light installation you need:
AC/DC Socket 5,5/2,1mm 4G bulb socket (2x) 2 Position Mini Toggle Switch 4G LED bulb 2,5W/250Lm (2x) IMPORTANT!: I do not advise the installation of a higher wattage bulb, because of too much heat development! 12 V AC/DC power adapter
Some of these parts you can find here:
Light: Trango 3er Pack LED Leuchtmittel mit G4 Fassung zum Austausch vom G4, MR16, GU5.3 Halogen Leuchtmittel TGG415-2.5W - 12V AC/DC - 2.5 Watt 250 Lumen mit 3000K https://www.amazon.de/dp/B00LC0DSEC/ref=cm_sw_em_r ... Bulb socket: 10 Stück MR16 GU5.3 MR11 GU4 Fassung 12V mit Kabel https://www.amazon.de/dp/B00279SBDA/ref=cm_sw_em_r ... Power adapter: LEICKE Netzteil 12V 2A | 12V 2000mA | Ladegerät 24W für LCD, LED-Streifen https://www.amazon.de/dp/B00LEFGDOM/ref=cm_sw_em_...
1. Sawing Lamp "Glasses" From a Polycarbonate Twin-wall Sheet
There is hardly anyone who will have a polycarbonate twin-wall sheet in stock at home, and no one is likely to buy a whole 1m x 2m sheet just for a few square centimeters. Perhaps there are similar plates in smaller sizes. Otherwise I recommend polycarbonate glass 3mm thick, 70% translucency or transparent polycarbonate glass. These are available in our DIY stores in small sizes. After you have printed all the parts, you can start sawing out the lamp "glasses". I sawed out small plates Ø 65mm from a twin-wall sheet, 6 mm thick. I used a fretsaw with a very fine saw blade. Before that I drew the circle with the help of the inner back (!) of a lamp tube.
2. Inserting Twin-wall Sheet "glasses"
For this step you need:
• Lamp DuoLux_tuberight.stl • Lamp DuoLux_tubeleft.stl • Lamp DuoLux_glassfixingring.stl (2x)
I started with" Lamp DuoLux_tuberight.stl". It was not so easy to insert the multi-wall sheet glasses so that the lines were exactly vertically. After I finally succeeded, I pushed in the glass fixing ring. It sits very tightly. That is the intention. This is additionally fixed with a little super glue.
Do the same with "Lamp DuoLux_tubeleft.stl".
3. Assembling Light Units
For his step you kneed:
• Lamp DuoLux_ledsocket.stl (2x) • 4G bulb socket (2x) • 4x self-tapping screws Ø 2,2x 2,9mm • 2mm drill
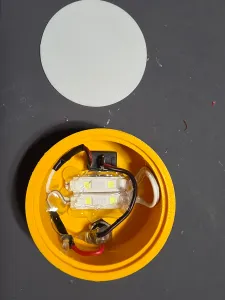
The LED bulb socket must be screwed onto the "Lamp DuoLux_ledsocket.stl". For this you have to drill two holes with Ø 2mm into the socket. Before you do this, mark the holes with a pointed object. Do the same with the second one
Connecting Tubes to Central-mount
For the next step you need:
• "Lamp DuoLux_centralmount.stl" • 4x Ø m3x15mm + plus matching nuts.
The marks L and R on the bottom of the light tubes are seen from the front, from the light side! In my case I have taken shorter screws (4x Ø m3x10mm). They are very short in length. Therefore, I recommend to take longer screws.





Названия используются только для указания источника результата. Polyzon не аффилирован с перечисленными площадками.