
Бесплатно 
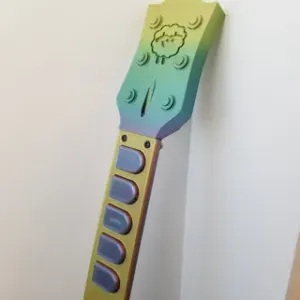
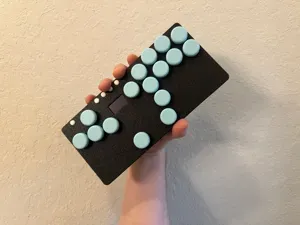
MiniCaster-- Mini Clone Hero/MIDI Controller
Printables
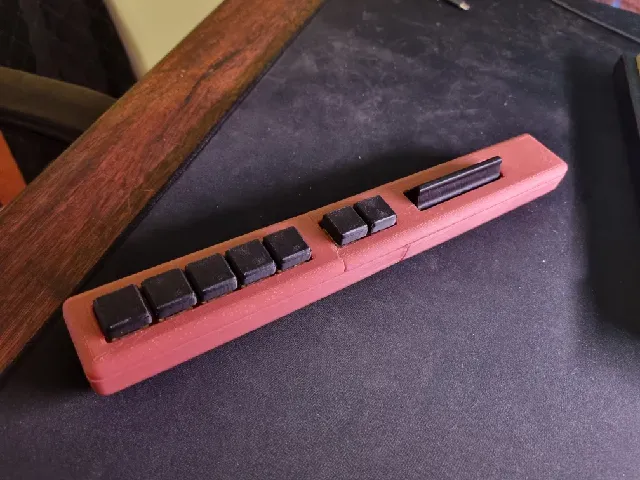


Inspired by the Polybar & Minibar Project by /u/roadsidebomb.
I wanted a compact Clone Hero controller like the Minibar, but since I’m used to playing on a keyboard, I found the guitar-shaped buttons too far apart and less comfortable. To address this, I designed a new controller that uses standard mechanical keyboard switches and keycaps. The result is a controller that feels just like playing on a keyboard—with the added bonus of a strum bar.
Materials Needed
- 9 Mechanical Keyboard Switches - Wire (e.g., from an Ethernet cable) - WEMOS S2 Mini - 2x Small M2 screws ~5mm - SW520D Tilt sensor (Optional) - M1.3x4mm rivets (Optional) For hot-swappability, I used M1.3x4mm rivets from AliExpress. However, you can skip this step and solder the wires directly to the switches if preferred.
The bottom and top shell assemblies can be glued together for extra rigidity.
Tips for programming the WEMOS
Download the provided .ino code and open it with Arduino IDE. Make sure you select “Lolin S2 Mini” as the board:
Then, the WEMOS documentation specifies a procedure to be able to upload the code to the board. That didn't work for me, I had to do things slightly different:
- Connect the WEMOS via USB - Click “Upload” on the Arduino IDE - Wait until the popup message says “Uploading …” - Immediately press Button 0 and Button Reset together - Release Button Reset but keep Button 0 pressed - Release Button 0 when you get “Upload error” The code will have been successfuly uploaded, but the IDE won't be able to automatically reset the board, that's why we get the error. Just unplug and plug the board back in, it will then be recognized as a joystick.
Wiring
- The black wire connects one pin of each of the switches together, and is also connected to GND on the WEMOS. - The remaining switch pins will each have it's individual wire. Solder that wire connecting the remaining pin to 1-9 on the WEMOS. - The optional tilt sensor should be wired in the same way. One leg goes to GND and the other to pin 10 on the WEMOS






Названия используются только для указания источника результата. Polyzon не аффилирован с перечисленными площадками.