
Бесплатно 
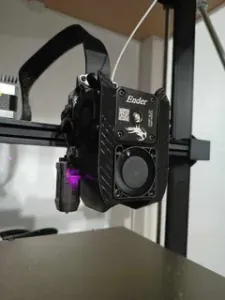
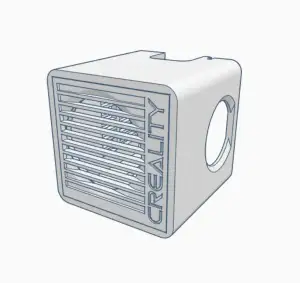
Creality Ender 3 V2 - Clean Shroud 2.0 (40x20mm Hot-End Fan, 4010 Blower Fan)
Printables
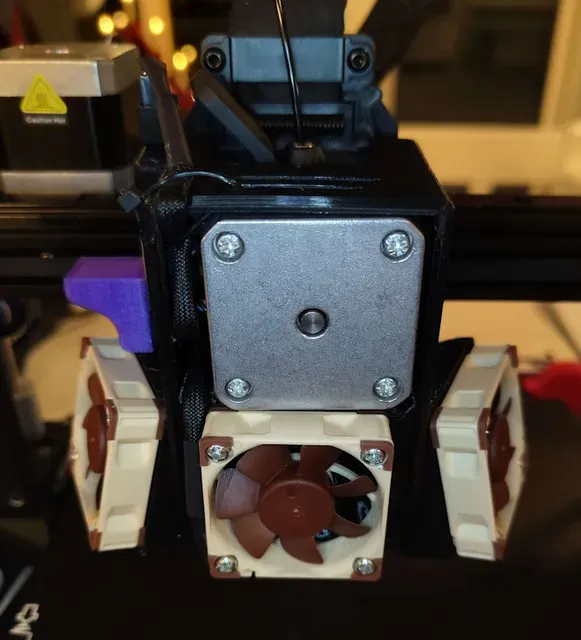


As said above a modified shroud made to fit three 40x10 fans.
Low profile mount for the hot end for reduced air travel and sleeker look. Also vertically rotated nozzle cooling fans with a customized exhaust for optimal cooling
(Aero simulation being posted soon)
Dependencies *3x 40mm fans (I went with “Noctua NF-A4x10”)
*12x M3 16mm screws
* Soldering iron
(If you don't have this you can also use wood screws and a lighter to heat and screw in to create threads and mount the fans with that…
---------------------------------------------------------------------------------------------------------
Print settings
Printed on the KE w/OEM .4 nozzle on the standard 0.20mm preset with a few changes.
*Ironing type (All top surfaces) *Wall loops (5) *Spare infill density (50) *Supports (Type-Tree(auto)/Style-(organic)
*Filament ( PETG at 250°C - 90°C on the stock Textured PEI Plate) (I recommend hairspray on the build plate for better adhesion)
---------------------------------------------------------------------------------------------------------
Instructions
- Unscrew the 3 hex screws holding the shroud down - Unplug the 3 JST-1.25 fan connectors (Carefully remove the hot glue on the connector) - Unscrew the hot-end fan - Cut the original fan cables and solder on to the new 40mm fans. (Be sure to measure twice before cutting to make the cables correct length) (black-black/red-yellow on Noctua) - Heat up the screws with a lighter and screw them in to the shroud to create threads - Mount the fans to the shroud and connect the JST connector back to the pcb - Screw the new shroud back to the printer using the original hex screws - Enjoy! (I recommend doing a calibration and auto leveling and you will be printing silent benchys in no time :)
Built to be printed flat. (.STL rotation is already set)
Model has some small blemishes. Functionally works great and prints without issues.
no integrity errors.
Will maybe update it to fix some of the blemishes if enough people ask for it
First upload :)




Названия используются только для указания источника результата. Polyzon не аффилирован с перечисленными площадками.