
Бесплатно 
MK4 and muscled MK3 X-Axis Belt Tensioner
Printables

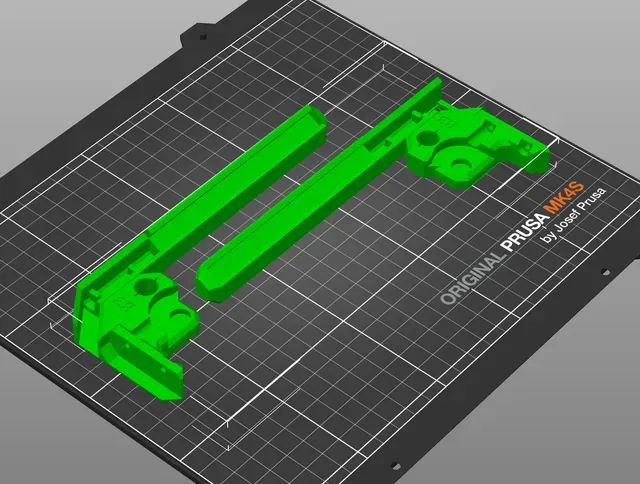
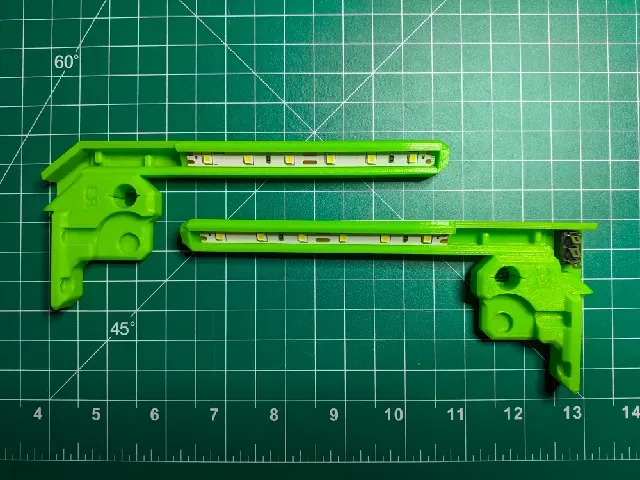
Description
Print and replace the z-top-right-R3 part on your MK4/MK3.9 and add a bit of light to your workspace.
This has been tested using a MK4s only, but should work fine on the MK4/MK3.9
Makes
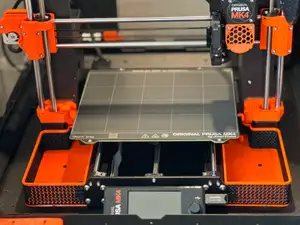
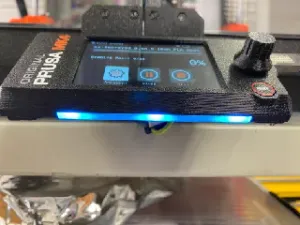
These can be configured to work on the left or right side and can be switched or just turn on when you power on your printer. Check the Makes section to see how other's have set up their lights.
Models
Finger Light z-top-right-R3 v1.0
Modification for the z-top-right-R3 to hold an LED strip (Listed in the parts section below).
Finger Light z-top-right-R3 v1.0 Switch
Modification for the z-top-right-R3 to hold an LED strip and to accept a switch (Listed in the parts section below).
Finger Light z-top-right-R3 v1.2 (Switch)
Updated regular and switched versions of the finger lights listed above
- Slimmer so it uses less filament - M3 sized screw hole added to the end which could be used to mount small and light weight accessory (like an ESP32 camera module) - More room for routing wires - Misc. aesthetic changes Finger Light Diffuser v1.2
A snap in diffuser for the Finger Light z-top-right-R3 v1.2 (Switch).
Parts List
LEDs : CAPETRONIX White LED Strip Light 24 Volt https://www.amazon.com/gp/aw/d/B08CC1X5YJ
Switch : SCOOYUCK ON/OFF/ON Rocker Switch, 10mm×15mm https://www.amazon.com/gp/aw/d/B0D9KCLGW1
Other : 18awg Wire 22-16awg Fork Connector
Notes
- When connecting to the power supply: Make sure you're not incorrectly bridging the connections . You don't want to bridge the “HEATBED IN” to the “POWER IN” lines. I've connected to the “POWER IN” positive and neutral points. Thanks go to Thomas Sanladerer for providing the M3 self-forming thread model .
Print instructions
Download the latest PrusaSlicer and use the following settings**:
- Print settings: 0.20mm QUALITY - Filament: PETG (tested on Prusament) - 15% Grid infill ** Note that print settings are recommended, but you can experiment with your own.



Названия используются только для указания источника результата. Polyzon не аффилирован с перечисленными площадками.