
Бесплатно 
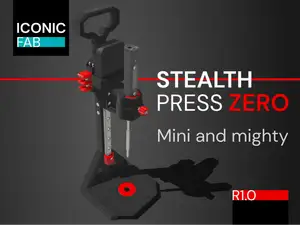
Stealth Press 1S — heat set insert press
Printables



Overview:
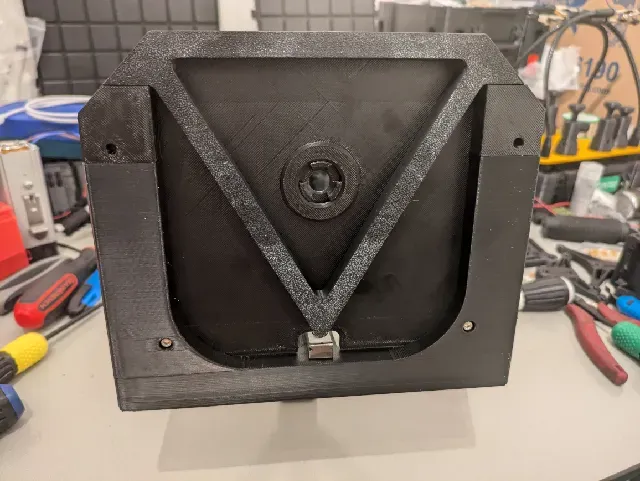
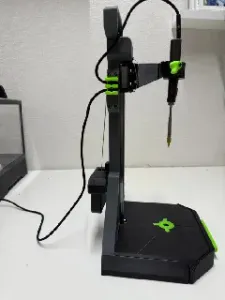
Recently built the Stealth Press 1S but had one major issue… How flimsy the build plate is! This brace is designed to solve that flaw as simply as possible without needing to replace anything you might have already printed.
Details:
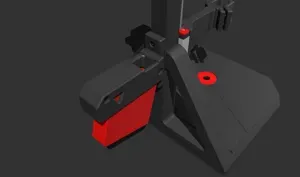
The 1S is set up in a way to allow accessories under the bed with the main one being a drawer you can purchase from Iconic FAB. It's a really nice option but I personally did not want any loose storage on my press as I already have storage for my inserts and I want to be able to move it around without the risk of small parts going everywhere.
Unfortunately it seems the base design without accessories was more of an afterthought with how much the build plate can flex due to being completely unsupported along two edges and underneath if you don't have the drawer. I wanted to solve this as simply as possible, so I designed a simple brace!
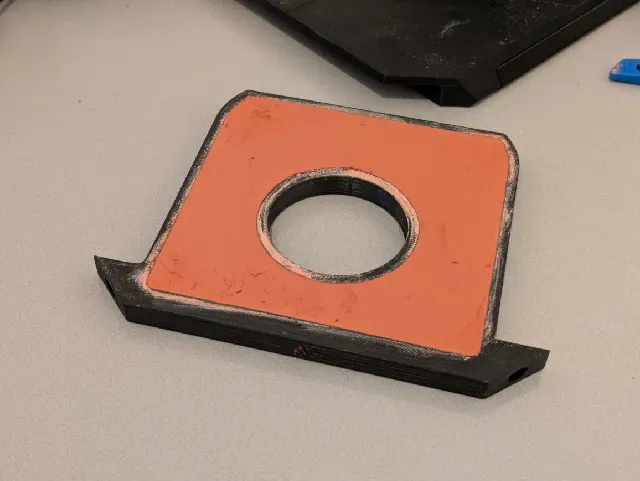
UPDATE! After using the version with just the brace I decided it was overall too top heavy. So I ended up making another option! This one is designed to hold weight in the base, use whatever you like. I opted for air-dry modeling clay as I still didn't want anything rolling around in the base when moved. But it sits pretty flush with the build plate so you might even be able to use something like lead shot or hex nuts.
This does not require replacing any of the stock parts if you printed the files from the primary project and is only three new printed parts. The extra hardware is from the Voron V2 BOM.
BOM:
Hardware Quantity
M3 x 40mm SHCS 2
Instructions:
Remove the two front M3 x 8mm screws holding on the build plate. Leave the rear two screws in place.
Push the Buildplate M3 Filler prints into the front of the build plate screw holes until they sit flush as the holes were cut to fit the head of M3 SHCS fasteners.
You can test fit the M3 x 40mm SHCS fastener to ensure it can still reach the M3 heatset in the legs.
Place the Buildplate Brace in place and push the M3 x 40mm SHCS fasteners through it and the build plate holes, tighten them into the leg heatset inserts.




Названия используются только для указания источника результата. Polyzon не аффилирован с перечисленными площадками.