
Бесплатно 
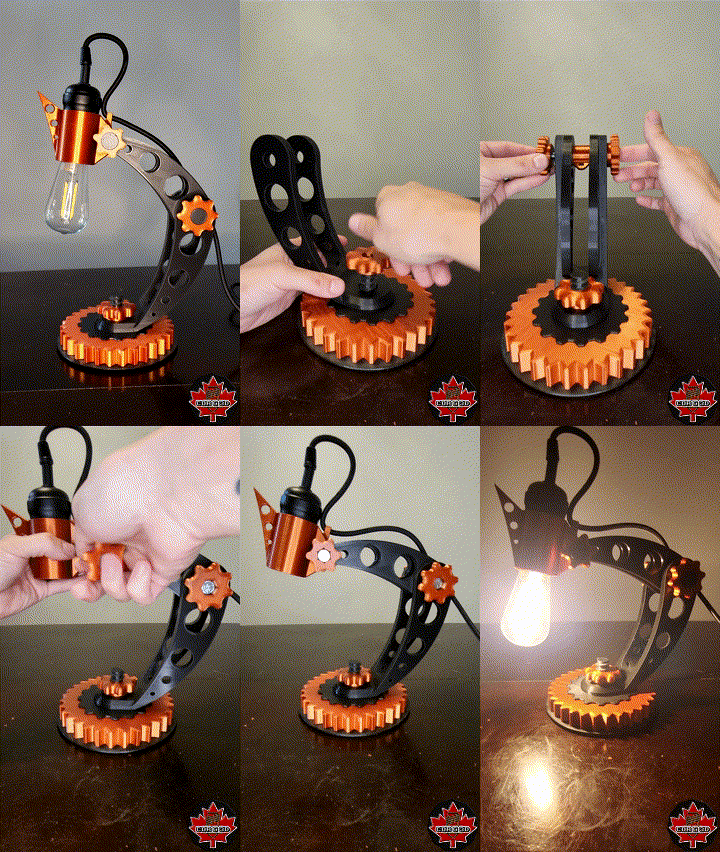
Coke Oven - Steampunk Style Lamp
Creality Cloud
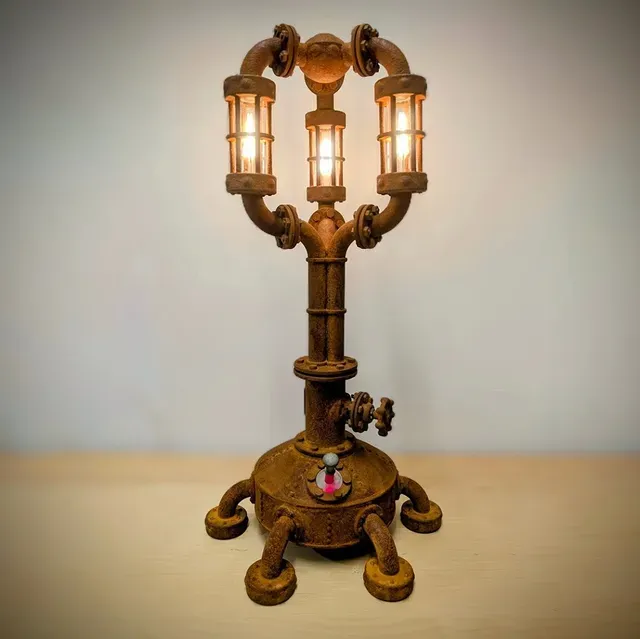

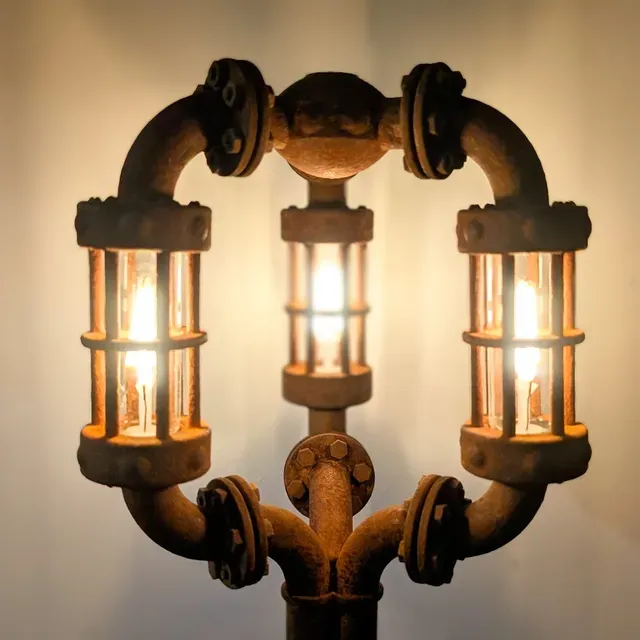
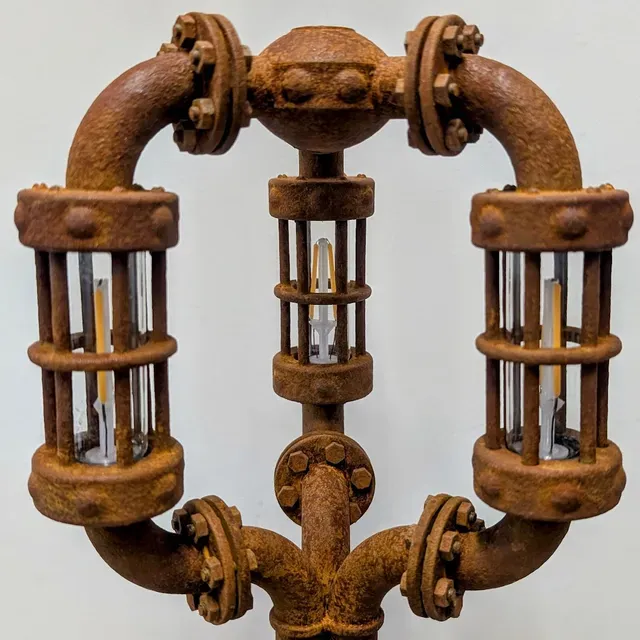
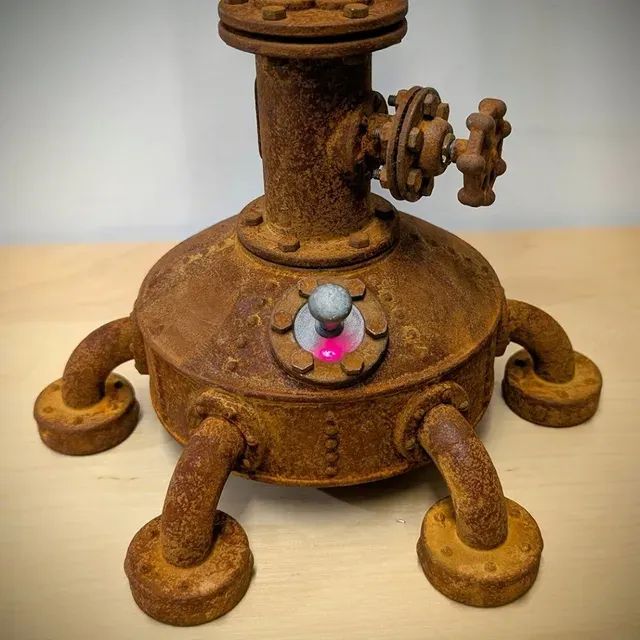

This steampunk-style table lamp can be powered via a USB-C port. The built-in dimmer allows you to adjust the brightness as desired. Thanks to the built-in LiPo battery, the lamp can also be operated without a power connection.
- Printer: MK4S+ - Filamet: PETG - Nozzle: 0,4mm All parts were glued together with cyanoacrylate and then the fake screws were screwed together.
Required prints:
- 1 x The_LÄÄMP_main_body_and_feet - 1 x The_LÄÄMP_pipe_below - 1 x The_LÄÄMP_pipe_above - 3 x The_LÄÄMP_chandelier_lamp_housing - 3 x The_LÄÄMP_chandelier_top - 1 x The_LÄÄMP_lamp_housing_body_lid - 1 x The_LÄÄMP_switch - 3 x The_LÄÄMP_bulp_filament_holder - 48 x Nut_M4 - 60 x Screw_M4x12mm Rust finish
The printed parts were primed with a mixture of high-fill clear matte varnish and brown model paint with metallic components. After drying, the parts were treated with the rust activator (sometimes several times) to achieve the desired finish. The paint used is available from https://www.rostfarbe.de
Electronics
The light bulb
For the light source, two 3V 40mm 150mA LED filaments were used per lamp. These were connected in the middle with a spot welder and welded to two insulated copper wires. The LED filaments used: https://de.aliexpress.com/item/1005004722749870.html? The glass tube is from TEDI.
Battery (1)
3.7V 5000mAh lithium-ion battery https://de.aliexpress.com/item/1005006949107594.html
LiPO charging controller (2)
DC-DC step-up converter (4)
Setting to 6.0 Volts
LED constant current dimmer (3)
For the dimmer, the potentiometer was soldered and installed in the rotary control housing (6 cable feeds). https://de.aliexpress.com/item/1005006318114785.html
Main switch (5)
The switch is still experimental. In addition to the printed parts, the following components are required:
- 6 neodymium magnets - Microswitch - LEDs as desired You can also use a different switch for this.
USB-C socket 2-pin
for the charging port on the bottom https://de.aliexpress.com/item/1005003827911143.html
You will need 8 M3x10mm screws for the cover on the bottom.







Названия используются только для указания источника результата. Polyzon не аффилирован с перечисленными площадками.