
Бесплатно 
iPad mini 6/7 rugged case
Printables

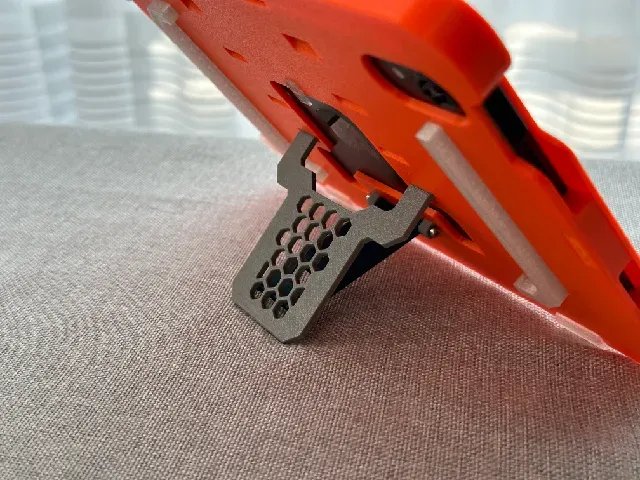
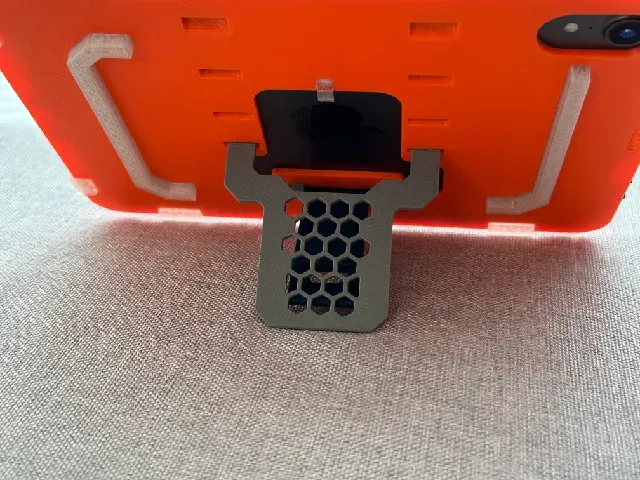
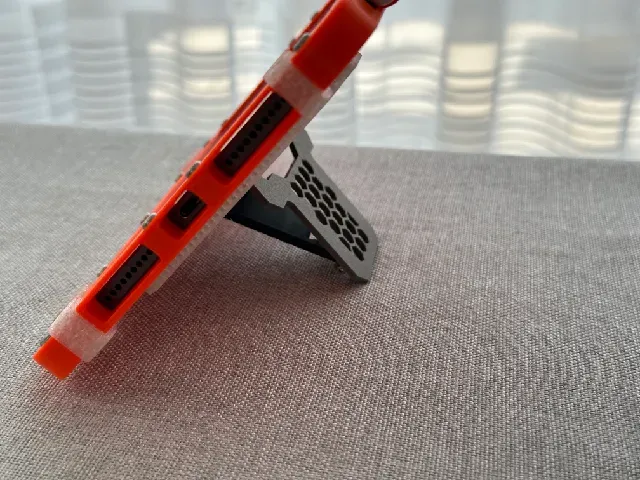


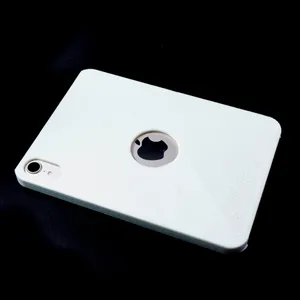
After cycling through what felt like every iPad mini case on the market, I finally decided to take matters into my own hands—quite literally—and design and print my own. The quest became even trickier once I picked up the Pencil, as many cases seem to have adopted some questionable methods of “integrating” it (if awkwardly wrapping around counts as integrating).
Several iterations later, I’ve been using this custom case for almost a year now and managed to achieve a surprisingly decent fit. I did briefly flirt with the original Folio case again, but switching back to my trusty orange creation felt like coming home—albeit a home with a rugged aesthetic that I’ve really grown to appreciate. While I haven’t put its toughness to any extreme tests (no dramatic drop tests here), it handles bumps without issue, and the clip-on screen protector I use when traveling adds that extra peace of mind. The Pencil? It stays firmly in place—no wandering through the depths of my backpack, thankfully.
A small but mighty addition is the foldable kickstand, which has become a game-changer in daily use. Whether propping the iPad up at just the right angle for content viewing or laying it nearly flat for typing, the kickstand seamlessly adapts to whatever task is at hand. It’s practical, convenient, and honestly, I have no idea how I managed without it before—it’s like discovering your favorite chair reclines after a year of sitting upright.
As for the finer details: the charging port plays nicely with most standard plugs, and while I can’t definitively say whether the screws are silently plotting to attenuate wireless signals, I haven’t experienced any connectivity issues so far. Speaking of screws, you’ll need 14 pieces of the M3*8 mm T10 Threadforming variety (easily found at McMasterCarr—stock up, they’re fantastic for just about everything). Additionally you need four M2*25 screws. Important step is to shorten those screws as the iPad is so mini, that even the shortest screws are still to big (why not use shorter screws? I need the threadless part near the head to create a smooth hinge). The two holes along the long side next to the Pencil are for the ambient light sensors, so everything functions as intended.
I can’t say for sure whether the Pencil or iPad appreciates the gentle slide action caused by the case, but neither has complained yet.
Screws:
- 14 x M3*8 thread forming screws - 4 x M2*25 (cut to 17 mm) screws Print instructions:
- The case was printed in PETG and the Bumpers in TPU - Print the TPU parts really slow and turn on cooling (especially the small parts) - Print the ”Rubber Bumper Side“ 2x - Place the “front” of the top part on the print bed - Place the “back” of the bottom part on the print bed - Print the “Volume Rocker“ 2x - You may need some modifications of the holes for the volume rockers Assembly instructions:
- Print and clean all the parts - Insert the two TPU parts in the back of the case - Insert the two volume rockers into the two holes on top of the back of the case - Insert the two cross shaped hinge parts in the back of the case. Align in a way that the holes face each other - Insert the iPad mini into the back of the case (take a moment to appreciate the fit) - Carefully slide the cover into the slot of the back with an upward motion. - Insert and tighten the M3*8 thread forming screws. Tighten with care! - Cut the M2*25 screws to a length of 17 mm + screw head. I use a very big wirecutter and a file to remove edges and burrs. Don’t try to fit the screws without cutting, they will blow your part into pieces! - Place the Plank part with the indentation facing the hinge towards the case and screw it into place with two M2 screws - Place the Kick part as shown on the images and screw it into place with the remaing two M2 screws - Snap the 4 TPU Bumper parts into place on the edge of the case - Snap the holder for the Kickstand into the case. It acts as a latch to keep the Kickstand in place. - Done
Enjoy your new Case and feel free to give feedback. Thank you very much for printing. It means a lot to me to know that someone else is enjoying my design.






Названия используются только для указания источника результата. Polyzon не аффилирован с перечисленными площадками.