
Бесплатно 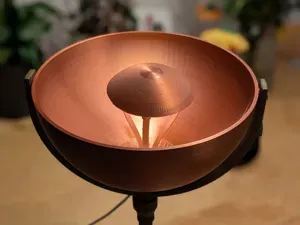
Parabolic Lamp - Indirect Light for Bambu Lamp Kit
MakerWorld
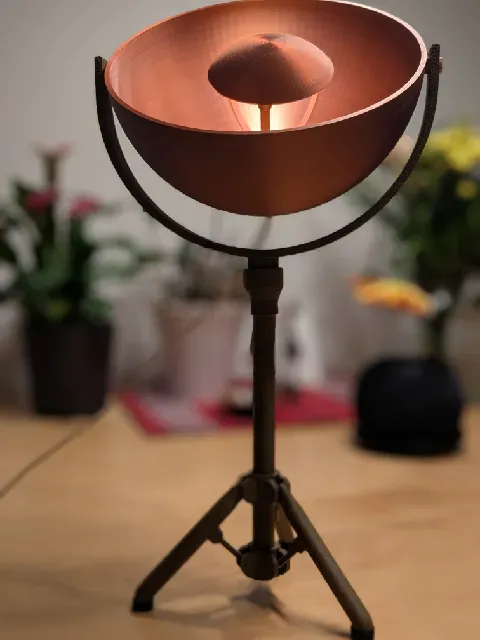

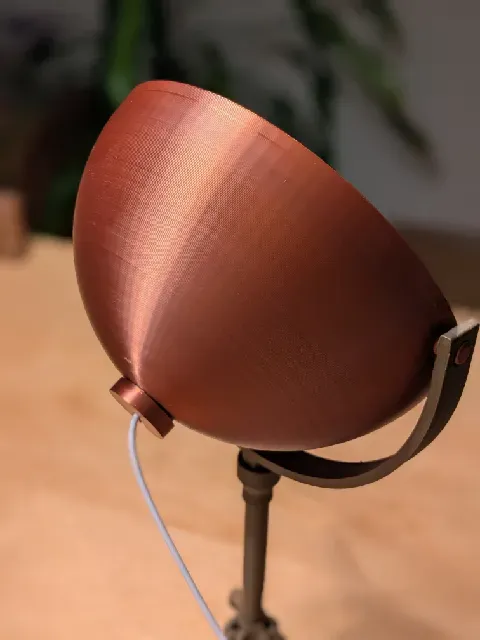
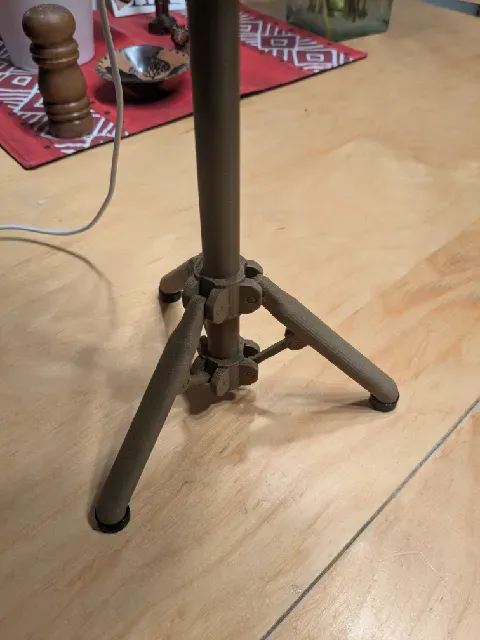
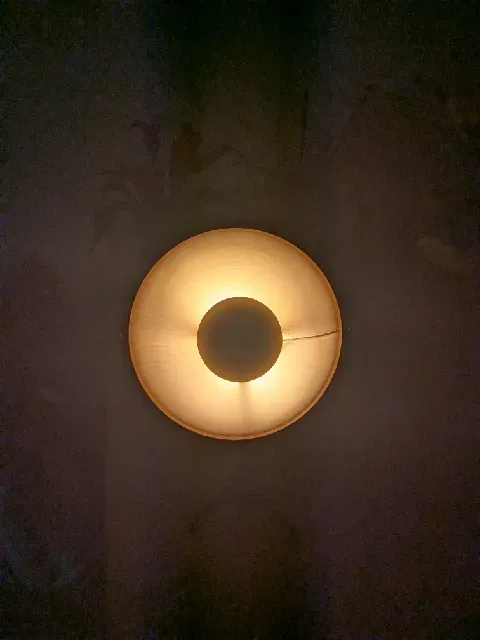

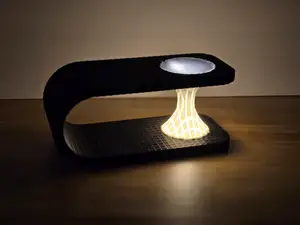
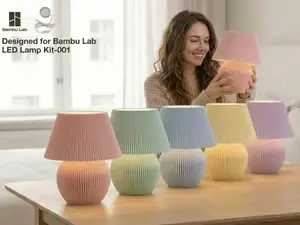
This parabolic lamp will illuminate your room with a beautiful indirect light. Ideal for reading a book late at night or having some backlight while watching a movie. I have originally designed this to work with the Bambu Lamp Kit-001, if you are using this no other bonus parts are required. In case you don't want to buy from Bambu for one reason or another, the lamp kit can be found on Aliexpress for a fraction of the cost. I also included an adapted version that is compatible with a round G4 LED spotlight with a diameter of 30 mm. I used the one below but any manufacturer will do. The 2W/230 lm version used here is significantly brighter than the Bambu LED Kit, although you need more auxiliery parts (cables, a switch, 12 V power source) to make it work.
Print: Printing the bowl is the most challenging part of this build. To get consistent results, I have added a designed support. In case you are tinkering with the project (which I recommend by the way) make sure it is aligned properly if you are moving any parts. I used a 0.8 mm nozzle for the bowl, since this considerably cuts down on printing time, however a 0.4 mm nozzle works just fine. Adaptive layer height works well, however you have to use this setting for the printed support as well to get good results. In case you want to go with a smaller nozzle, I recommend 50% infill with Octagram Infill. Other infills like for example Gyroid created some odd artifacts in some of my prototypes.
The other parts are pretty straight forward. If you want to make changes to the tripod, please make sure it remains grouped as one object.
Before assembly:
Remove the supports from every part of the lamp. Please check if the lamp parts (see image one) fit into each other smoothly. I have added tolerances that worked for my material but shrinkage can vary drastically between manufacturers. In case the three supports are too big for the square holes, gently file them down with sandpaper, I recommend grid 80 - 120. Once everything fits, assembly can begin.
Assembly:
PLEASE READ THIS PART ENTIRELY BEFORE TRYING TO JUST WING THE ASSEMBLY! The assembly can be a bit tricky, since there is exactly one (1!) way of doing it correctly. And yes, the order of the steps is important. Please follow the steps below:
- Unpack the Bambu Lamp Kit and stuff the USB part and the switch through the hole of the bowl, so the light itself remains inside the bowl. If you are using the G4 spotlight instead, attach the cable and switch if necessary. - Pre-assemble the lamp parts, see picture one. The three supports (1) and the rear end plug (2) need to be put together as in image two. To add stability, add a drop of glue or resin and let it cure for the recommended time.
- When the pre-assembled part is ready, gently squish the supports together and put them through the hole of the big bowl. Make sure the cable goes through as intended. Carefully push the bolts of the plug in the holes. Then the end cap (3) can be put on.
- Now the LED element can be merged with the lamp holder (4). To do so, unscrew the aluminium cap of the LED element, take out the plastic part and put in the screws that come with the LED kit. IMPORTANT: There is one bit of the lamp holder that has a small cutout for the cable. Make sure the cable faces this part. In case you are using the G4 spotlight, fit it in the adapter and push it in the lamp holder (4).
- Once the LED part is assembled, both parts can be combined. To do so, push the three supports in the three square holes. Make sure the support that includes the hooks for the cable is aligned with the cable itself. I also recommend to add glue/resign here to increase stability. - The bowl can now be put on the hinge part (plate 3) by gently pushing the outer bolts into the holes. Take your time here in order to not break anything. - In case you printed the optional TPU rubber feet, put them on the tripod. Then use the connector part on plate 3 to combine the tripod with the rest of the lamp. Additional Info:
In case you don't want to use silk filament for one reason or another it is perfectly viable to print this with regular PLA and add a reflective paint to the inside of the bowl. In my experience, gold spray paint works best for this purpose, see below. Don't forget to add a clear coat of paint after adding the metallic paint, otherwise it may fade quickly.
I found the Bambu Lamp Kit to be worthwhile for this project, yet it was a bit lacking to illuminate a room properly.
Названия используются только для указания источника результата. Polyzon не аффилирован с перечисленными площадками.