
Бесплатно 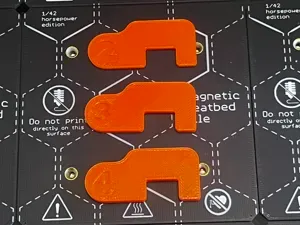
Prusa XL Belt Tension Alignment Calibration Tool
MakerWorld


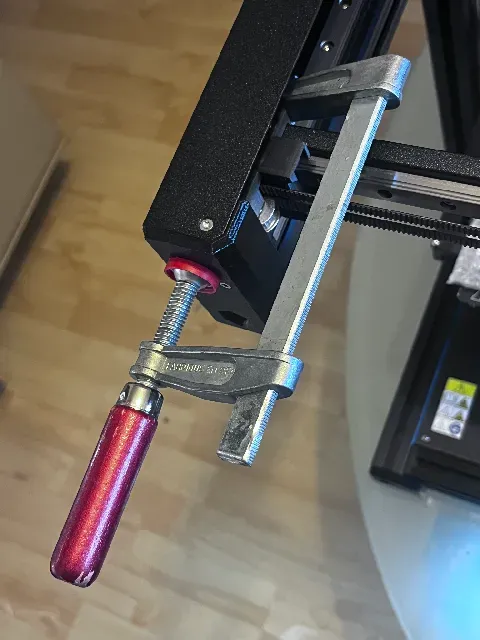
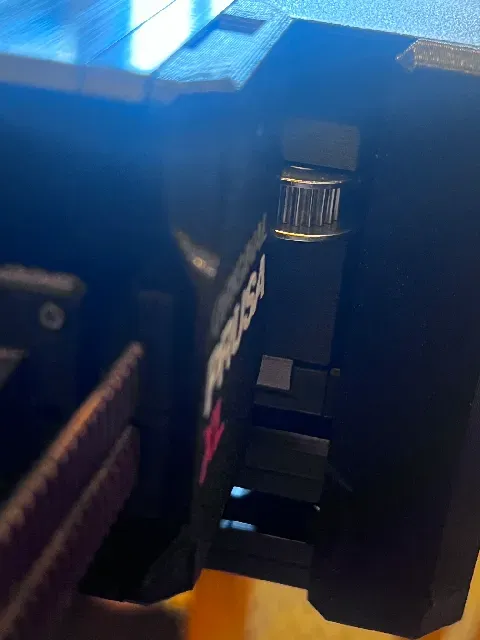


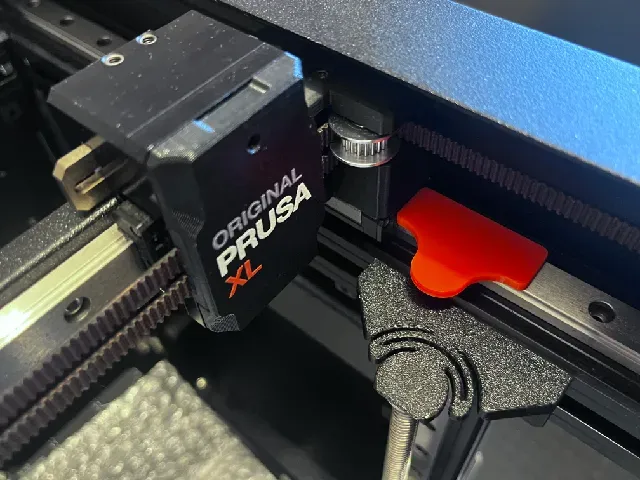


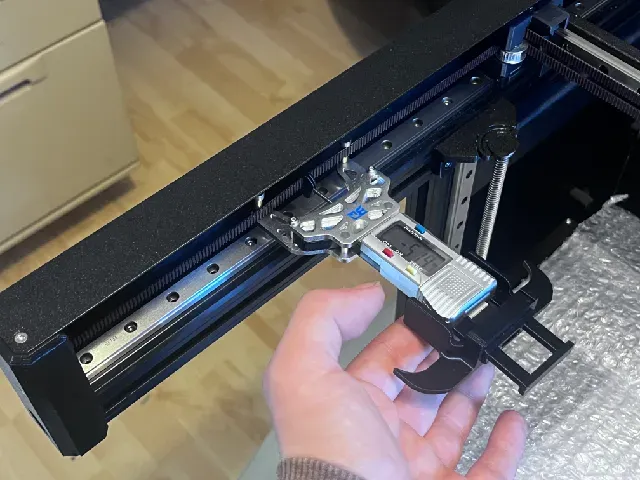
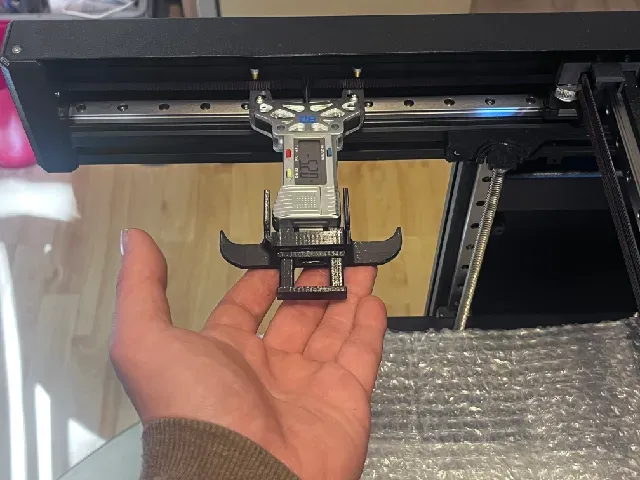


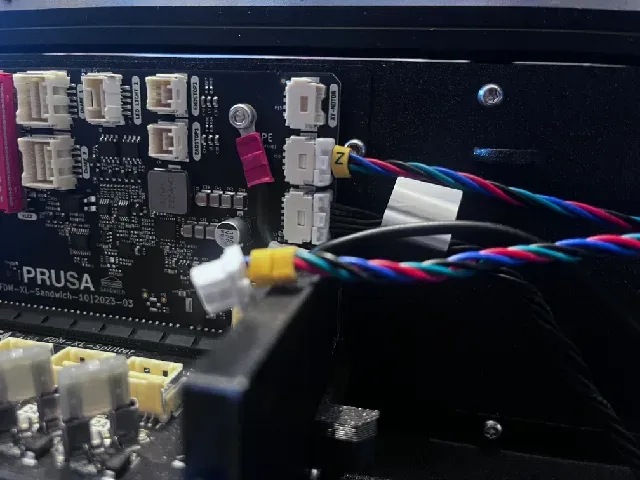

Hello XL printers,
I was one of the first to receive a Prusa XL Multitool printer. From the start, I had problems tightening the belt equally on both sides and still aligned parallel so that there is no gap on either side.
Since I've spent a lot of time researching the problem, I know many people have this problem. So I tried a lot of things and have finally found a working solution!
Here you find the full guide:
https://investegate.de/prusa-xl-belt-tension-alignment-calibration-guide
Quick Guide Overview:
- After each adjustment, the entire carriage must be rotated 1-2 times completely back and forth and completely left to right and back to the belt to evenly distribute the tension across the entire belt. Only then measure again. (Video) - The adjustment position is always in the very center of the front. - The measurement position is as shown in the Prusa Video . - The alignment check position is in the front left and right. - If there is a gap on the left, the spacer should be right. - If there is a gap on the right, the spacer should be left. - Always alternate between a maximum of 0.5 to 1 turns per side and a maximum of 2 full turns per adjustment procedure.



Названия используются только для указания источника результата. Polyzon не аффилирован с перечисленными площадками.