
Бесплатно 
Ender 3 ZAxis Camera Mount for Raspberry Pi Camera V2 (and Arducam IMX519)
Printables
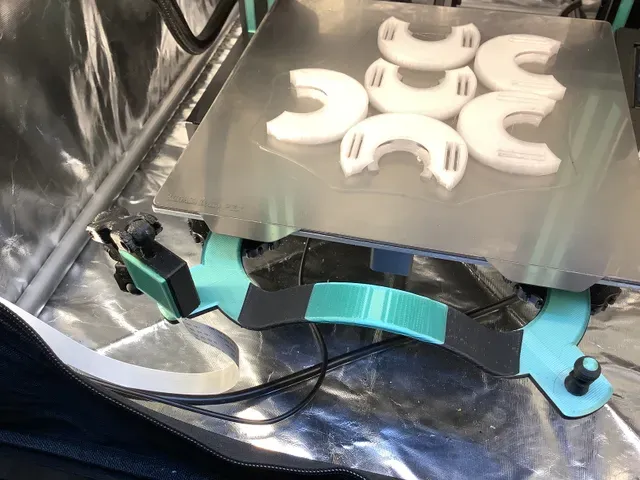
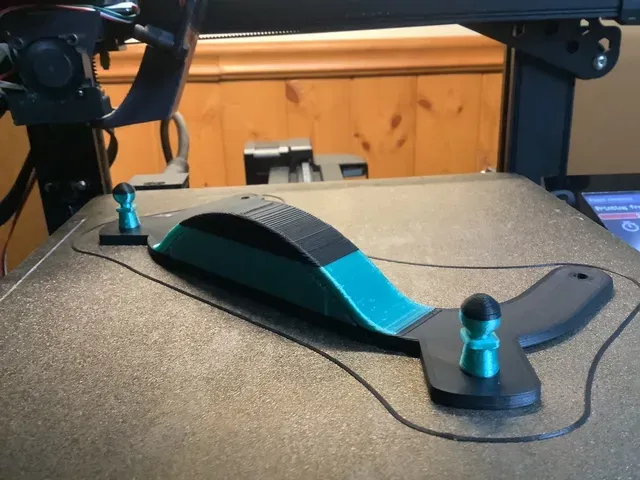
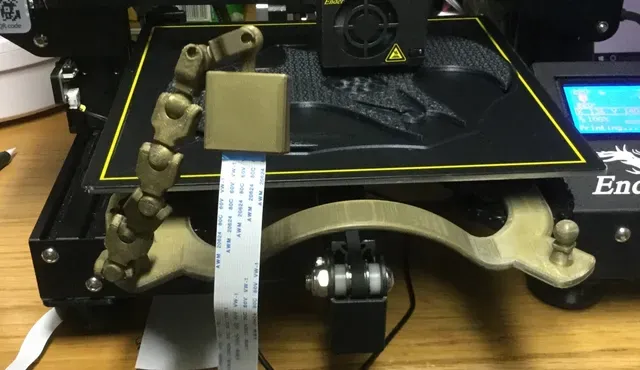
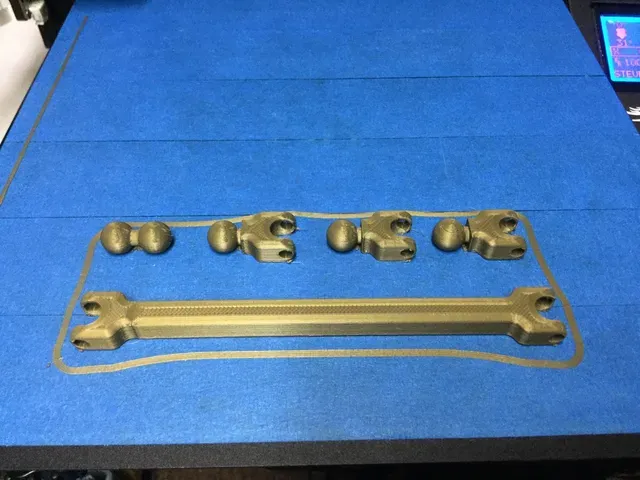

I had already built the camera holder (thing 3516462), when I found the bed handle with a single camera mounting point (thing 3666244). I experimented briefly with using the ball & socket design from thing 3017729 to make the articulated arm, but I found it difficult to print robust versions of those sockets in the metallic bronze PLA I wanted to use, so instead I crafted something similar from the flat easily printed pieces in thing 3516462.
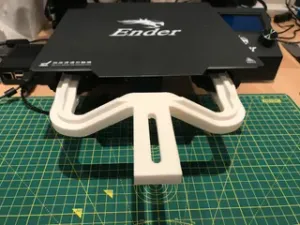
I was not ready to commit to mounting my camera on the opposite side of the printer, so I remixed the handle to put a mounting point on both sides.
I did not need to replace the existing camera case, so I replaced the mounting points on the handle with the flat-sided ball from thing 3516462, to ensure that all of the balls in the system fit into all of the sockets in the system..
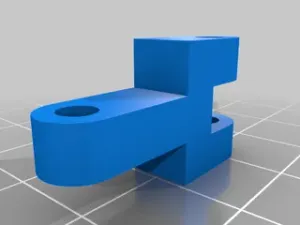
The result of my journey is this set of files which include a variety of parts created by cutting and grafting the ball and socket designs from thing 3516462 onto each other.
You will need to decide how many of each thing to print, depending upon where you want to attach the camera and how much range of motion you want it to have. You will likely not need to use them all, but I have kept them together in case you find other applications.
Print Settings
Printer Brand:
Creality
Printer:
Ender 3
Rafts:
No
Supports:
Yes
Resolution:
0.12-0.20 (handle)
0.20-0.28 ( other parts)
Infill:
100% (bed handle posts)
20% (other parts)
Filament: CCTree Metallic Bronze-filled PLA Metallic Bronze
Notes:
Only need supports to print the handle. I used it on the bedplate only. The squares under the balls print cleanly without support, but your slicer may not realize that.
I printed my handle at 0.12mm resolution, with 100% infill and sanded and polished it smooth, because the extra few hours of print time were worth it to me. You could use 0.2mm layer height if the stepping is not a problem for you. I used 100% infill for the two posts, to ensure they were strong enough to tolerate me pressing a camera arm link onto the post. (Do be careful when you press that on, not to put a bending force on the post. It is very saddening to snap off a post after you have re-assembled the bed.) The rest of the handle can be printed with 20% infill.
You do not need support to print the articulating arm pieces, and 0.20 or even 0.28mm layer height with 20% infill are sufficient to print those.
The long arm was to allow me to mount the camera to the mount in thing 3516462, to let me explore whether I wanted to mount the camera on the handle or just bring it more to the front and centre from the side mount. Again, you probably do not need it to mount things on the handle, but it is here in case you decide you want to use it.
Category: 3D Printer Accessories






Названия используются только для указания источника результата. Polyzon не аффилирован с перечисленными площадками.