
Бесплатно 
Prusa i3 Dial Indicator Mount
MyMiniFactory


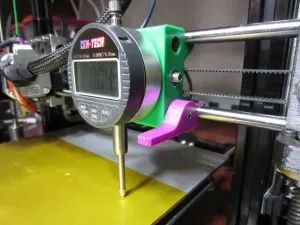
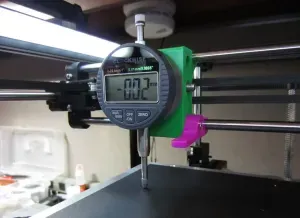
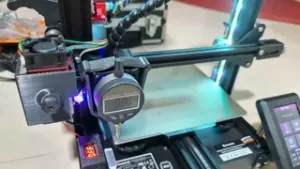
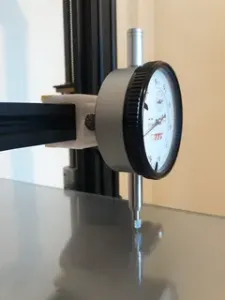
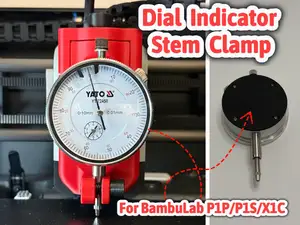
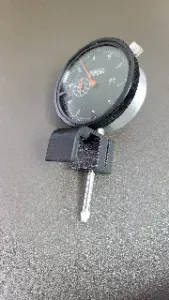
This is my remix of a great design I found on Thingiverse. I made minor modifications to accommodate my dial indicator which has a 20mm wide mount tab instead of an 18mm mount. If your mount tab is 18mm wide, use the original design. I was surprised by how much my bed was off after checking it with this tool. This tool is designed for Prusa printers with Z axis bearing rods 45mm apart. It fits perfectly on my printer. The dial indicator does a far more precise job of leveling the bed than using the drag paper method. I have found that my first layer is much more consistent. It is especially helpful for larger prints. It is also quicker to check the four corners with the dial indicator than using paper because I don't have to bring x axis near the bed. I can just zero the dial indicator on one corner and adjust the other three corners to match.
My procedure:
- Attach the dial indicator to left side of X axis and move the bed forward so that indicator is in rear corner. Zero the indicator.
- Move the bed backwards and take reading on the front left corner. Adjust the bed leveling screw until the dial indicator reads zero.
- Move dial indicator to right side of X axis carriage being careful not to zero it. Take a reading on front right side of bed and adjust the bed leveling screw until the indicator reads zero.
- Move the bed forwards and take reading on the rear right corner. Adjust the bed leveling screw until the dial indicator reads zero.
- Move the extruder to the middle of the bed and do you normal Z height adjustment. All four corners are level so no check should be needed other than the middle of the bed
Print Settings
Printer Brand:
RepRap
Printer: Prusa i3
Rafts:
No
Supports: No
Resolution:
0.1mm
Infill: 50%
Notes:
PLA
Extruder 200C
Bed 60C on Kapton w/ glue stick
Post-Printing
I did not have to clean up any of the holes and the nut retaining location was the right size. The latch requires a long screw which I did not have so I used a special metal threaded insert for plastic where you heat it up and press it into place. A pocket for a nut would be nice so the long screw would not be needed.
Category: 3D Printer Accessories





Названия используются только для указания источника результата. Polyzon не аффилирован с перечисленными площадками.