
Бесплатно 
Drawing Robot - Arduino Uno + CNC Shield + GRBL
Thingiverse
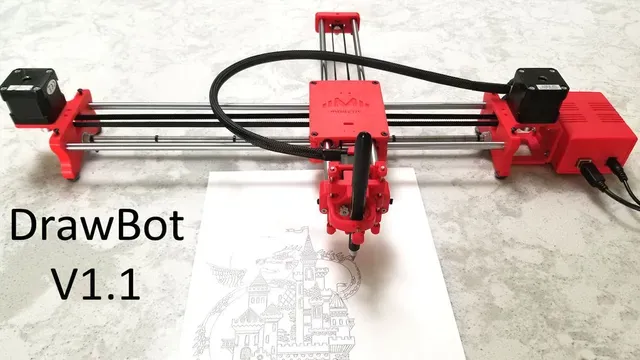
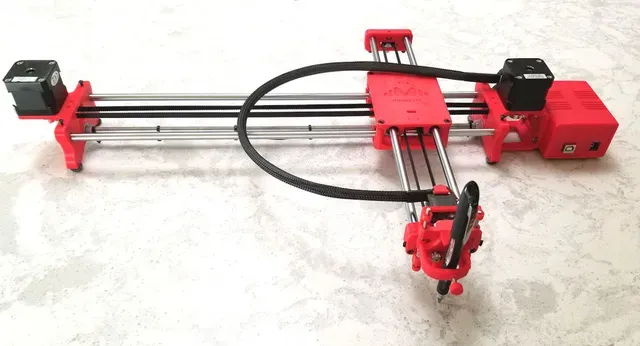
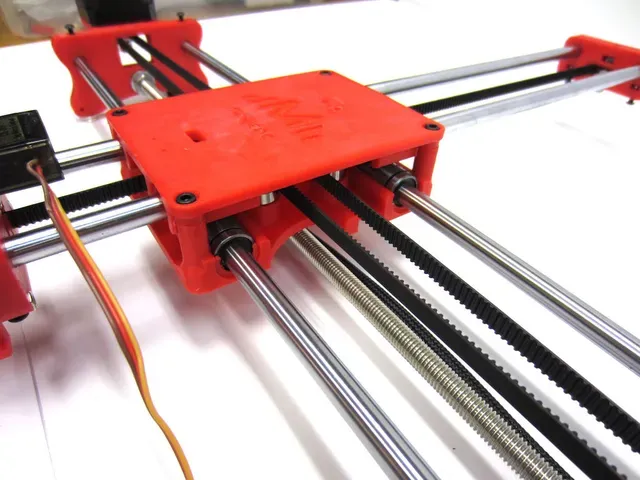
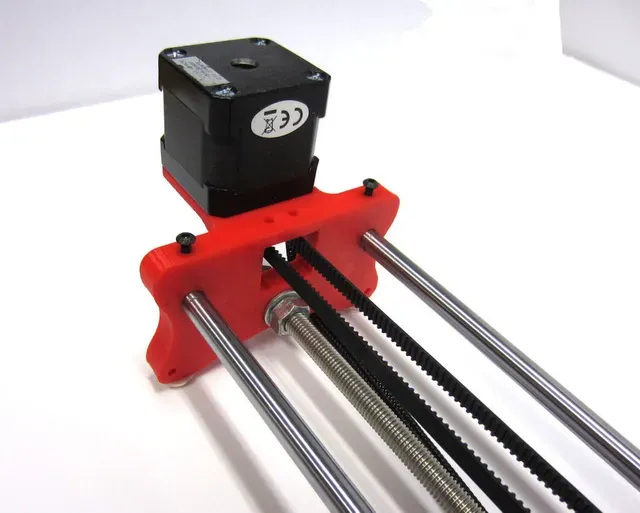
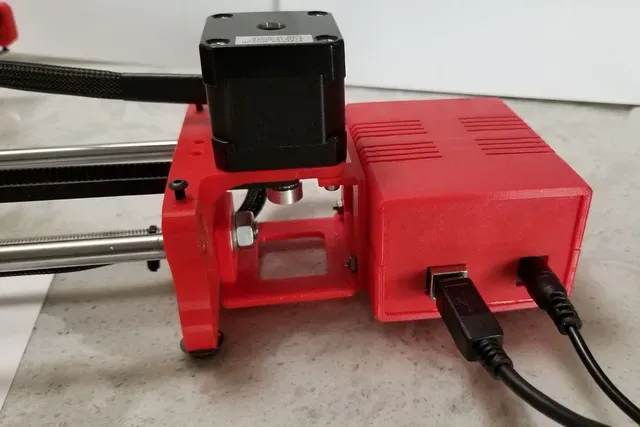
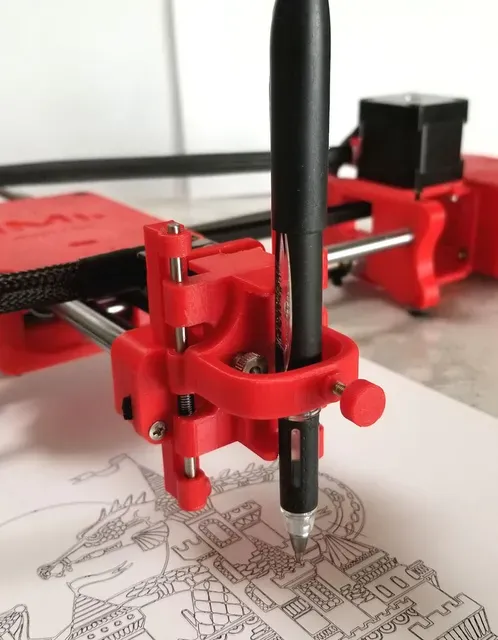
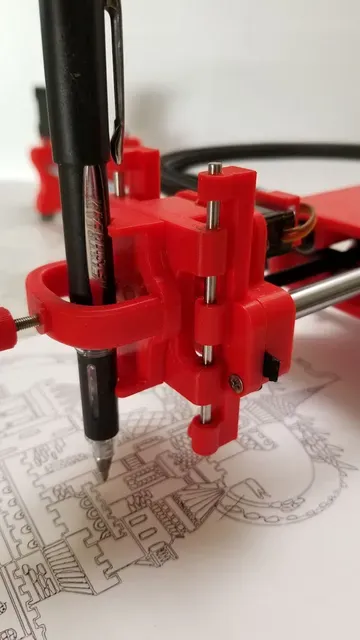
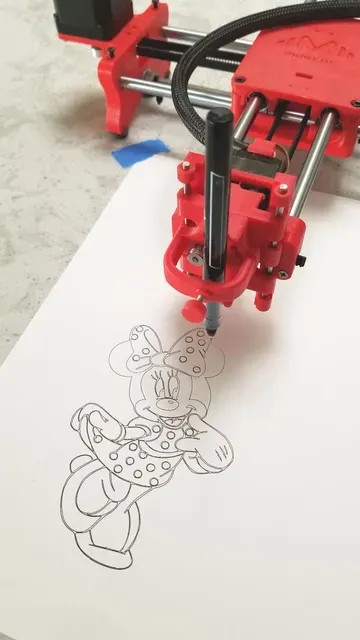
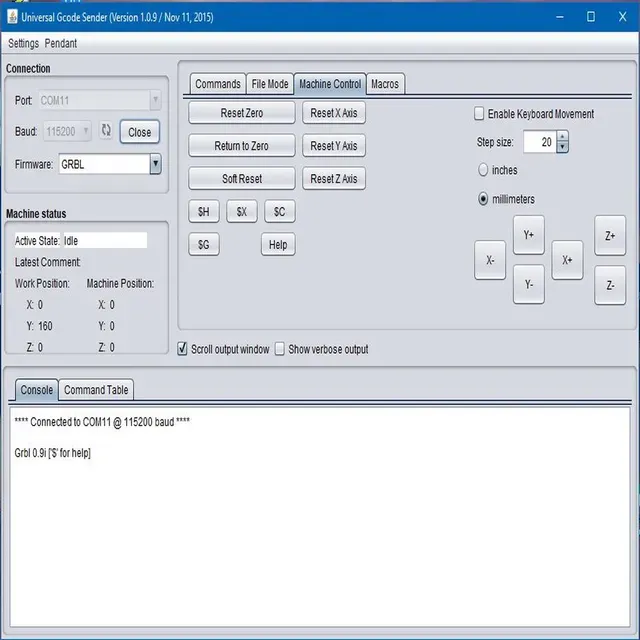
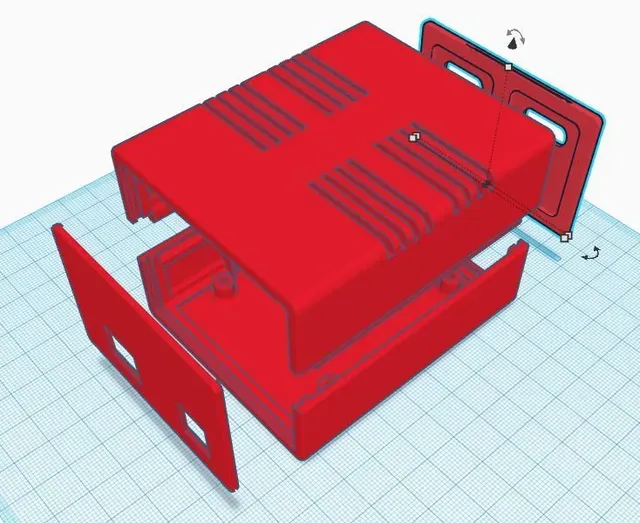
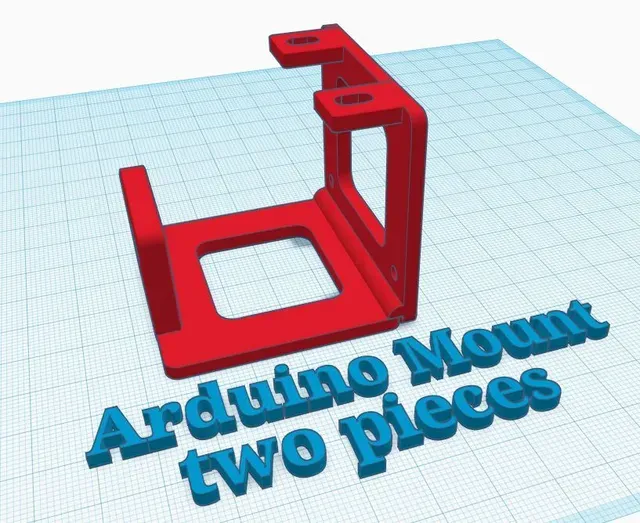
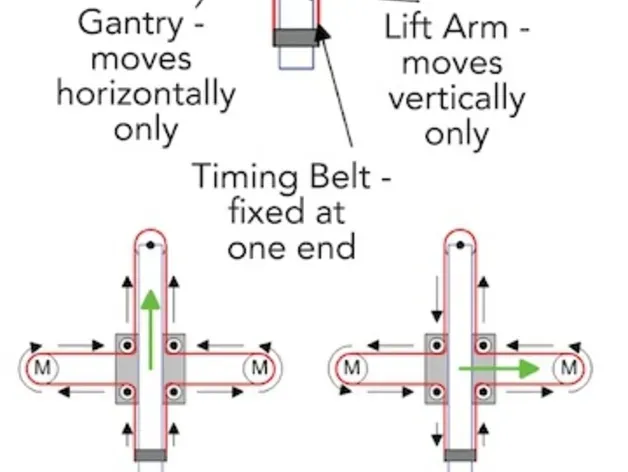
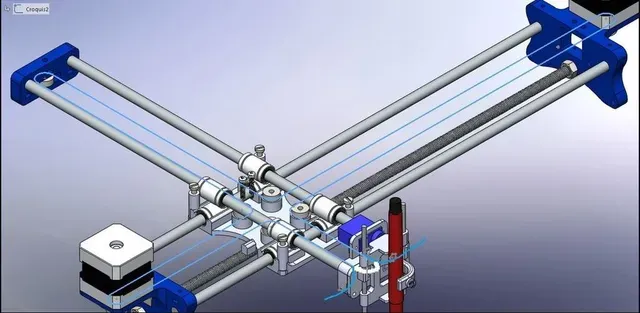
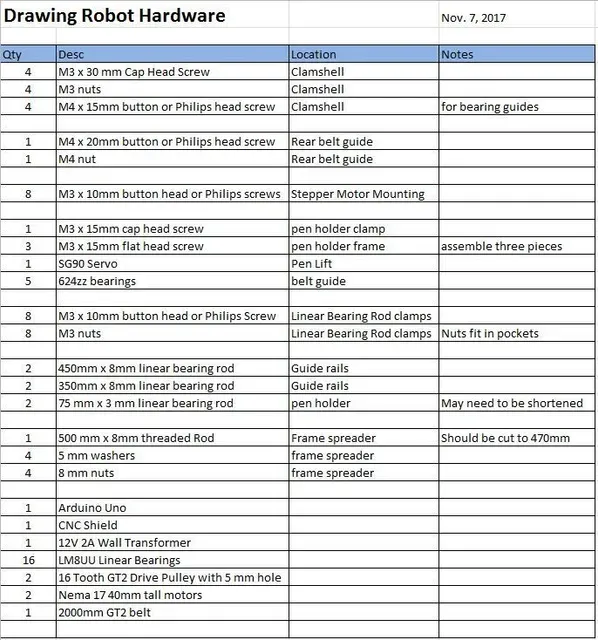
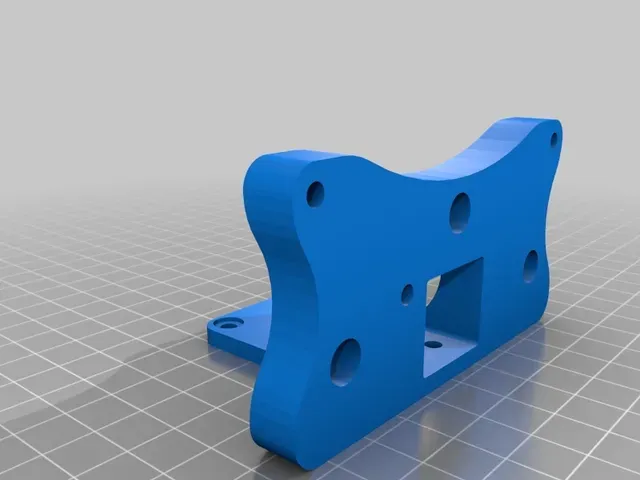
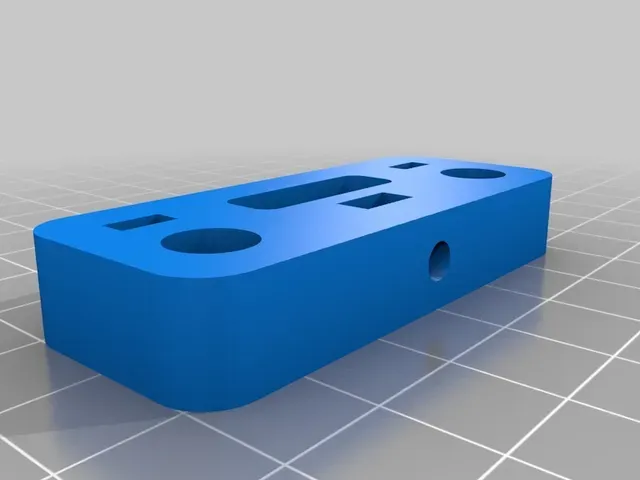
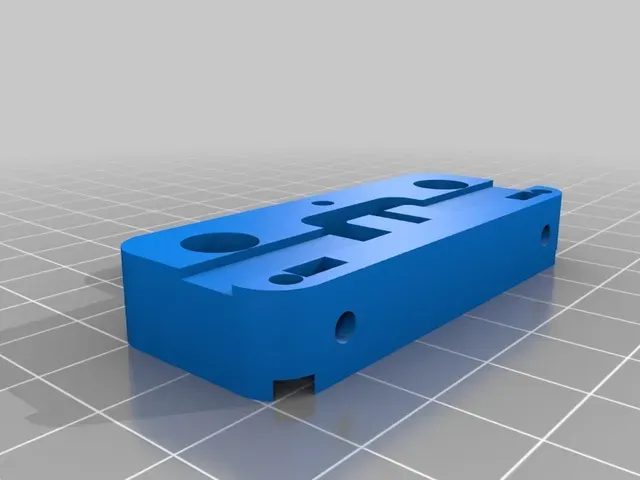
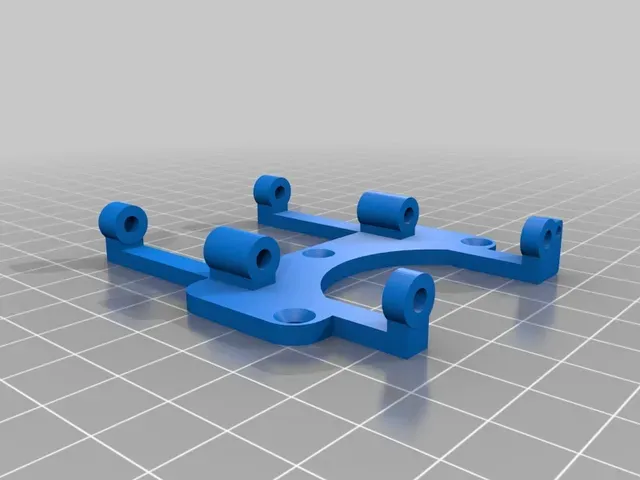
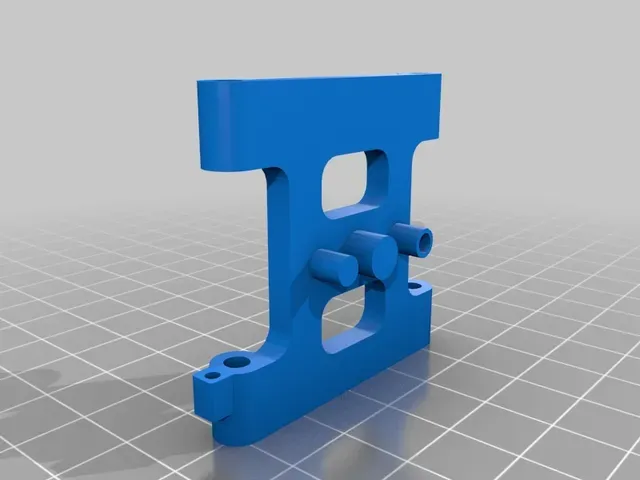
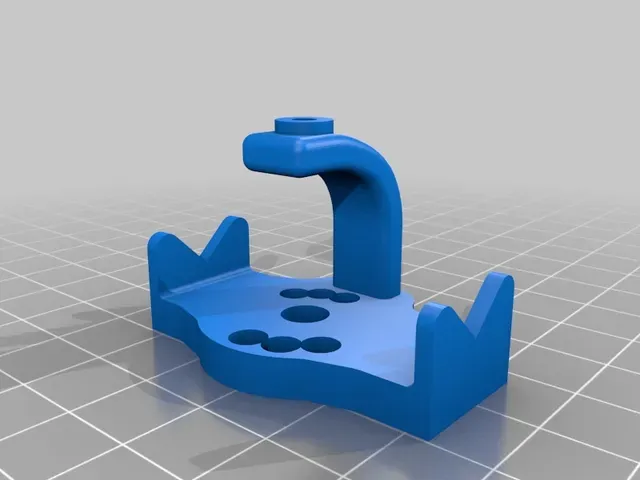
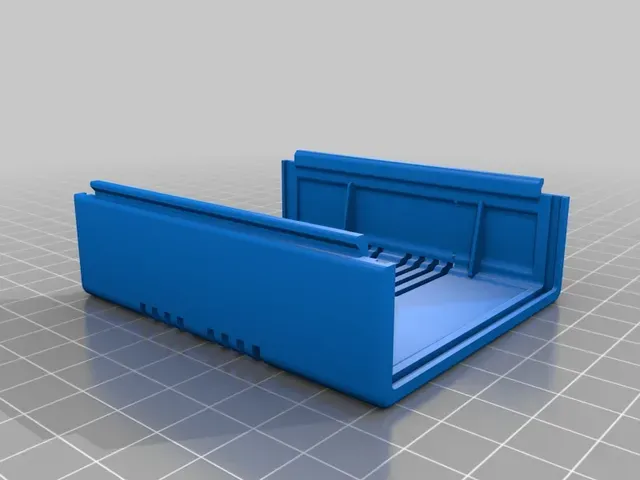
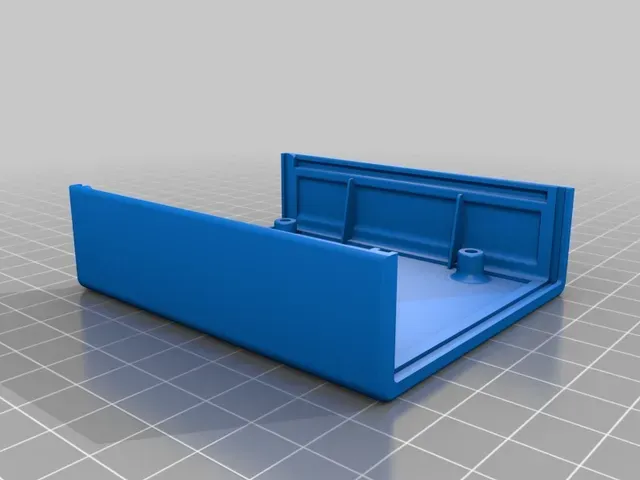
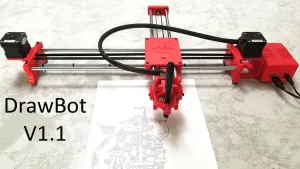
The DrawBot is similar to the commercially available AxiDraw. It is powered by an Arduino Uno controller, uses a CNC Shield, and GRBL firmware. The approximate cost to build the DrawBot is $100.
Recently some makers of the Drawing Robot have reported a hang up issue with the Drawing Robot Software. I didn't write any of this software. It is all open source or commercially available. I haven't seen the hang issue but I also see that some of you have moved to software other than the suggested combination. It is hard for me to troubleshoot all combinations of software. This Thing is dependent on GRBL, Inkscape, Java, and Universal G-Code Sender. I have seen cases where changes in the version of Inkscape conflicted with either Java or GRBL. That is why I have suggested a known working set of software. I posted this thing to give people a cool project but it is not a product. If you decide to try other software, you will have to do your own troubleshooting. I do acknowledge that even with the suggested software that you could run into a problem such as a hang on long plots (> 2 hours?). I've tested on plots as long as 90 minutes without issue but it is possible that a long plot could hang in a way I haven't seen. If someone finds the cause and fixes it, I will be grateful and will add the fix with a credit to you.
If you decide to build this robot, make sure you check the following things before reporting that it doesn't work.
- Make sure you have Python 3.7.X or 3.8.X installed on your computer. Python 3.9.X does not work. Its maddening to me that different versions of Python don't work with this solution. Python is needed in order to use the Universal G-Code Sender and the MI GRBL Extension in Inkscape. Python errors usually mean that you either don't have Python or you have version 2.X instead of 3.X. If you still have a py error, copy the supplied to servo.py file to the extension directory.
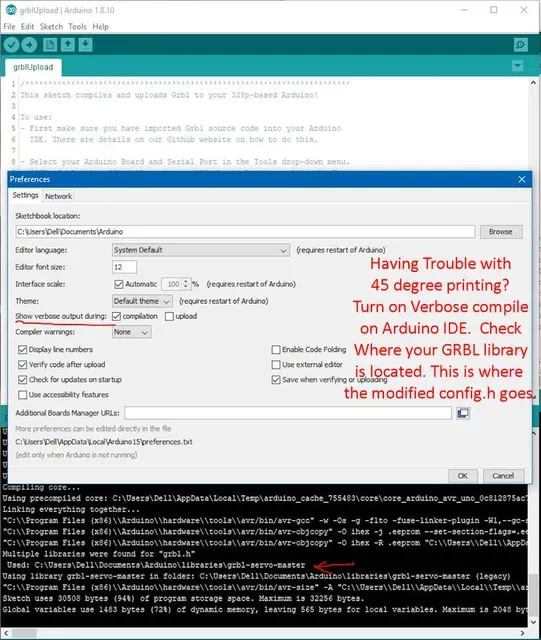
- If your robot draws at a 45 degree angle, read this whole description before reporting this problem. Please read this description. If you still have problems, refer to these instructions - https://github.com/grbl/grbl/wiki/Compiling-Grbl
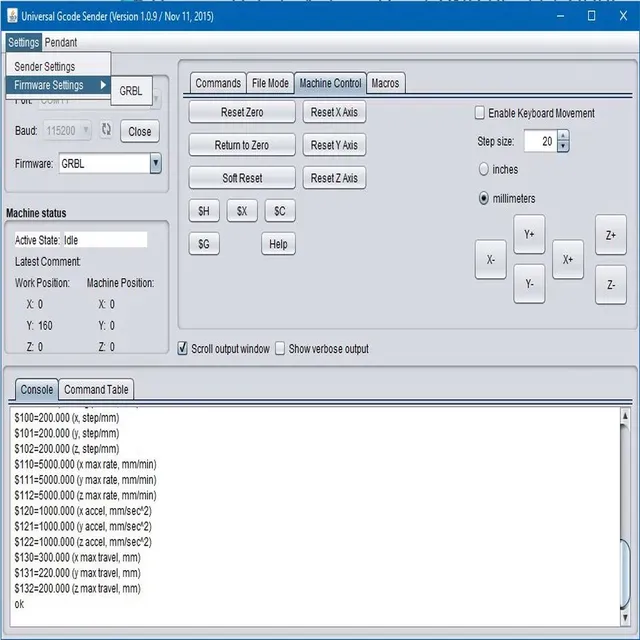
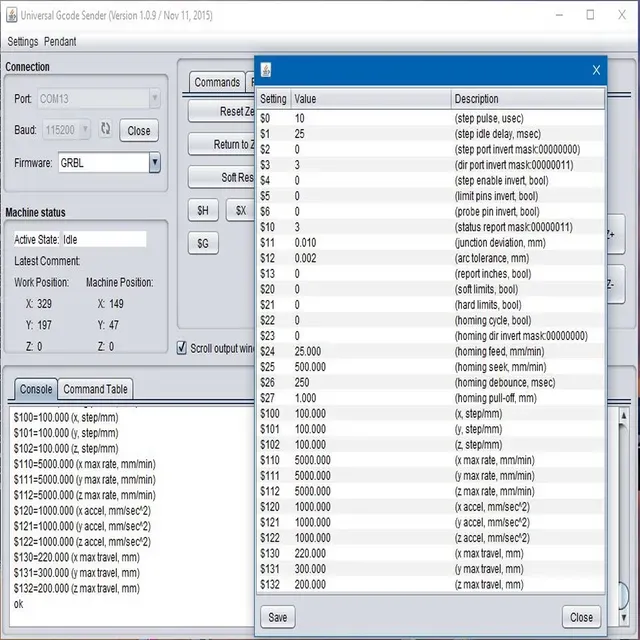
- Make sure you have set the GRBL parameters in the Universal G Code Sender and that you have zeroed the X and Y axis.
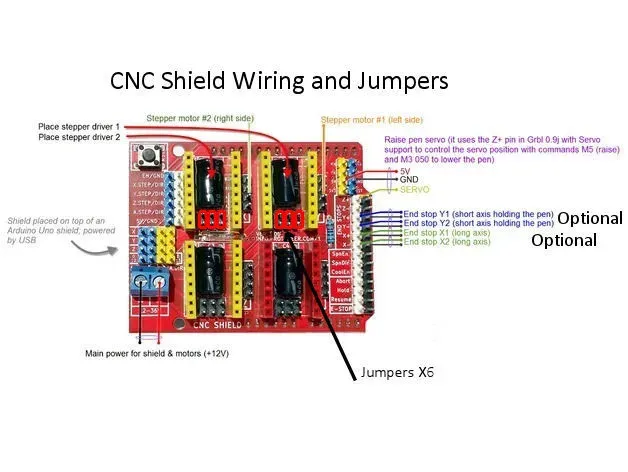
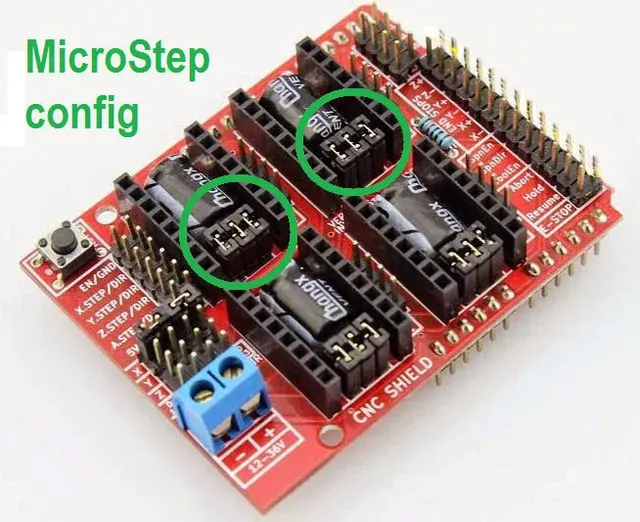
- Make sure you have the jumpers under the stepper drivers installed.
- Make sure you have adjusted the stepper drive current for your brand of driver
- If you decide to change the version of GRBL or Inkscape you are using, I can't troubleshoot your NEW setup. Newer versions of GRBL don't have the servo code for the Z axis and newer versions Inkscape may not work with the MI Extension.
You must read this description and the documentation to get the robot to work correctly. It isn't hard but you can't wing it. Have fun!
Here's what is new for DrawBot Version 1.1
I've improved many parts but all new parts are compatible with all of the old robot parts. Here's what has changed:
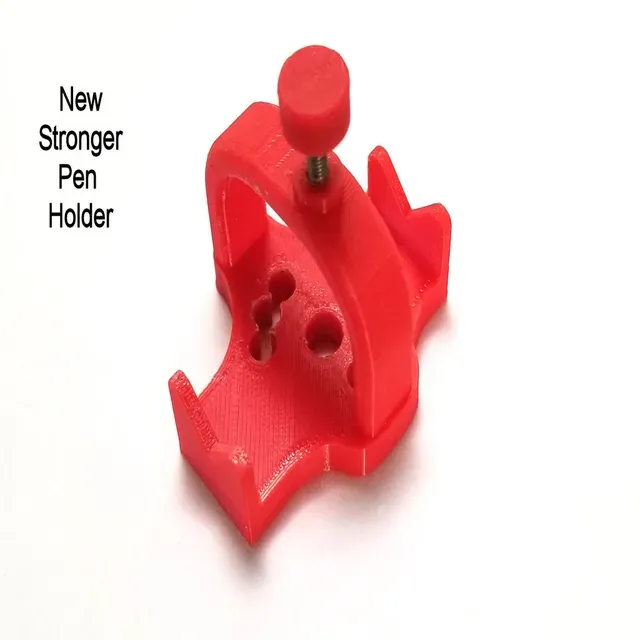
- There's a new Pen Holder which is sturdier but still maintains the ability to hold a pen at an angle. The new pen holder works with the current robot.
- Stronger version of the pen sliding mechanism. It is compatible with the original pen holder and robot. The extra strength will hold the pen more firmly and allow more accurate movement of the pen.
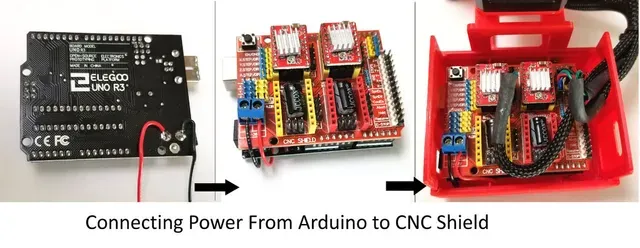
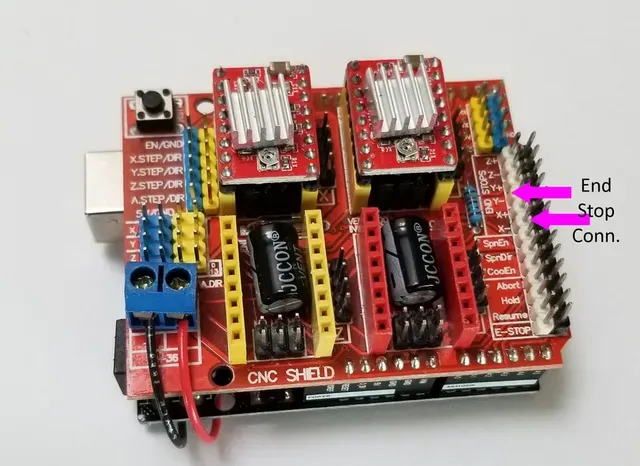
- User Gspt pointed out that Arduino Vin can't handle more than 1A. There is a new slide showing how to connect power from the Arduino barrel connector to the CNC Shield.
- There's a new bracket designed to attach the Arduino enclosure to the right hand of the robot. See the new front page photo! The bracket uses existing holes so no other parts need to be modified.
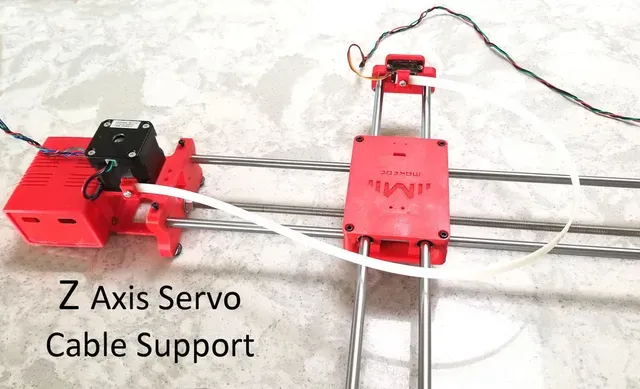
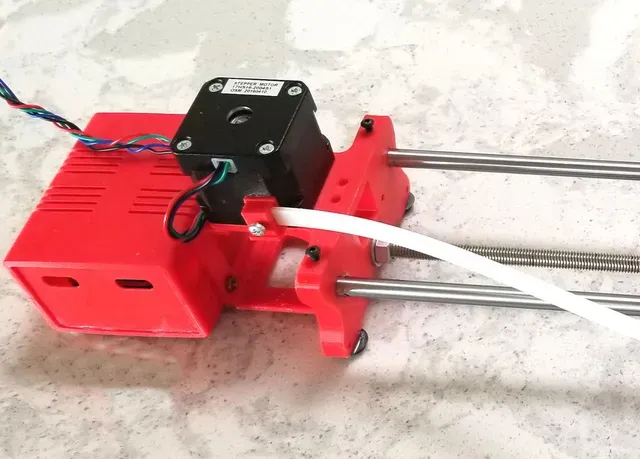
- I have designed a cable management system that uses a 500 mm x 9mm large wire tie to support the Z axis servo wiring.
- I just found out that the DrawBot works with some of the AxiDraw software. I will document what works and how to use it. This is really cool and will make the DrawBot even more useful.
All new parts will have a newer suffix to the old part name (V4 becomes V5, etc..). You may use the new design or you are welcome to print the older versions.
Documentation can be found in the Files section. Thanks to Jonathan K for creating this documentation.
After assembly use the Install and Use document which explains how to install Inkscape, the MI GRBL extension, and the Universal G-Code Sender. It also guides you through three example projects and can be found in the Files section of this Thing.
If you run into a problem building this Drawing Robot, please carefully read this description, the provided documentation, and the comments. More than likely your question or problem has been addressed already.
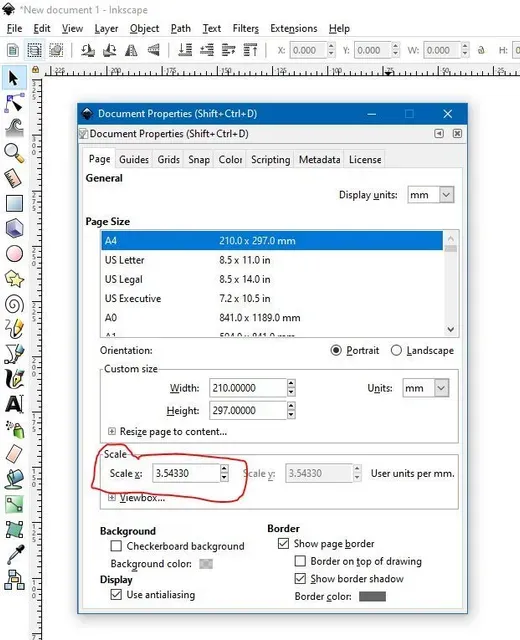
This drawing robot allows you to draw things in Inkscape and then plot them out. The drawing robot receives G Code commands that are created inside an Inkscape extension called MI. Below are the links to the software used. There's a document in the Files section explaining how to install and use the software.
Print all the parts. Assemble them using the assembly guide and then use the installation and use guide to start using your Draw Robot.
Troubleshooting: Please check the following if you are having problems:
- Be sure to install 3 jumpers on the CNC Shield for each stepper driver. There's a photo showing the jumpers.
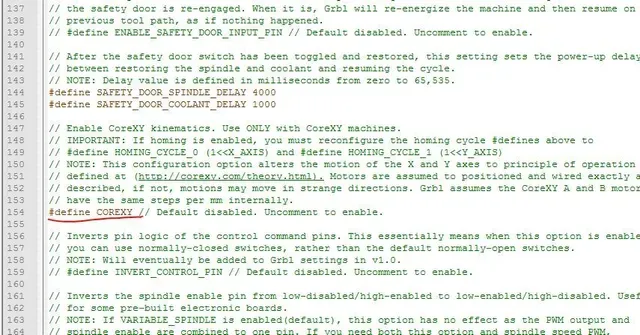
- You must use the GRBL version pointed to in the link below. Replace the "config.h" file with the one provided which has the correct features enabled before you compile and download from the Arduino IDE. IF YOU FAIL TO PERFORM THIS STEP, the robot will draw at a 45 degree angle. The library config.h file you should replace is in the PC directory .......Documents/Arduino/libraries/grbl-servo-master/config.h. I don't know which directory for Apple users. Double check this step when your robot prints at 45 degrees.
- Set the GRBL parameters to the settings that are provided in one of the photos. Use the Universal G Code Sender. You must do this or the robot will not work correctly.
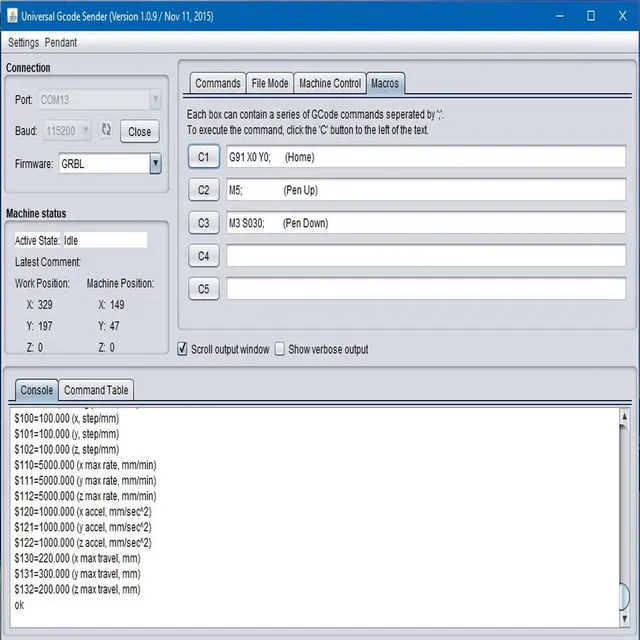
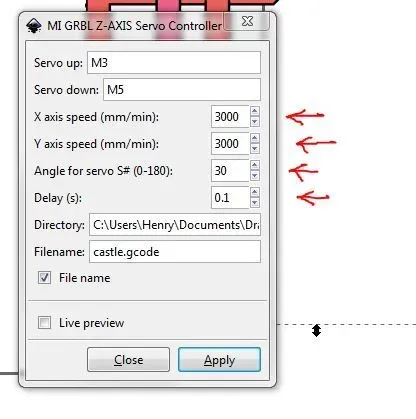
- Be sure to set the correct MI Extension parameters the first time you get the MI extension pop up. The extension sets the robot speed, delay for pen up/down, and the commands for pen up and down.
- If you have problems with your stepper motors moving and you believe everything else above is OK, check that the small current adjustments on your stepper drivers are set mid point and also set the drive current to 0.8 amps using the correct procedure for your driver.
- New error as of Dec. 2019: Users are getting Python errors from the MI GRBL Extension. This error is caused by a change in Inkscape and the Python language reporting an error on the servo.py module. IF YOU GET ANY PYTHON ERRORS, MAKE SURE THAT YOU HAVE PYTHON 3.X INSTALLED ON YOUR COMPUTER. Next replace the C:\ProgramFiles\Inkscape\share\extensions\servo.py file with the one I have supplied in the files of this thing. Thanks to Fabian1905 for documenting this problem.
I have posted all the parts needed from the two source designs.
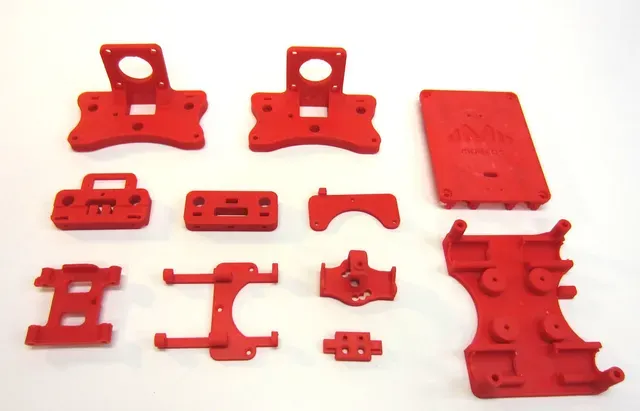
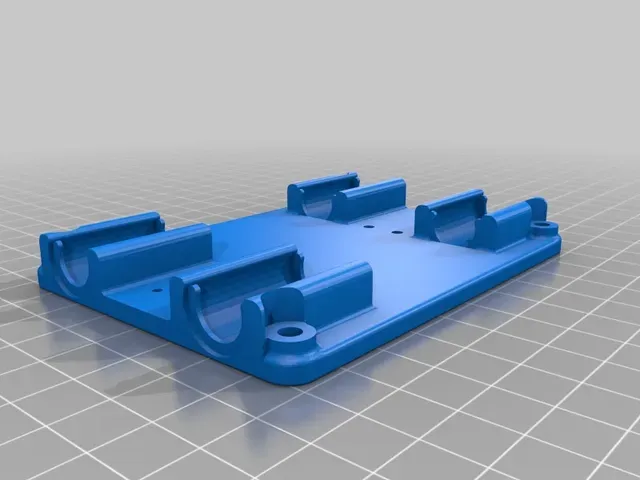
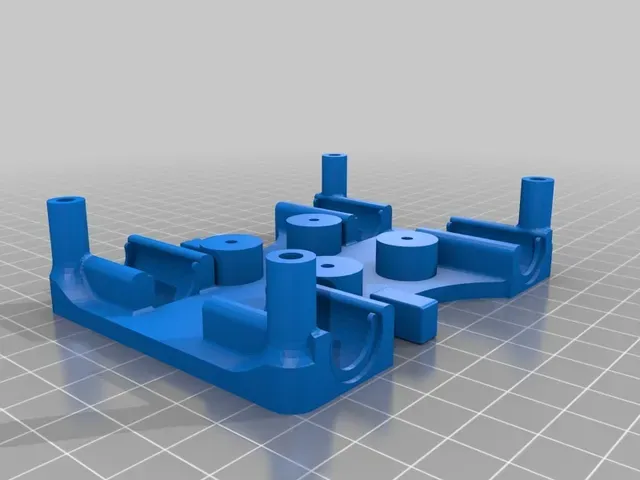
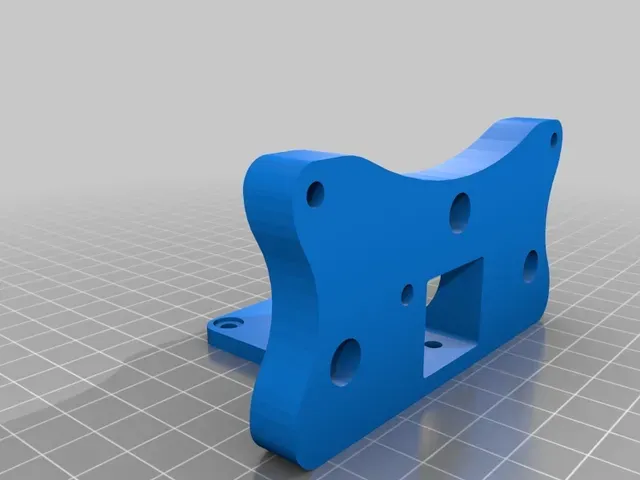
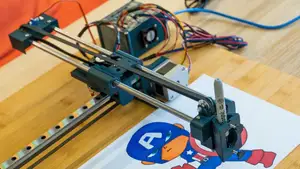
There are only 15 parts to print and none of them are very large. I added a stronger pen slider and a controller enclosure. There is an even better pen holder in the remix section. I also clarified the names that were in Spanish. I have posted all needed files so that there isn't confusion regarding which parts are needed from each of the original designs.
My drawing robot is modified version of this one https://www.thingiverse.com/thing:2058866
I suggest using the stronger pen holder I have included or the one posted as a remix.
Here's the pulley idler some users are printing instead of running the belts on just the plain bearings. My Draw Bot uses plain bearings without the pulley and it works fine. https://www.thingiverse.com/thing:2424284
Place this version of GRBL Firmware for the Arduino on your computer. You must use this version of GRBL. Other GRBL versions do not have the control code for the Z axis servo. https://github.com/robottini/grbl-servo
Replace the default config.h file in GRBL with the one supplied in the "Thing Files" section
Upload GRBL to your Arduino Uno using these instructions https://github.com/grbl/grbl/wiki/Compiling-Grbl
(Ignore references to GRBL V1.1)




%2Fhttps%3A%2F%2Ffbi.cults3d.com%2Fuploaders%2F13772249%2Fillustration-file%2Feb7351f8-acce-4226-845c-f1ac2745e9a1%2Fc7dce7de062a3b1610eeea9f624ee118_preview_featured.jpg&w=300)


Названия используются только для указания источника результата. Polyzon не аффилирован с перечисленными площадками.
Комментарии