
Бесплатно 
Dry-box Filament Pass-Through
Printables


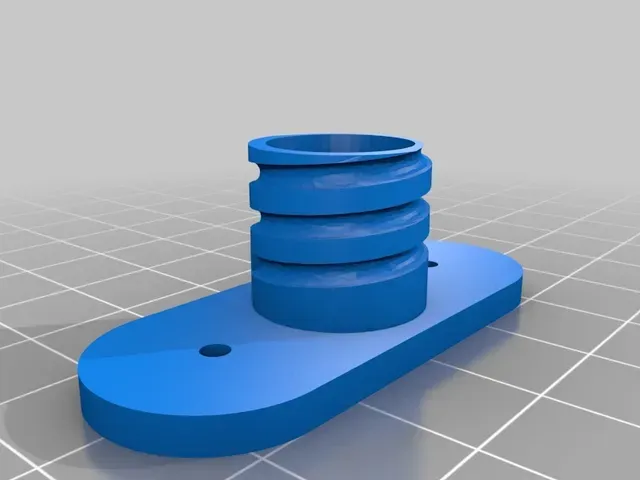

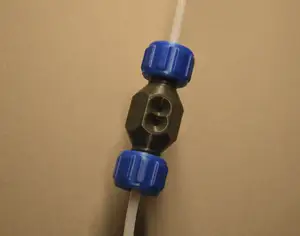
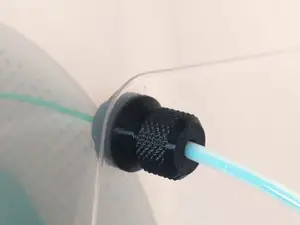
This is my take on the bowden ptfe filter/lubricator for dry box. My previous version fits the original anet a8 filament reel holder and dry box using bought ptfe connectors. This one, the entire connector is printed and has worked out really well. I use a small piece of sponge, cut with a slot for the filament to pass through and add a drop or two of conola oil. The filter/lubricator has solved a lot of my issues with under extrusion and filament drag. The inside ptfe tube holder with a small length of ptfe tube has stopped most of my tangle issues as well.
For the entire print you will need to print:
1 - Filament Guide and filter v3(Front filter).stl
1 - Filament Guide and filter v3(Inside ptfe con).stl
1 - Filament Guide and filter v3 (PTFE con filter housing).stl
2 - daGHIZmo's WEDGE1.75.STL
2 - daGHIZmo's PRESS_CAP_1.75.STL
Please see daGHIZmo's https://www.thingiverse.com/thing:596525 for the inside wedge and the press cap 1.75. I had to print the press cap at 3% bigger to get it to fit just right, but this could be a symptom of my printers not being perfectly calibrated.
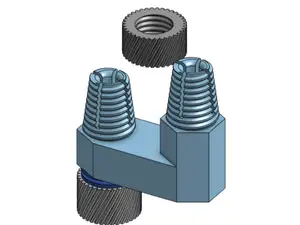
I used the filter threaded part and cap from Kezats https://www.thingiverse.com/thing:497764 .
I have tried to include the original makers as a remix but thingiverse just locks up and gives me a 404 when I try to save it.
Print Settings
Printer Brand:
Creality
Printer: Ender 3
Rafts:
Yes
Supports: No
Resolution:
0.2
Infill: 20% or better
Filament: cctree pla blue orange black
Notes:
Like I mentioned above I had to resize the press cap by 3% more to make it fit correctly.
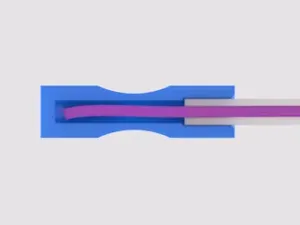
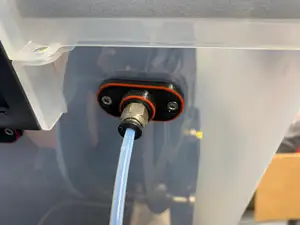
Post-Printing ============= Cut off the excess from the plate adhesion of your choice. Then cut a small piece of sponge, slit the sponge to allow for the filament to go through the middle. Drill out your dry box using the guide as a template. Cut and secure your short piece of ptfe on the inside and then screw it all together, using #6 x 1/2" wood screws. It should also work to use m3 screws. After this screw on the filter housing to the front and attach your ptfe down to your printer.
How I Designed This
A progression from using Kezats filter to a drybox connector to the fully printed model. Took me some time of trial and error to get it right and using tinkercad can be frustrating. But in the end it works really well and being completed printed saves time and money.
Category: 3D Printer Accessories






Названия используются только для указания источника результата. Polyzon не аффилирован с перечисленными площадками.
Комментарии