
$ 5.00 
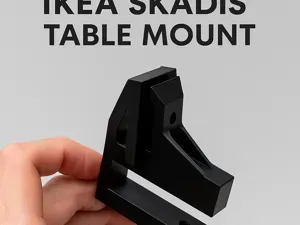
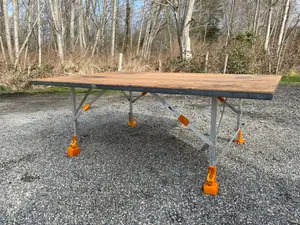
Camper Table Rail Bracket Clamp (Spring Version)
Printables
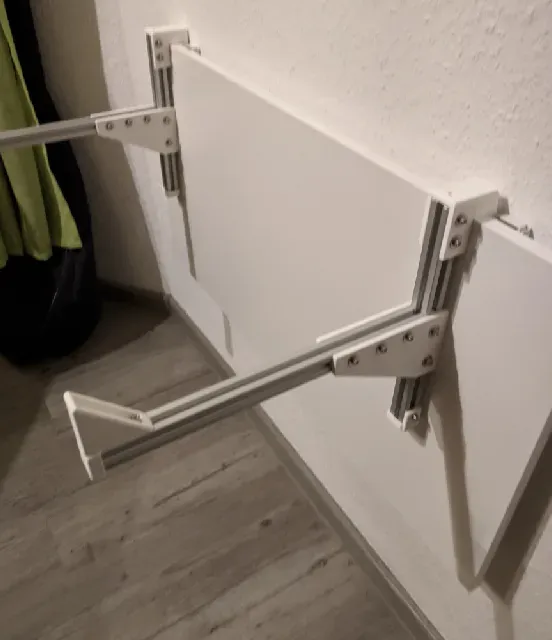

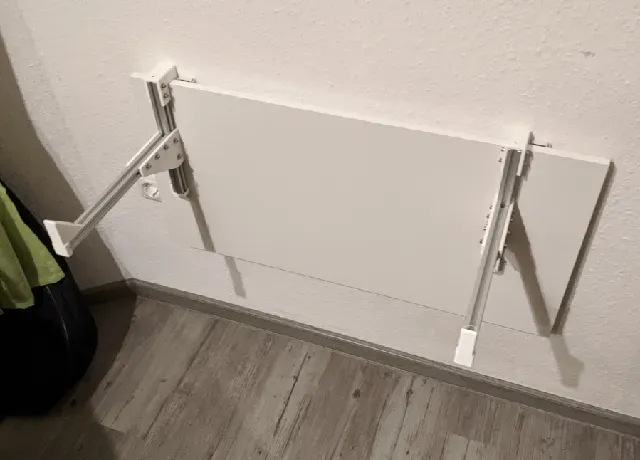




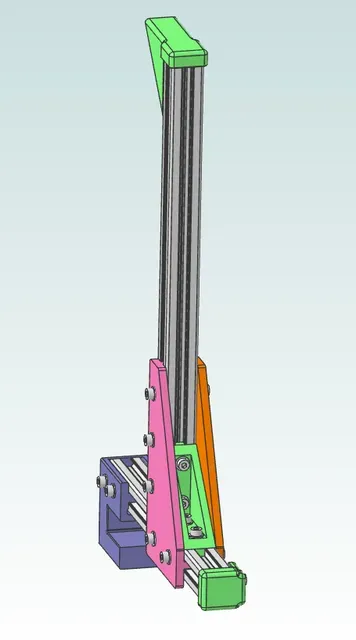
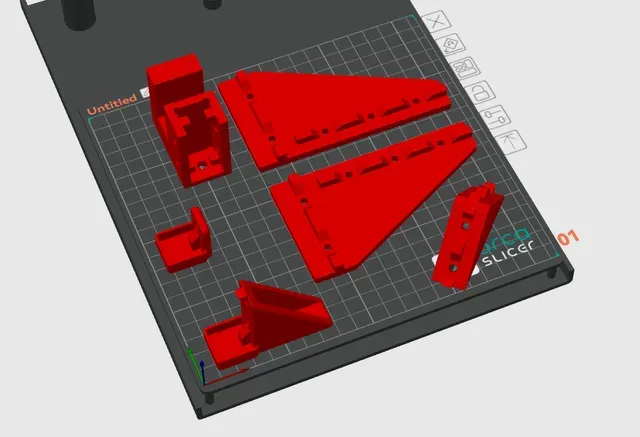

This is custom electric piano holder for wall mounted folding table. The way this holder gets mounting on the table is very custom. But it might be used for other purposes as well. The design is slightly parametric and can be adjusted to the keyboards size or sitting height. You can find the lengths I used in the bill of material below. I recommend a certain minimum length for the vertical profile to get a good lever length for the bottom stand off. A different table plate thickness will require a redesign of the top hook.
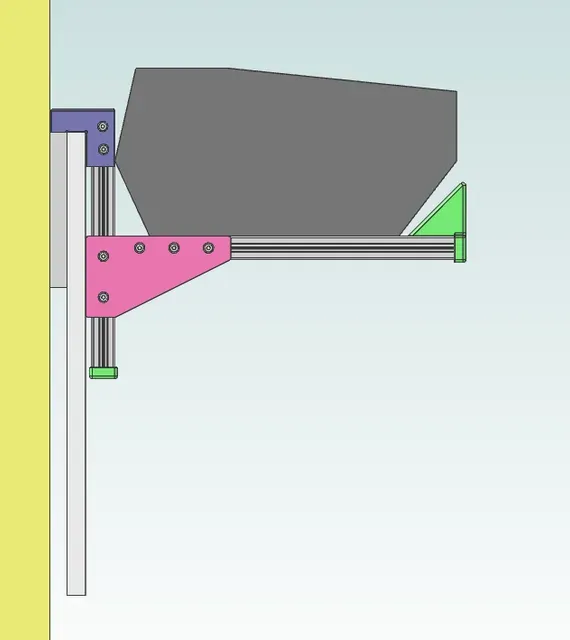
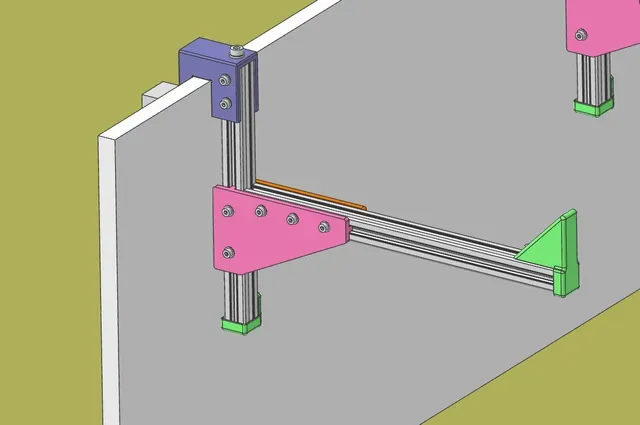
It is designed to hang of a wall mounted folding table with a 16mm plate thickness. The folded table has a 15mm distance from the wall. The holder is based on 20x20mm aluminum extrusions. The table bracket engages on the top and supports the weight. Near the bottom are support brackets holding the horizontal arm and functioning as a stand off against the table plate. The bottom of the vertical profile is closed by an cap piece. The front of the horizontal profile is closed with a wedge piece that holds the piano in place.
Parts needed:
- Printed parts - 2x table bracket - 2x side bracket - 2x side bracket mirrowed - 2x support bracket - 2x bottom stop - 2x front stop, - Aluminum extrusion - 4x 20x20x225mm - 4x 20x20x300mm - Hardware - 42x screws M4x10 - 42x slot nuts M4 - 42x washers M4 - 2x screw M6x16 - 2x washer M6 Assembly
- Drill 1x M6 thread in each of the vertical profiles. - Insert vertical profiles in hooks and put M6 screw in. - Insert and screw down one side bracket on the vertical profile. - Put horizontal profile on side bracket and screw down. - Put second side bracket in place of the t-connection and screw down. - Insert support bracket and screw down. - Insert and screw down bottom and front stops. Print instructions:
- I recommend to print out of a durable material for the top hook at least. This part has to take the full load of the keyboard. - Additional perimeters and infill, as you would normally use, for the top hook and support brackets - Make sure you adjust for shrinkage and have a tuned machine. The extrusions slot into the printed pieces so good dimensions are advised. - No supports needed - Recommended layer height 0,2 mm
I would be happy to see some of your makes posted :)
Source files in the Alibre Atom format is available but the website does not allow the upload. If you need it send me a message.



Названия используются только для указания источника результата. Polyzon не аффилирован с перечисленными площадками.