
Бесплатно 
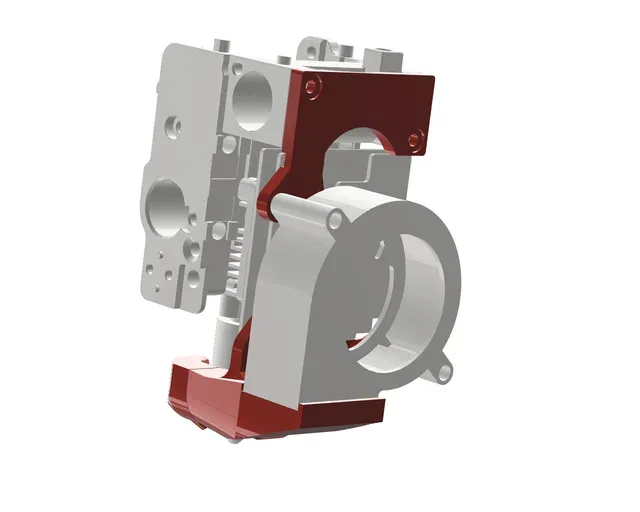
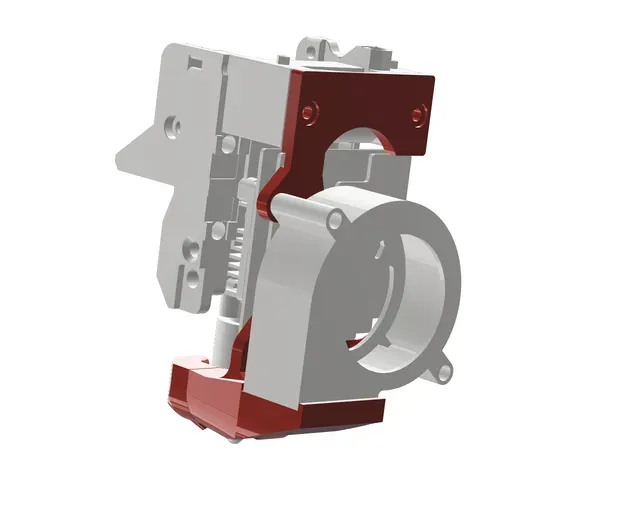
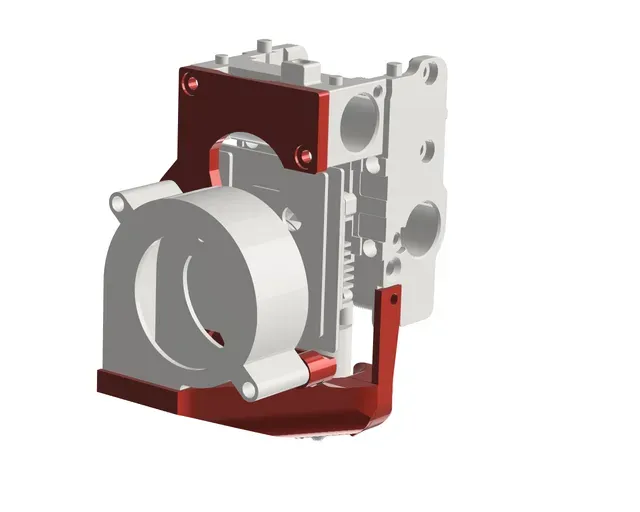
5015y Anniversary MK1 for Creality K1, K1C, K1SE, K1 MAX
Printables



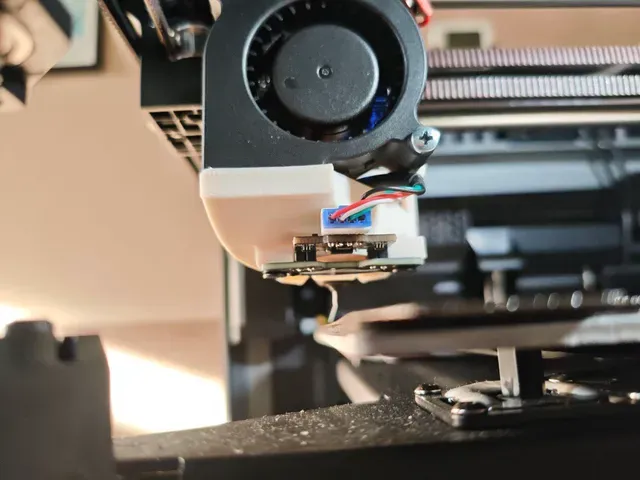




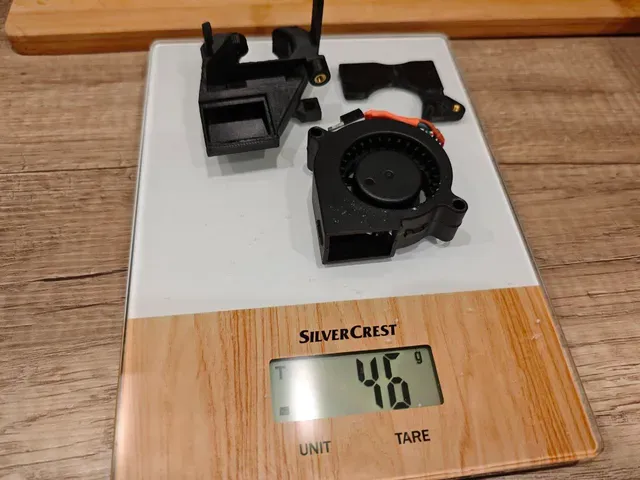
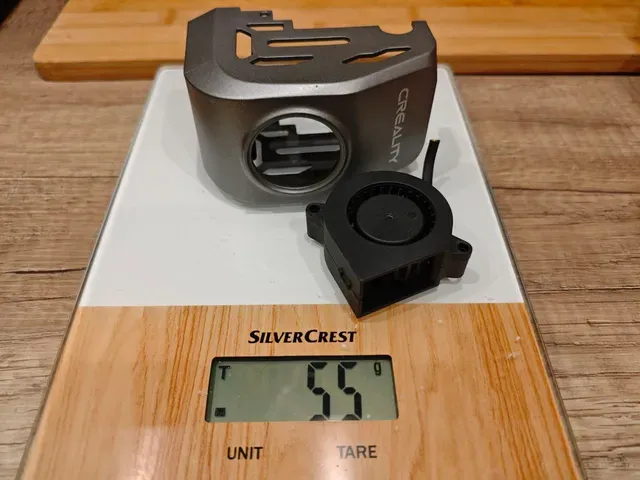
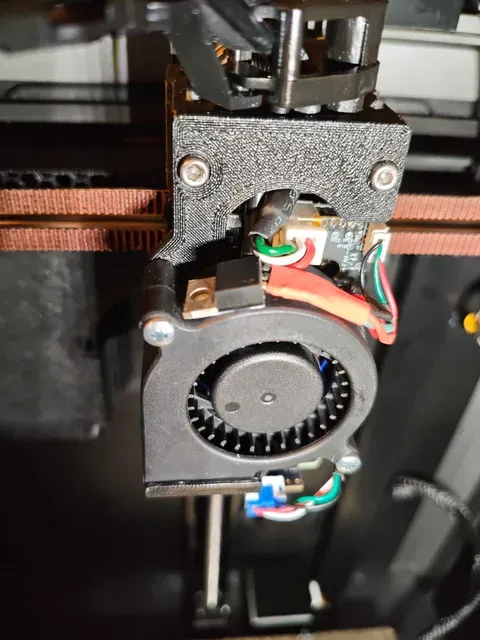

This 3D model is still under development!
###########################
Update 28.10.2025
Upgraded all models. There was an issue with Cartographer mount distance.
###########################
Update 27.10.2025
A new model has been added - 5020 for K1 nozzle Cartographer Front mount (BCJ X Carriage) .
Configuration information for positioning Cartographer 3D has been included. Cartographer Probe Offsets for front mounts:
for Stock X Carriage : x_offset: 0.0 y_offset: -27.0
for BCJ X Carriage : x_offset: 0.0 y_offset: -23.0
###########################
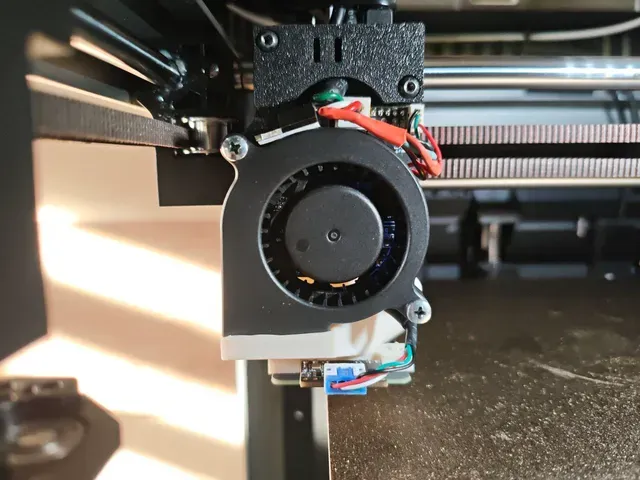
Hi everyone! I made 5020y Anniversary MK1
It is the 5020 fan lightweight toolhead cover for Creality K1, K1C, K1SE, K1 MAX with Creality K2 PLUS hotend for K1 and Volcano nozzles.
There are versions available for the K1 and Volcano nozzles ; for use with or without the Cartographer sensor ; and for the standard carriage and the BCJ carriage .
How to install Creality K2 Plus Hotend on Creality K1/c/max/se : https://telegra.ph/Ustanovka-hotenda-ot-Creality-K2-Plus-na-Creality-K1cmaxse-05-13-2
Video:
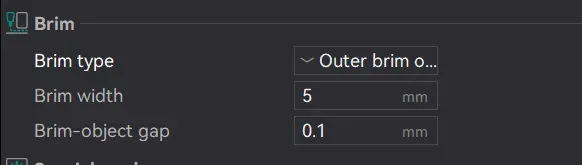
Printing settings:
This 3D Model was printed with ASA and ABS filaments.
Klipper settings:
Configuration information for positioning Cartographer 3D has been included. Cartographer Probe Offsets for front mounts:
for Stock X Carriage : x_offset: 0.0 y_offset: -27.0
for BCJ X Carriage : x_offset: 0.0 y_offset: -23.0
BOM:
1x 24V 5020 blower with ball bearings;
1x N-channel field-effect transistor (MOSFET) for 2 wire fans. Bipolar PNP and NPN transistors will not work;
2x heat-set inserts M3 (4.6-5mm OD);
and 2x heat-set inserts M3 (4.6-5mm OD) for Cartographer 3d mount;
3x screws M3x25 for mount fanduct and fan;
1x M3 screw from stock toolhead to mount fanduct from side;
2x M3x6 screws for toolhead top BCJ mount;
or 2x M3 stock screws for toolhead top Stock mount;
2x M3 screws for mount Cartographer (these screws are included with the sensor).
Assembly Guide
Prepare the Fan:
Melt the heat-set inserts into the fanduct, as shown in the images.
Wiring: Solder the wires to the fan and the MOSFET , following the provided connection diagram.
Installation: Install the cover and connect the fan wires.
Mounting: Attach the fan to the cover using screws.
2-Wire Fans Only (Noise Reduction): To eliminate PWM noise, open the printer.cfg file, locate the output_pin: fan0 section, and change the cycle_time value to 0.1000 .
This is only a small part of all those test models that I modified :)







Названия используются только для указания источника результата. Polyzon не аффилирован с перечисленными площадками.